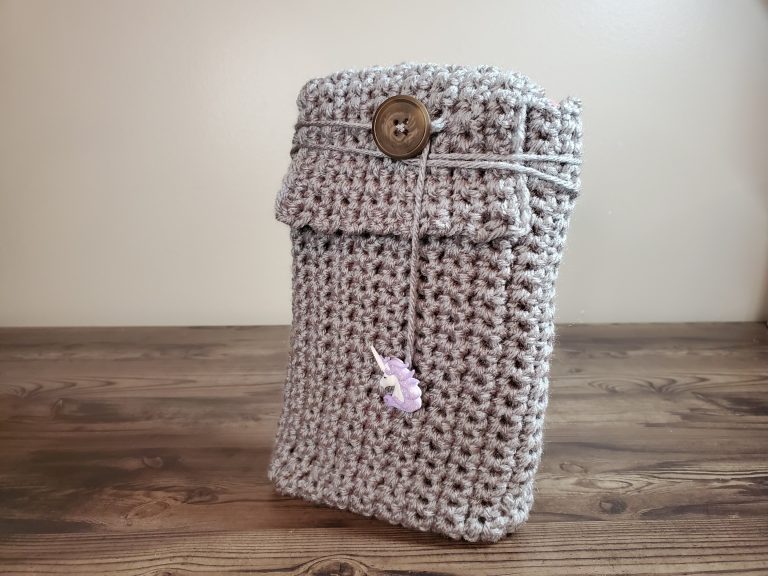
Chain Stitch Wrap Bracelet
Welcome to the Beginner Project One! Chain Stitch Wrap Bracelet. In this tutorial, we will be practicing our crochet chain stitch to make a simple wrap bracelet. This is a project for the very beginner, to practice using your hook to get uniform tension on your crochet chain stitch.
I’ve put together these beginner chain stitch projects so that you can complete actual projects using the chain stitch, to practice and perfect your chain before you move on to more in depth projects. The chain stitch is the foundation of nearly all projects in crochet, and having a uniform chain is important to the overall look of your project. Knowing this, and realizing no one wants to sit and crochet the chain stitch without purpose, I’ve created a few projects to give you a reason to practice, with a tangible goal – a finished project. Everyone loves a finished project!
So let’s begin! Below is the step by step tutorial for the Chain Stitch Wrap Bracelet.
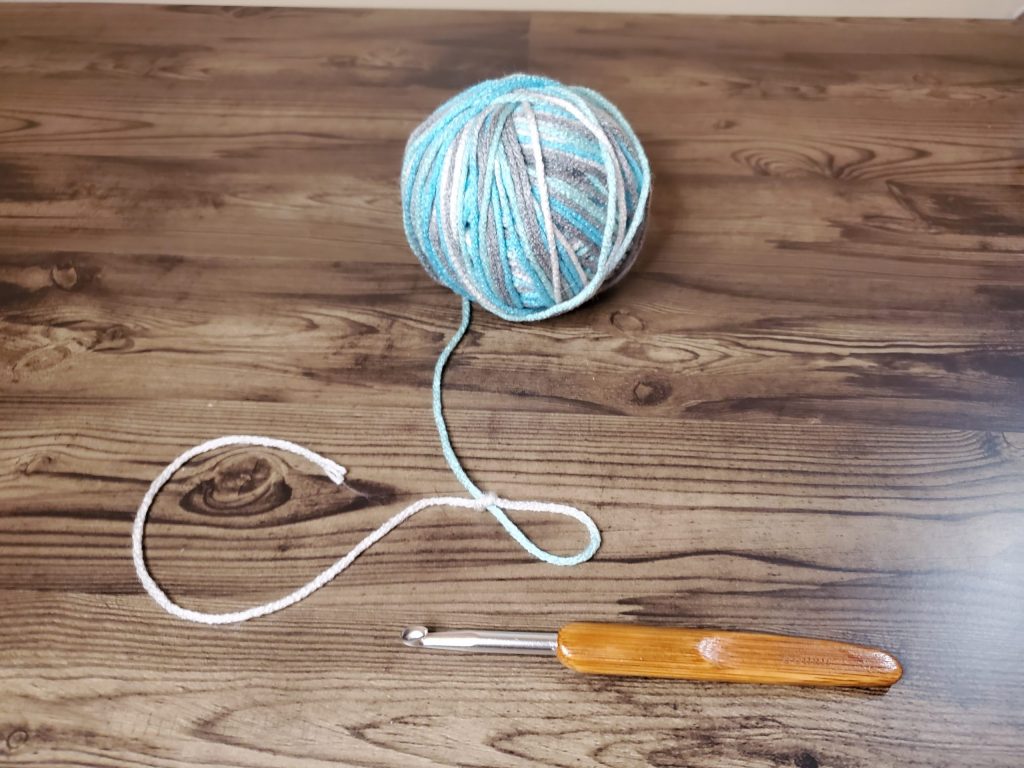
Materials

Pro Tip: Read through your patterns completely before starting your project. It’s easier to anticipate the next step if you know what it should be.
For this project you are going to need:
Yarn – I am using Red Heart SuperSaver, worsted weight, in a variegated color called Icelandic. Please note, any worsted or medium weight yarn you choose is fine for this project.
Crochet Hook – I am using a 6mm crochet hook
Scissors
Clasp – I am using a toggle clasp, but any type of clasp you prefer is completely acceptable
Tape
Getting Started With the Chain Stitch
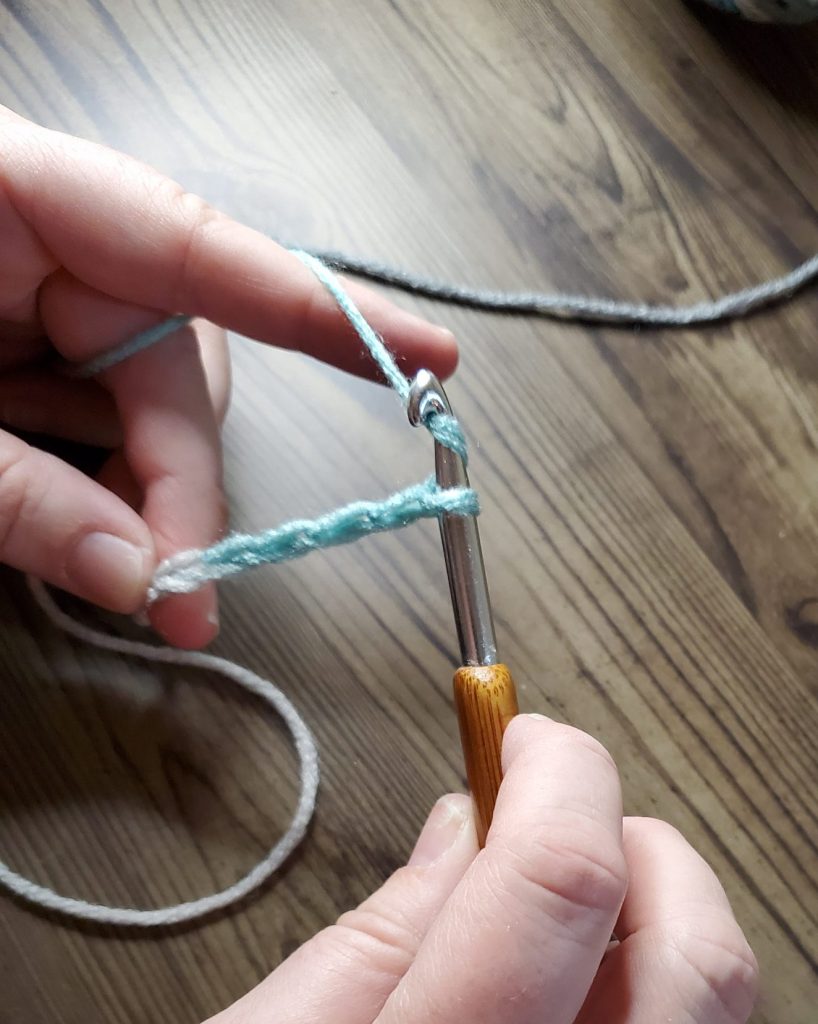
Start by making a slip knot with your yarn. For this project, you’re going to want a long tail on your slip knot, for fastening the clasp to the end of your chain. Next put your hook through the loop and tighten it. Make sure you don’t tighten it too tight, as your hook needs to be able to slide through.

To make your first chain, start with the yarn over (YO). Pro Tip: Let the hook do the work, by placing it under the yarn. Do this by pointing the tip of your hook towards your opposite hand (the hand you are using to hold the yarn), then bringing it down under the working yarn (this is the yarn you pull from the skein or ball you are using), and then coming back up to catch it.


Next, turn your hook slightly, and pull down to catch the yarn with end of your hook. Remember to keep even tension on your working yarn and the tail, to keep your stitches even!
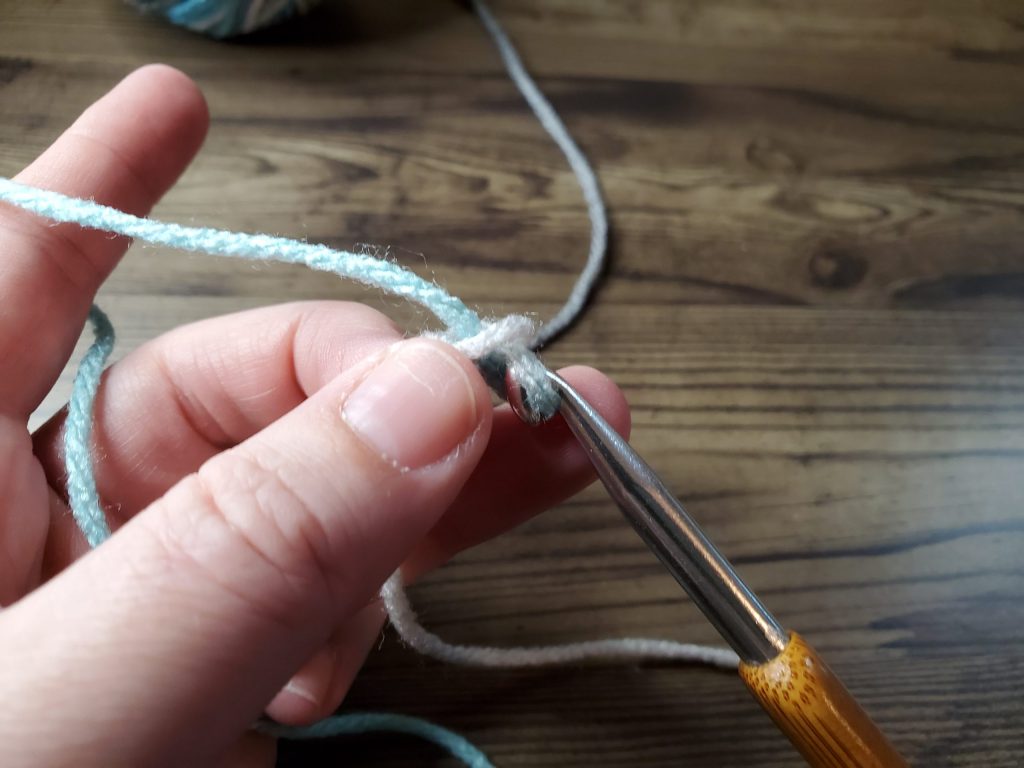
Pull your hook and yarn through the bottom loop on your hook, leaving the top loop on your hook. This completes your chain stitch.
Yarn over, and start again.
You will need a chain of 70 crochet chain stitches for this wrap bracelet. If you want the bracelet longer, increase the number of chain stitches you use. On the same note, if you want the bracelet to be shorter, decrease the number of stitches you use.
Attaching the Clasp to your Chain Stitch Wrap Bracelet
Once you have 70 chain stitches (or your desired number of stitches), fasten off your yarn by cutting off the working yarn and pulling it through the loop until the last stitch is tightened. Make sure you once again leave a long tail for fastening the clasp to the end of your chain.
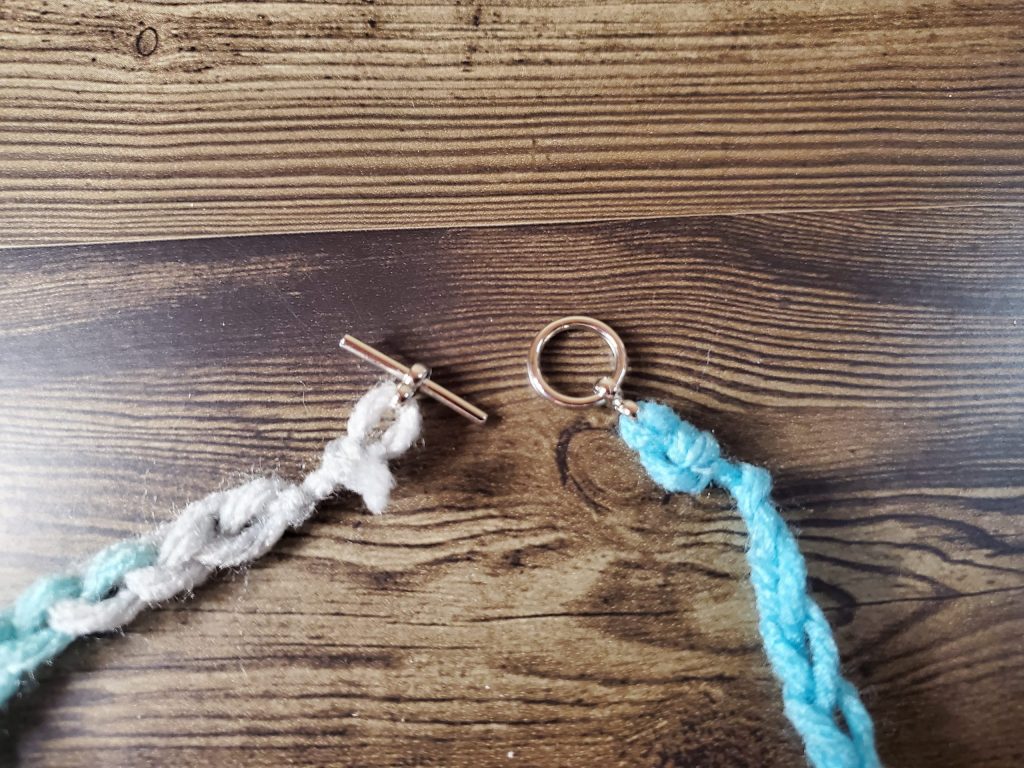
The next step is to attach the clasp to each end of the bracelet. Clasps typically aren’t made for yarn, and the holes to attach them are quite small, so yarn needles don’t really fit on them. I’ve got a bit of a work around, or hack, as you will, to make this step a tad bit easier. Take a piece of tape, about an inch long, and wrap it around the end of your yarn tightly. Almost like the end of a shoelace. Yarn can squeeze fairly small, so don’t be afraid to roll it on the yarn as tight as you can make it. We are also going to be cutting off the excess yarn, so the tape will not damage anything. Once you tape the end of your yarn, you can get it into the clasp and tie it on. Simply tie it on and cut the excess off.
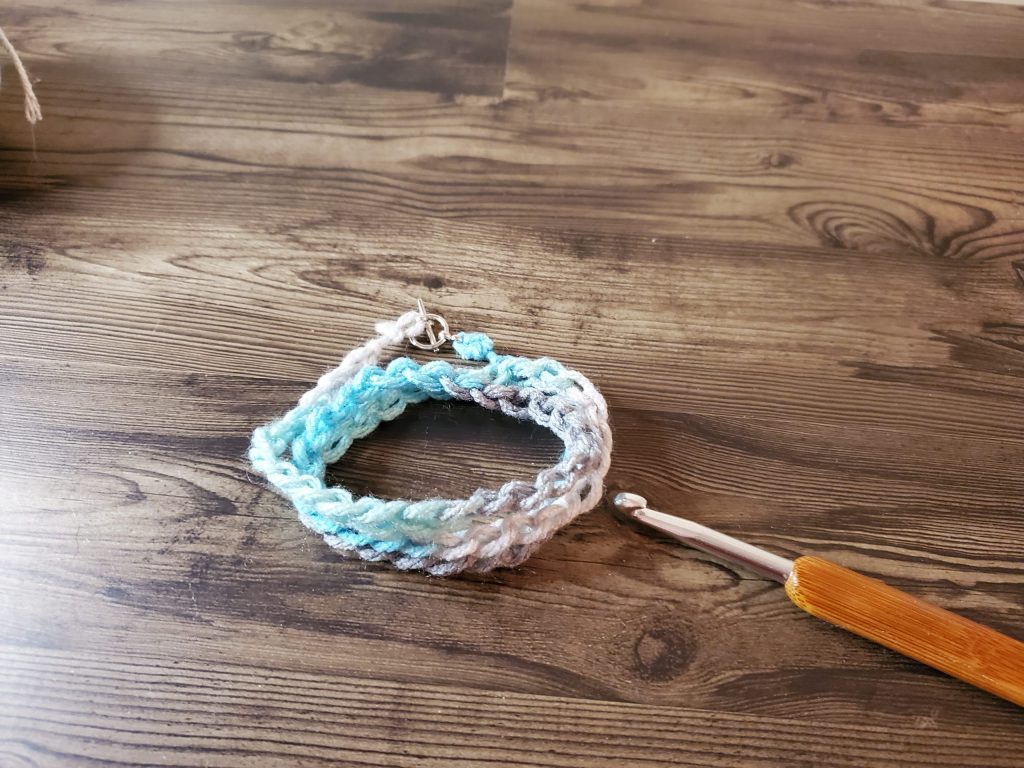
Wrap your bracelet around your wrist and close the clasp.
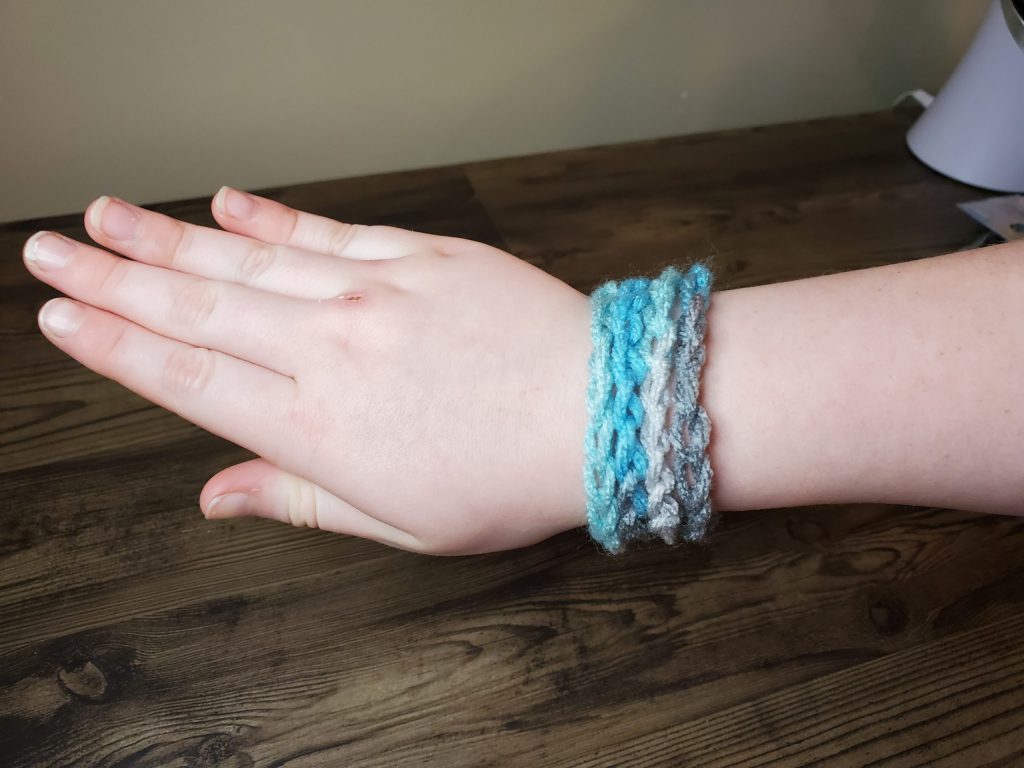
Congratulations! You have finished Beginner Project One – the Chain Stitch Wrap Bracelet!
Finishing Up
If you want to jazz it up a bit more, add a charm to the bracelet by attaching one or more to the chains in the bracelet. You can even make it into a charm bracelet, by placing charms around in various chains!
I hope you enjoyed making your beginner crochet project. How did it come out? Post pictures below!
Are you ready for more? Let’s try something a bit more advanced, and make a choker and bracelet set using embroidery floss! Find the tutorial here!