Frosty Ridge Crochet Boot Cuffs
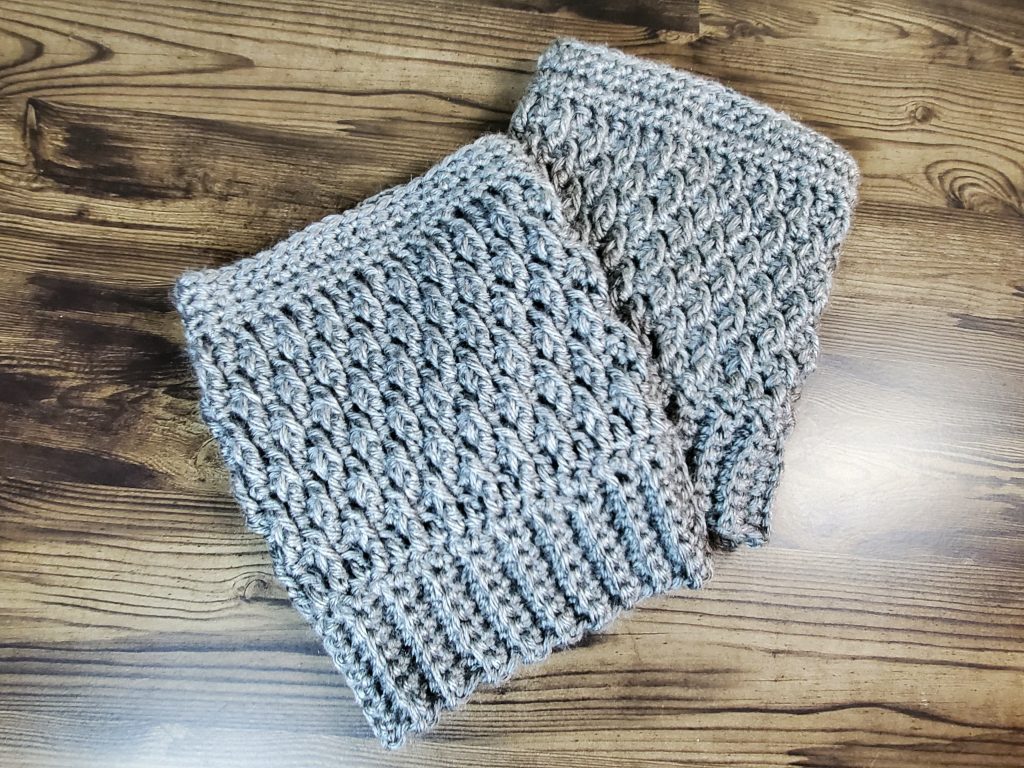
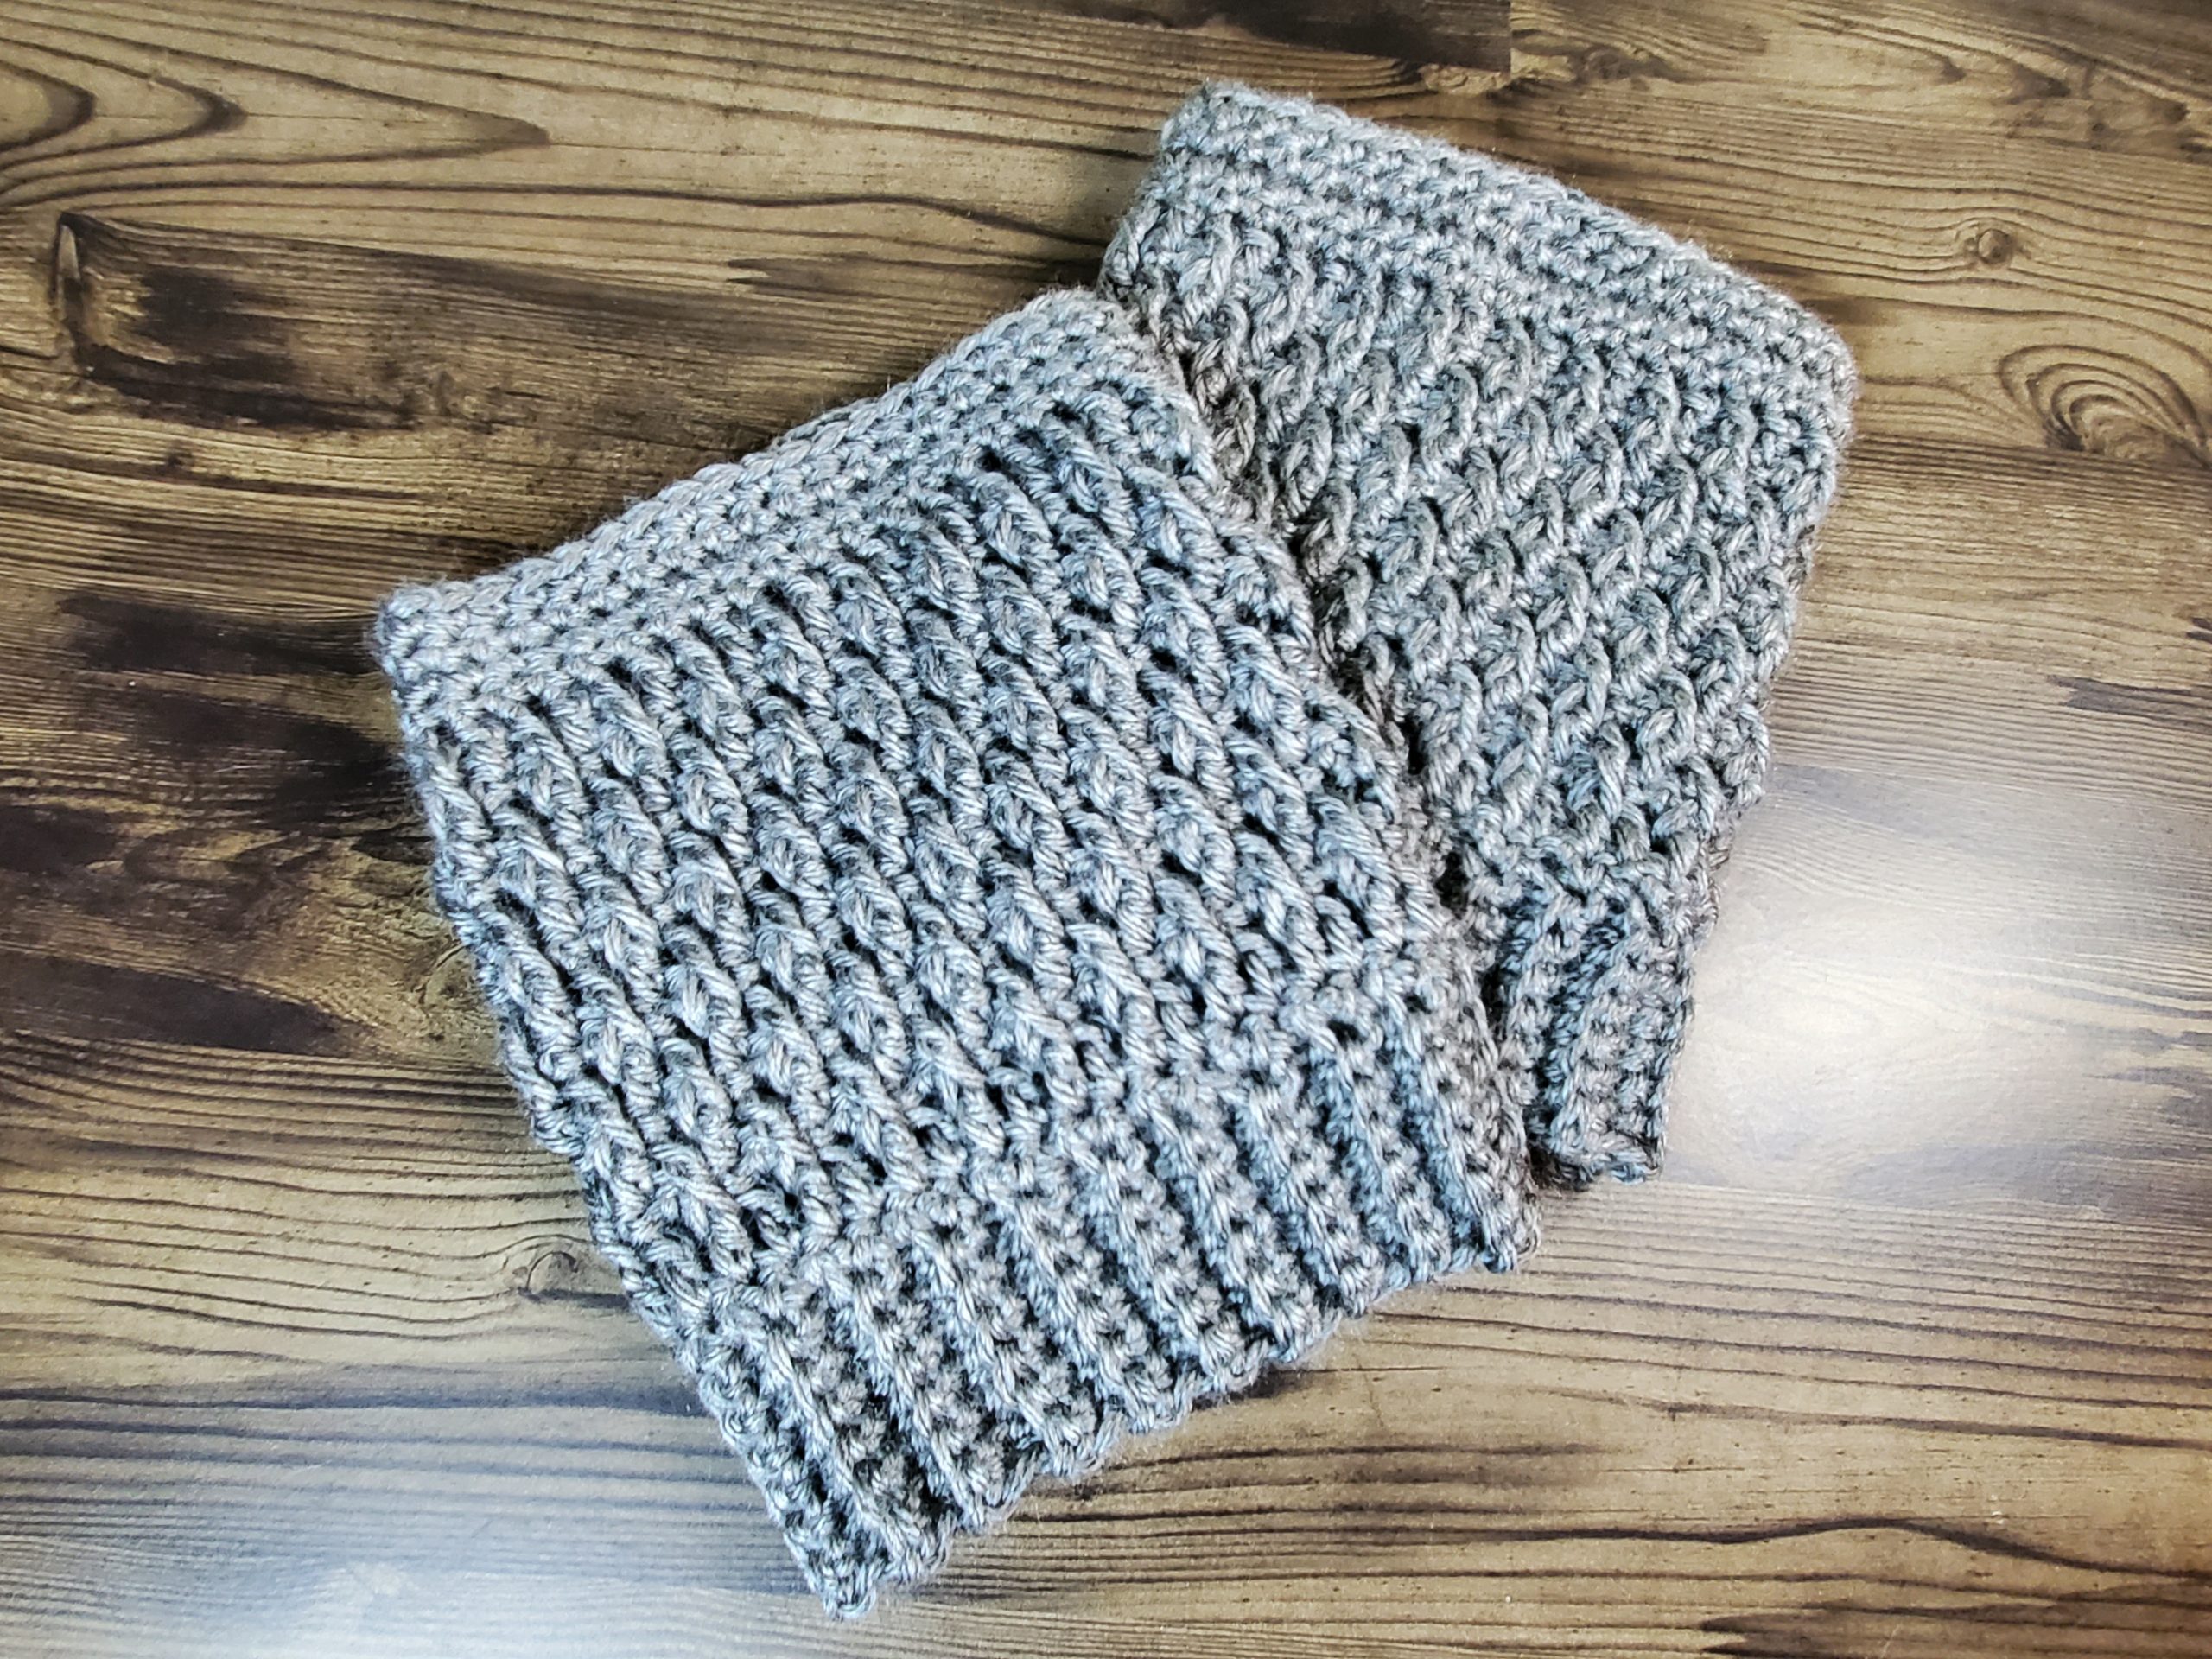
These cute Frosty Ridge Crochet Boot Cuffs will keep you warm and stylish during the cold weather months. The boot cuff is made of worsted weight acrylic yarn, and uses single crochet and the front post stitches to create a textured look. Included with the free pattern are step by step photos illustrating the special stitches.
Frosty Ridge Crochet Boot Cuffs – Materials
- 1 Skein Caron Simply Soft – Grey Heather
- Size H/5.0mm Crochet Hook
- Yarn Needle
- Scissors or Snips
Abbreviations
Ch – Chain
SC – Single Crochet
BLSC – Back Loop Single Crochet
DC – Double Crochet
FPDC – Front Post Double Crochet
Frosty Ridge Crochet Boot Cuffs – Sizing Notes
These boot cuffs are made to be standard sizing of 12” in circumference. If you have smaller or larger calves, you may need to adjust the sizing of your boot cuffs. To adjust sizing, add/remove rows to the Cuff/Base portion of the pattern. To keep the pattern consistent, keep an even number of rows.
Frosty Ridge Crochet Boot Cuffs – Written Pattern
Make (2) for matching pair
Cuff/Base
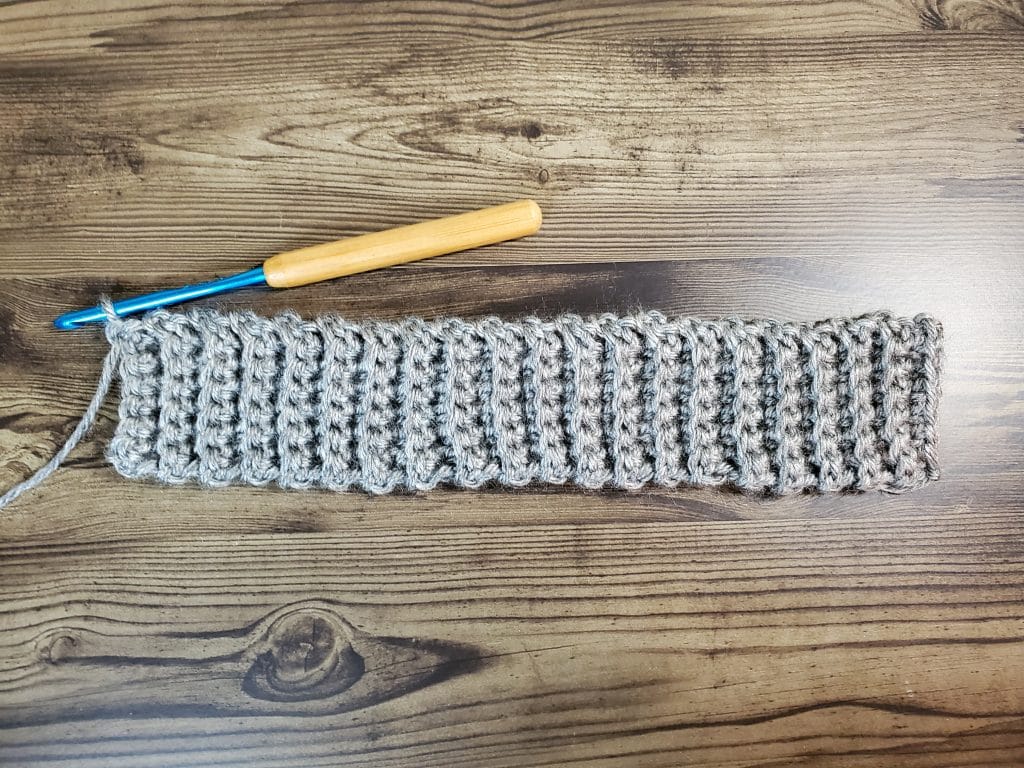
Ch 8
Row 1 – SC in 2nd Ch from the hook, across (7)
Ch 1, turn
Row 2-40 – BLSC in each stitch across, Ch 1, turn (7)
Cuff Body
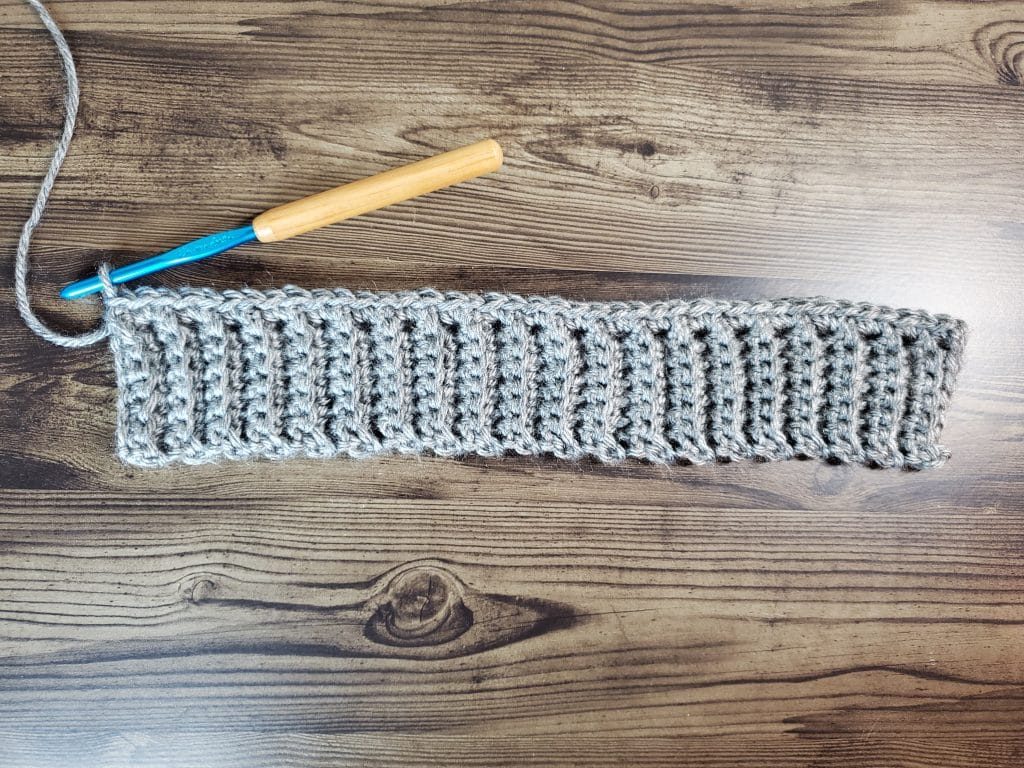
Turn project to side, so hook is on the top right corner.
Ch 1
Row 1 – (1) SC in each row of Cuff/Base (40 SC)
Ch 3, turn (Counts as 1st DC)
Row 2 – DC in 2nd stitch from previous row, and each stitch across (39 + turning chain)
Ch 1, turn
Row 3 – SC in each stitch across, and in turning chain from previous row (40 SC)
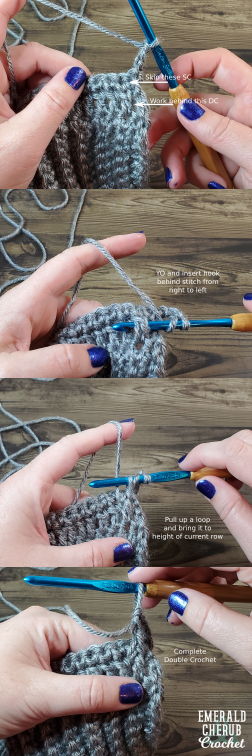
Ch 3, turn (Counts as 1st DC)
Row 4 – *FPDC in DC from row 2. DC in next stitch* Repeat * * until 2 stitches remain. DC in last 2 stitches. (39)
Ch 1, turn
Row 5 – SC in each stitch across, and in turning chain from previous row (40 SC)
Row 6 – *DC in 2nd stitch. FPDC in next DC from row 4* Repeat * * until 1 stitch remains. DC in last stitch. (39) (FPDC will alternate in each row, creating the ripple effect)
Ch 1, turn
Row 7 – SC in each stitch across, and in turning chain from previous row (40 SC)
Ch 3, turn (Counts as 1st DC)
Row 8 – (Same as Row 4) *FPDC in DC from row 6. DC in next stitch* Repeat * * until 2 stitches remain. DC in last 2 stitches. (39)
Ch 1, turn
Row 9 – SC in each stitch across, and in turning chain from previous row (40 SC)
Ch 3, turn (Counts as 1st DC)
Row 10 – (Same as Row 6) *DC in 2nd stitch. FPDC in next DC from row 8* Repeat * * until 1 stitch remains. DC in last stitch. (39)
Ch 1, turn
Row 11 – SC in each stitch across, and in turning chain from previous row (40 SC)
Ch 3, turn (Counts as 1st DC)
Row 12 – (Same as Row 4) *FPDC in DC from row 10. DC in next stitch* Repeat * * until 2 stitches remain. DC in last 2 stitches. (39)
Ch 1, turn
Row 13 – SC in each stitch across, and in turning chain from previous row (40 SC)
Ch 3, turn (Counts as 1st DC)
Row 14 – (Same as Row 6) *DC in 2nd stitch. FPDC in next DC from row 12* Repeat * * until 1 stitch remains. DC in last stitch. (39)
Ch 1, turn
Row 15-18 – SC in each stitch across (40) (Ch 1, turn at the end of each row)

Finishing
Fasten Off – leave long tail for sewing.
Sew edges together forming a cylinder, weave in ends.
For more patterns, tips and tutorials, follow me on Facebook or join my Facebook Group.




One Comment