Crochet Scrunchie Tutorial
A crochet scrunchie is a great quick project for both beginners and advanced crocheters! They work up quickly, and make a great addition to any girls hair accessories collection! The best part is that you can make them in any color, or color combinations, to match any outfit!
This is a fairly easy pattern, and can be easily made larger or smaller. If you’re a seasoned crocheter, and would like to skip the photo tutorials, the written pattern appears at the bottom of this post.
Materials You Need for the Crochet Scrunchie
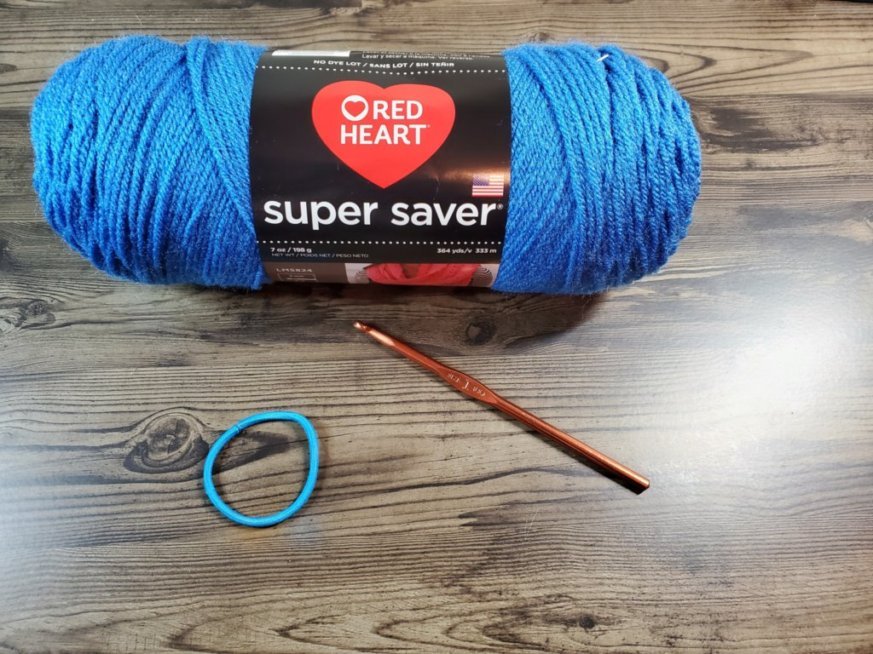
For this project, I used:
Redheart Worsted Weight Acrylic Yarn
Crochet Hook, Size I – 5.5mm
Hair Tie
Yarn Needle
Scissors or snips
Let’s Get Started
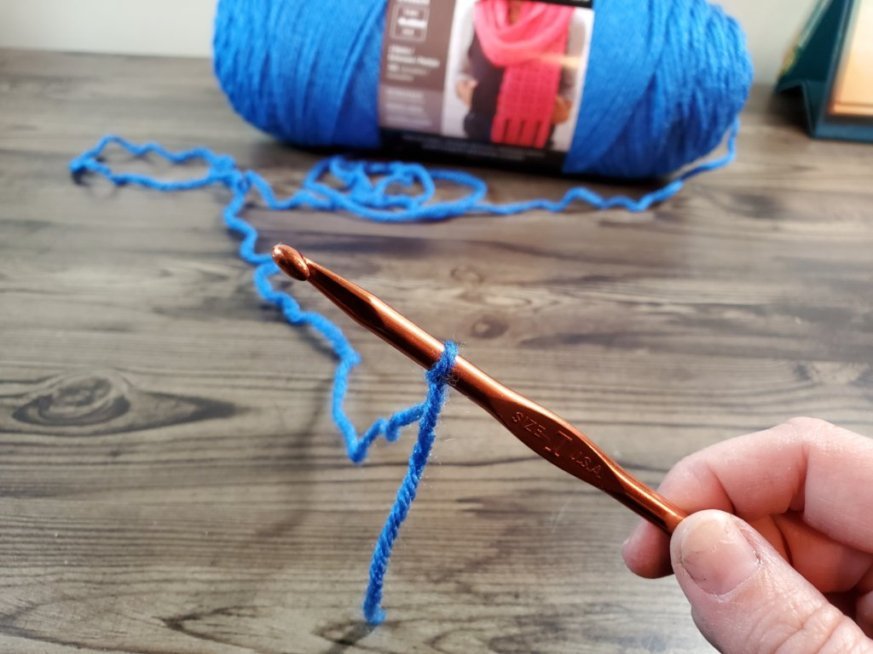
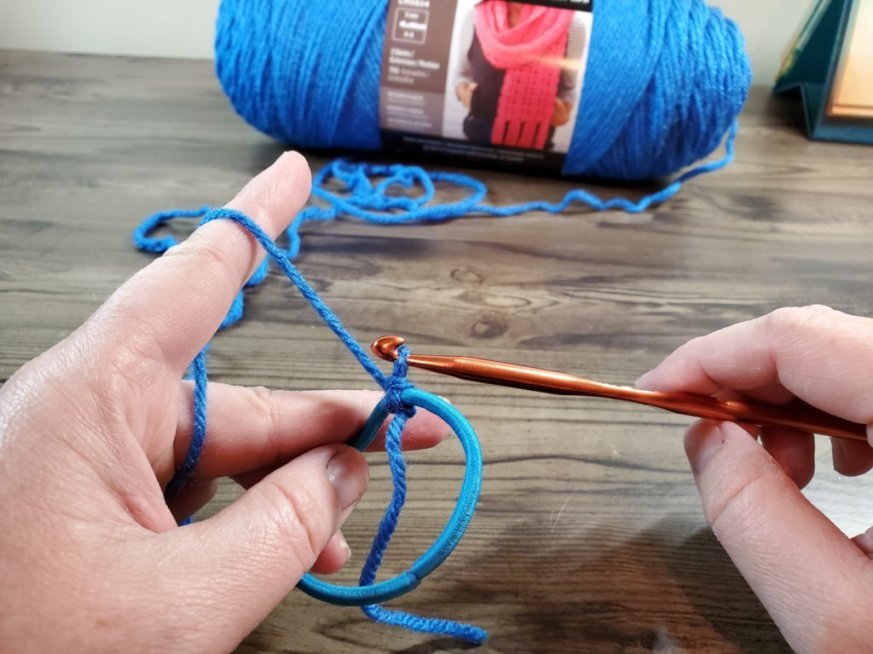
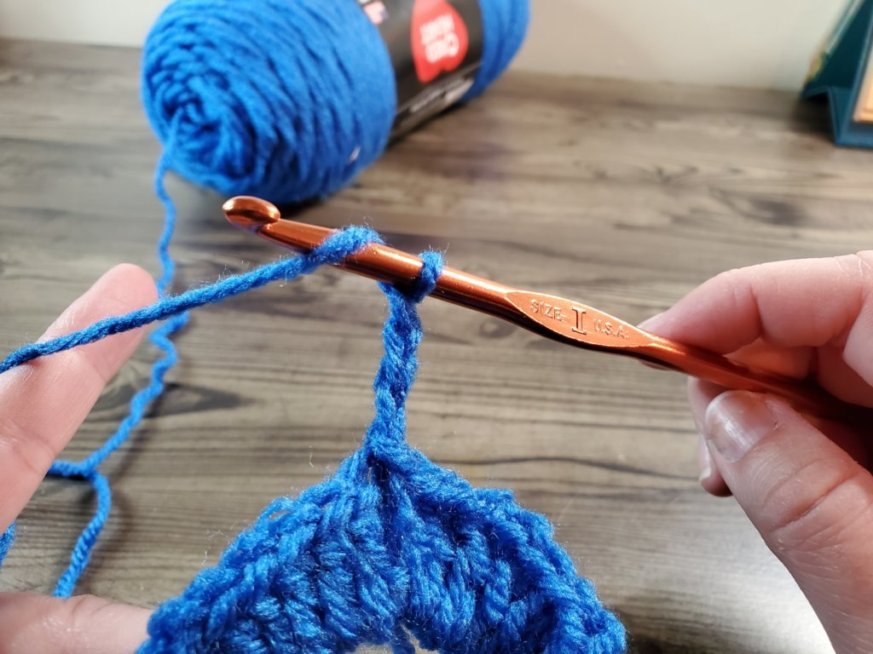
To begin, create your slip stitch and place it on your hook. The first round of stitches is worked into the center of your hair tie, so grab that, next.
The first step is to create a slip stitch to attach your yarn to the hair tie. To do this, hold your hook in your working hand, and the hair tie and yarn, with the hair tie just below your yarn, in the other. Next, insert your hook into the center of the hair tie. You’re now going to grab the working yarn with your hook, and pull it through the center of the hair tie. You will have two loops on your hook. Pull the top loop through the bottom loop to finish your slip stitch.

Crochet Hair Tie – Round One
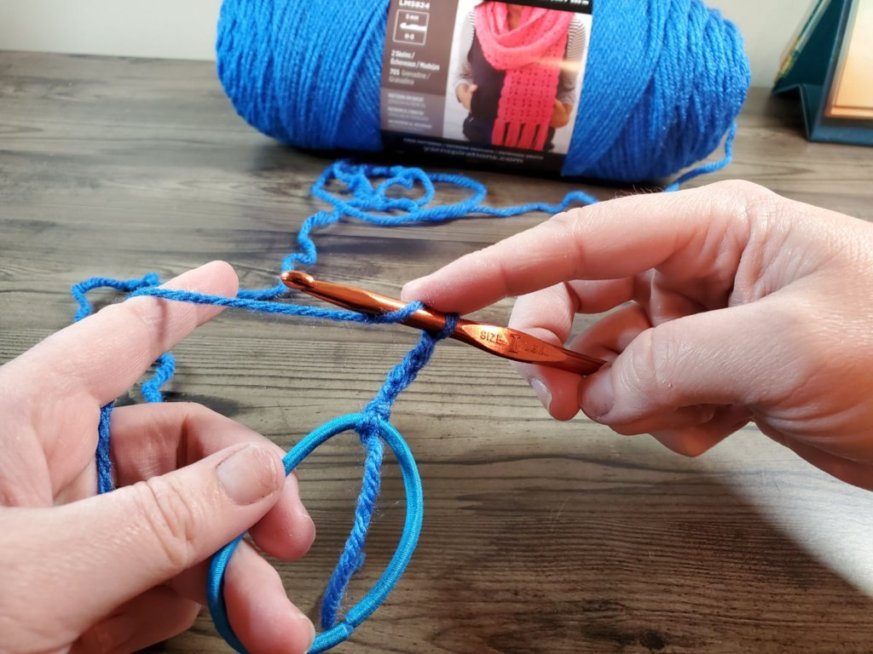
Next, you need to chain 3 to bring your hook up to the correct height to make a round of double crochet stitches.

We are going to work 50 double crochet stitches into the center of the hair tie for this row. If you need a refresher, check out my tutorial for the double crochet stitch.
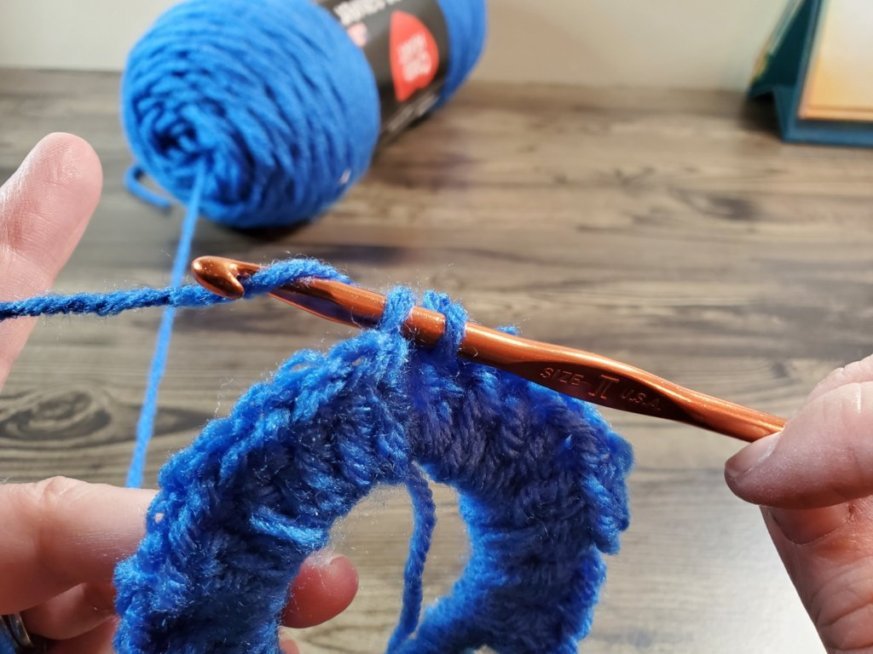
Yarn over, insert your hook back into the center of the hair tie, and pull up a loop. Next, yarn over again, and pull through two loops on your hook. Yarn over one more time, and pull through the two remaining hooks on your loop.
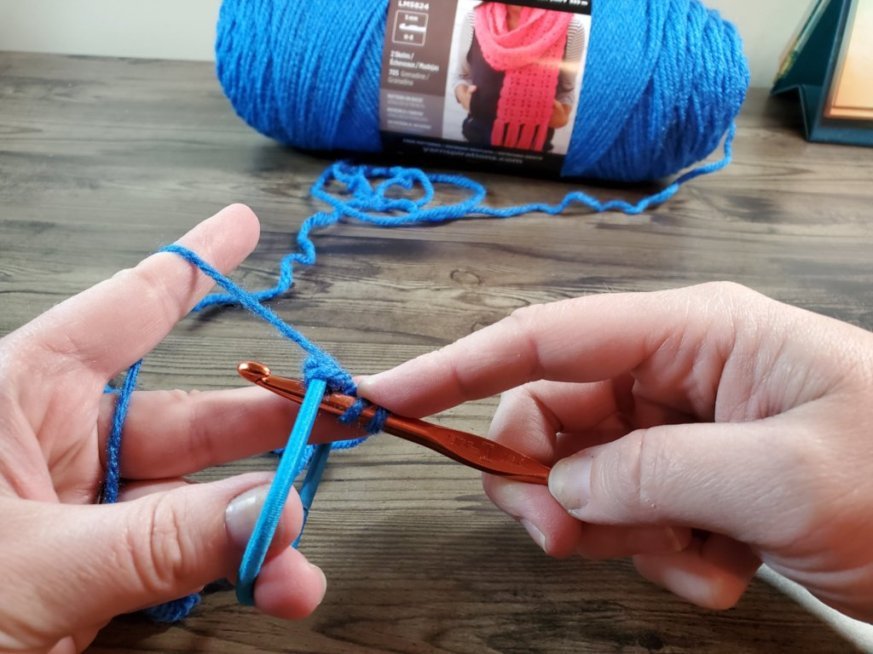


You may find that you are running out of room, but you want a lot of stitches in your crochet scrunchie, and you want them to be very close together. This will keep the hair tie hidden, allow for your crochet scrunchie to stretch and give the rippled effect that is typical for a hair scrunchie.
If you find that you are running out of room, simply push the stitches closer together and continue working your stitches.

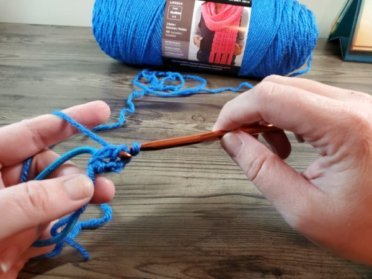
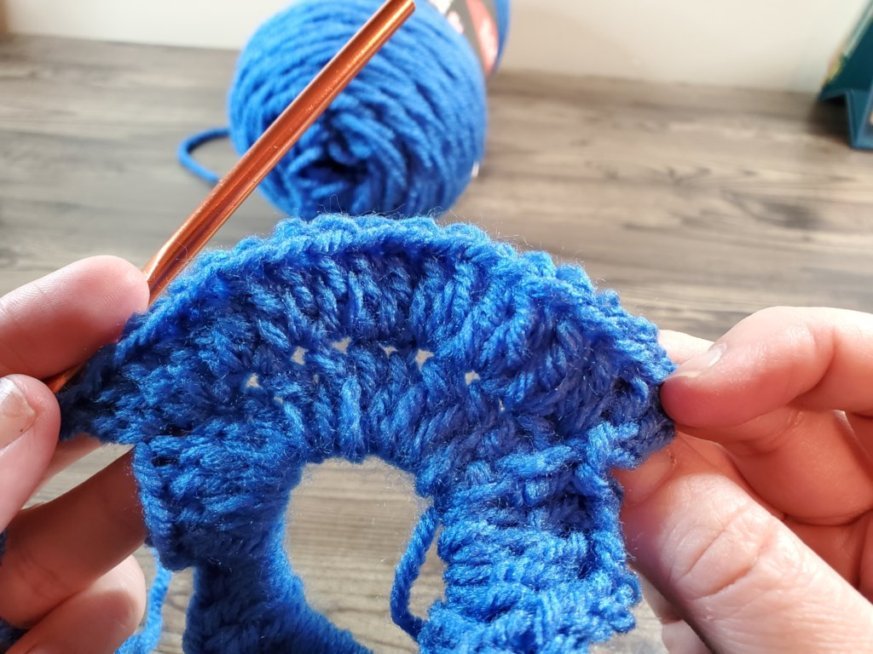
Once you have 50 double crochet stitches worked into your hair tie, complete row one by doing a slip stitch into the third chain (the top stitch) of the chain three you worked at the beginning of the round.


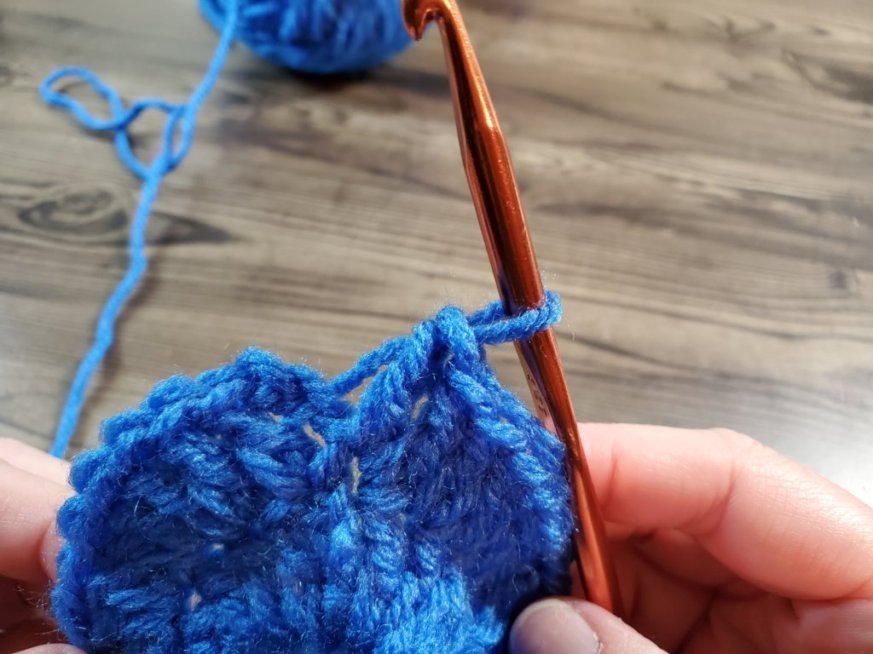
Crochet Hair Tie – Round Two
Round Two is going to be very similar to Round One. Start with a chain 3, to bring your hook up to the same height as the double crochet we are going to be working. Now, do a double crochet into the same stitch your chain 3 is worked from. For those new to crochet, this is called an increase. We need to increase the number of stitches in this round because this round is larger than the previous round.


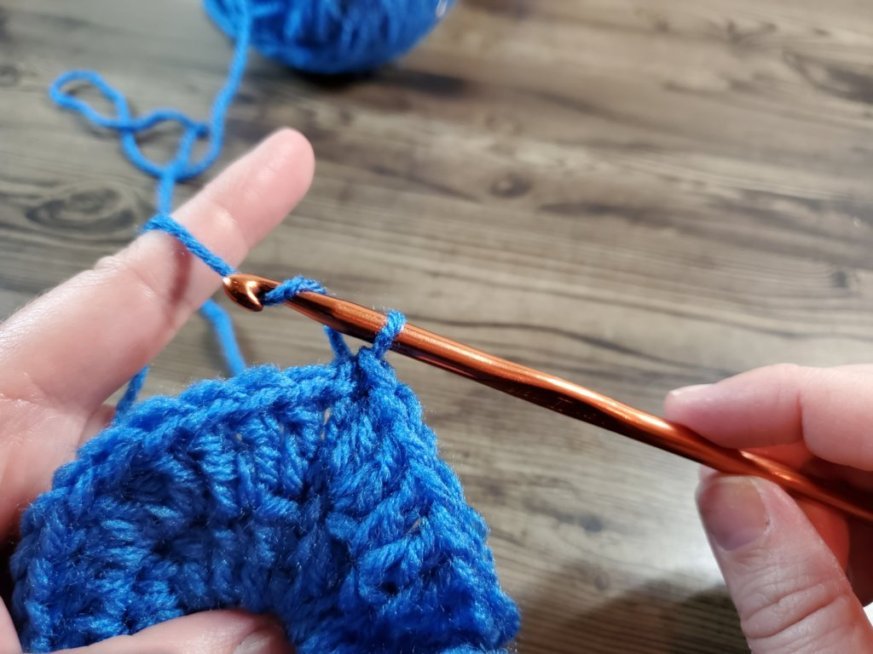
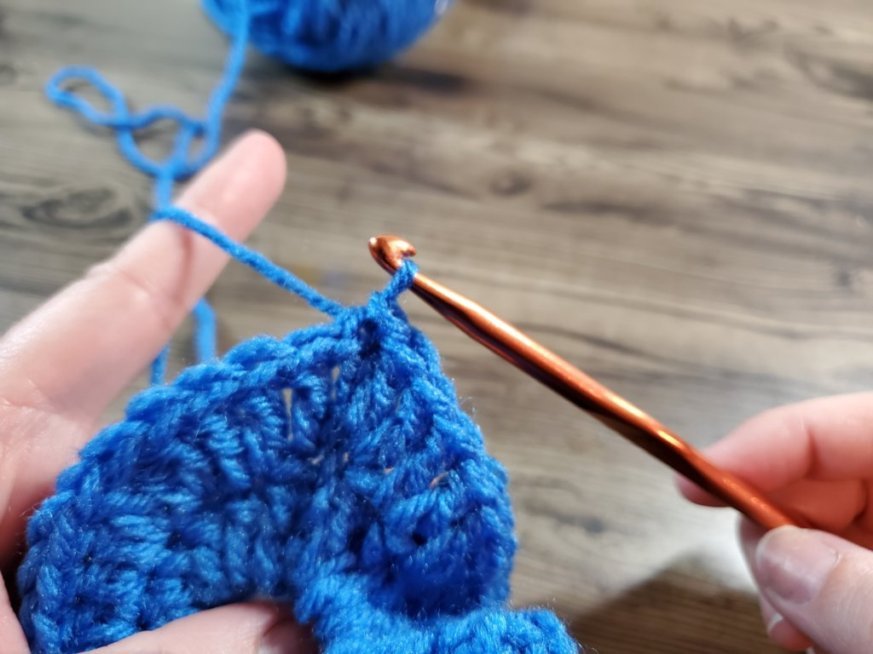
Next, do two (2) double crochet in the next stitch. Continue doing two (2) double crochet stitches into each stitch from the previous row, around. You should end up with a total of 101 stitches for this round. The reason we have 101 stitches, instead of 100, is because we paired a double crochet stitch with the turning chain, which added a stitch.

Once you have completed your last double crochet stitch, slip stitch into the third chain (the top stitch) of the chain three you worked at the beginning of the round, to close the round.
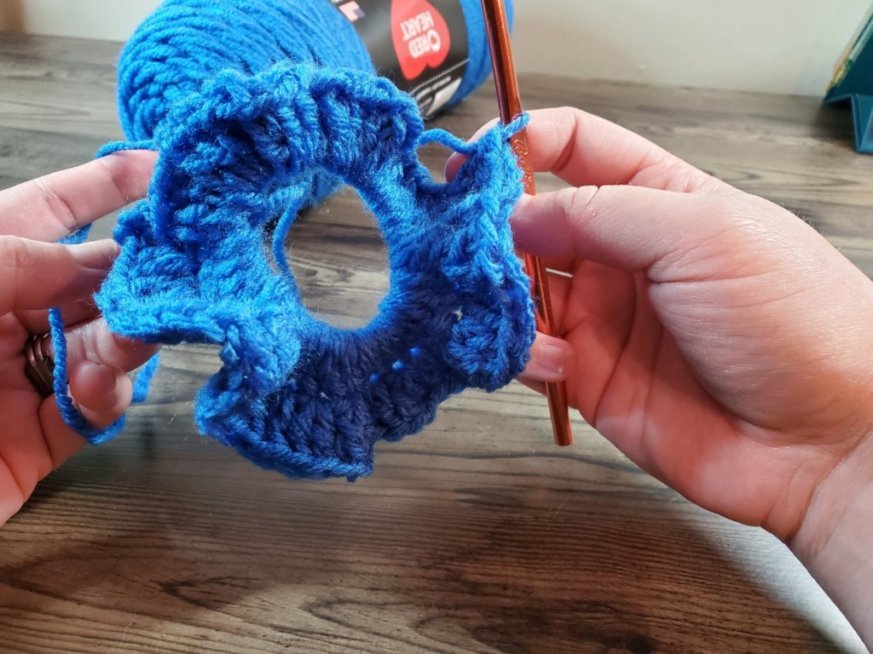


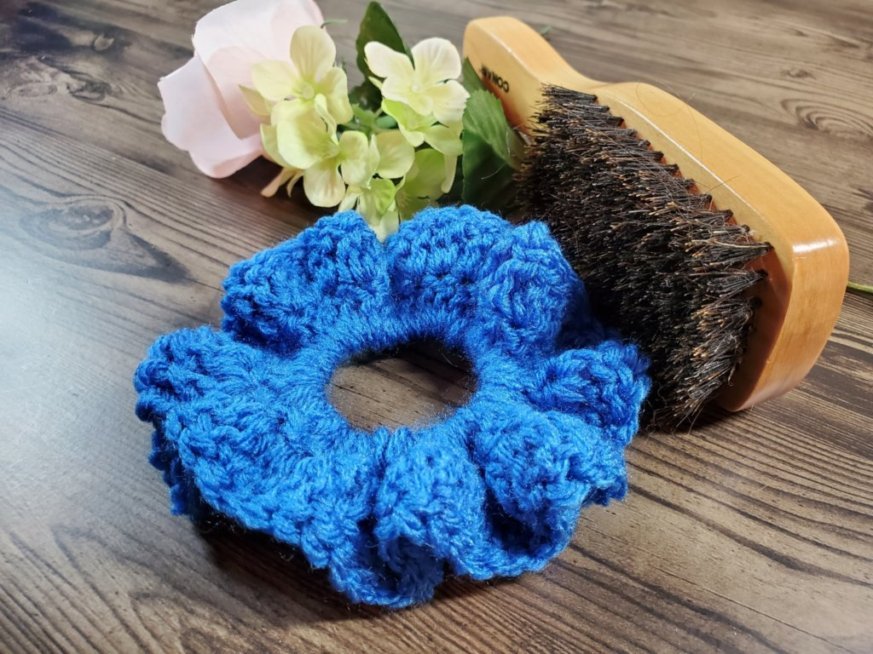
Fasten off your yarn, and weave in your ends. Your crochet scrunchie is complete!

Note: I stopped here, as I felt my crochet scrunchie was big enough, but if you’re wanting a bigger scrunchie, you can continue on to a round 3 by repeating round two. Chain 3, double crochet into the same stitch, and 2 double crochet in each stitch around. The number of increases will also create a more rippled effect.
Crochet Scrunchie – The Written Pattern
Materials Needed:
Redheart Worsted Weight Acrylic Yarn
Crochet Hook, Size I – 5.5mm
Hair Tie
Yarn Needle
Scissors or snips
The Pattern:
With yarn attached to hook, insert hook into hair tie and slip stitch
Rnd 1:
Ch 3
DC into hair tie 50 times (50)
SL ST to 3rd ch of Ch 3 to close round
Rnd 2:
Ch 3
DC into same ST, 2 DC into next ST and in each ST around (101)
SL ST to 3rd Ch of Ch 3 to closer round
Fasten off and weave in ends
Note: 3rd round can be added by repeating second round, if desired.
So, how did you do? Let me know below, or find me on Facebook or go to my Facebook Group to show me! I would love to see what you have created!