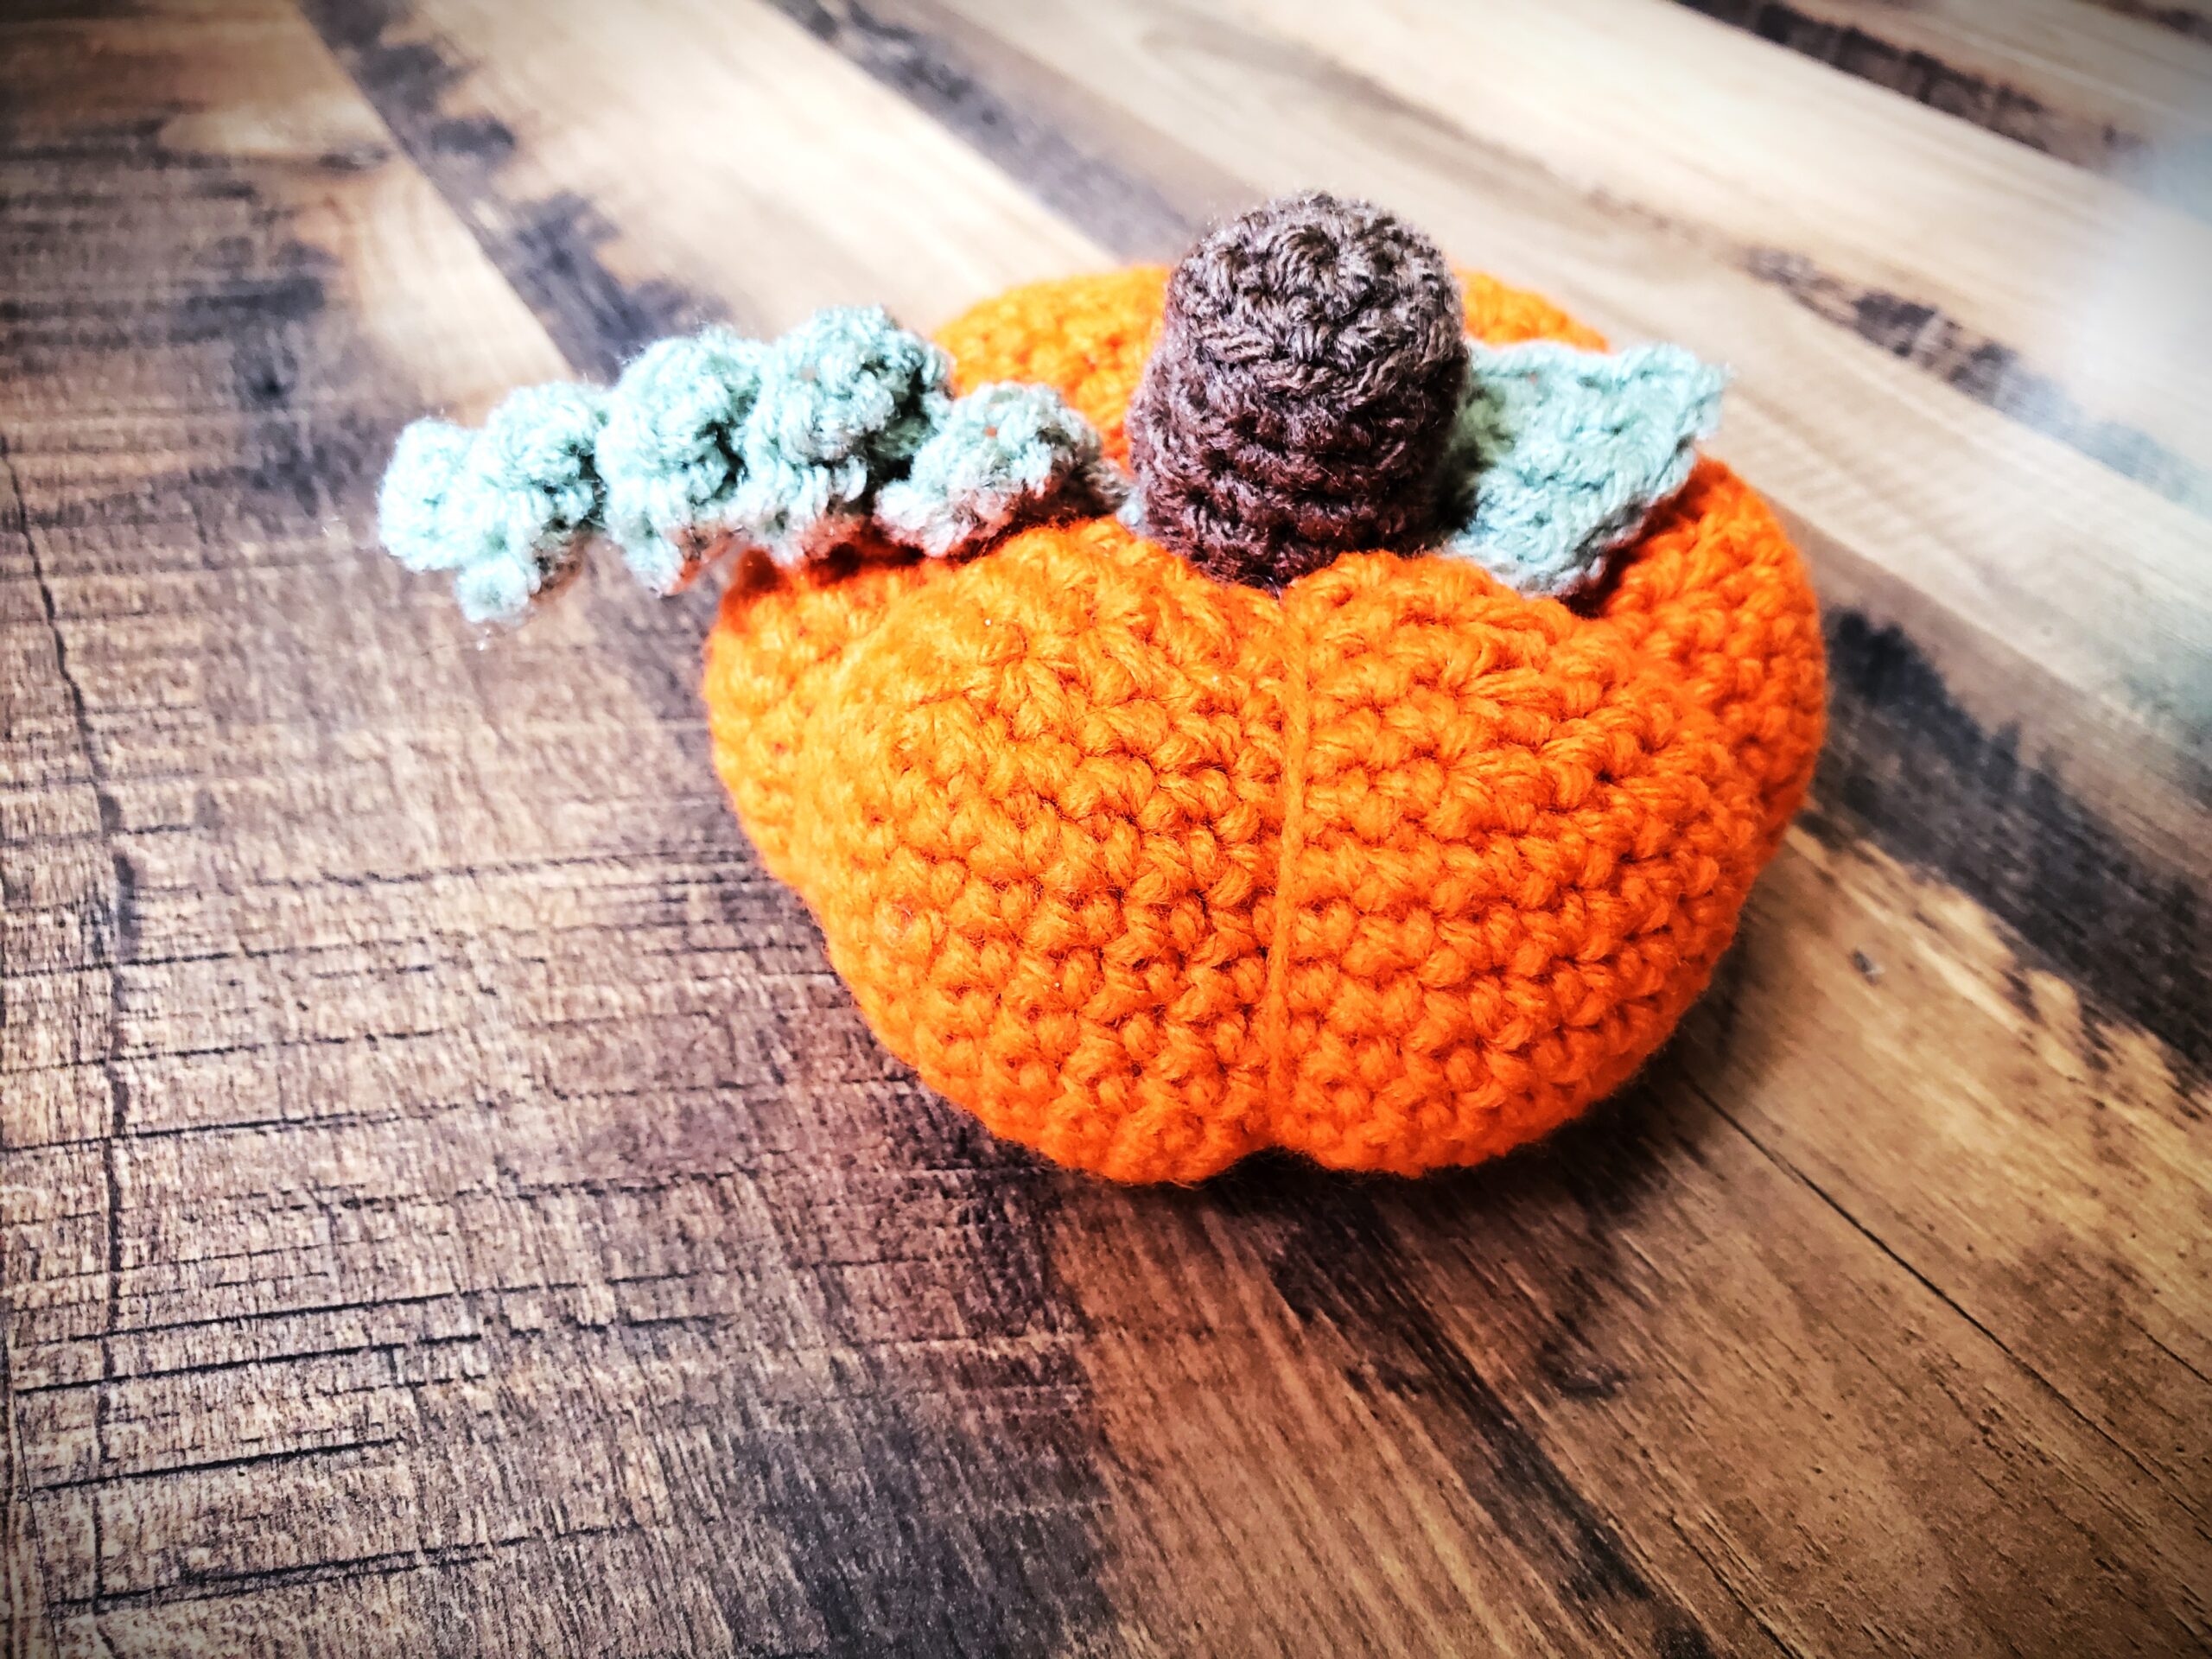
Stuffed Crochet Pumpkin – Small
Nothing says Fall is coming like pumpkins! Decorate any size space with one, or more, cute Stuffed Crochet Pumpkin! The free Stuffed Crochet Pumpkin pattern is below. Or you can check out my downloads section to buy an ad free version!
Skill Level
Beginner
Sizing
Approximately 4.25” across and 3.25” high
Materials Needed
- Worsted Weight Yarn in:
- Orange – for main body of pumpkin
- Brown – for stem
- Green – For leaf and vine
- Size G6/4mm crochet hook
- Yarn Needle for sewing
- Scissors
- Polyester filling or other suitable stuffing
Stitches and Abbreviations
- Ch – Chain
- SC – Single Crochet
- Sl St – Slip Stitch
- SC BLO – Single Crochet in the Back Loop Only
- SC DEC – Single Crochet Decrease
Written Instructions
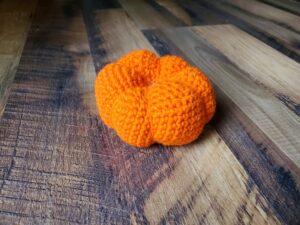
Crochet Pumpkin Body
Using Orange:
Begin with MC
Round 1: SC 6 into MC, Sl St to close. Ch 1 (6)
Round 2: 2 SC into each stitch around, Sl St to close. Ch 1 (12)
Round 3: SC 1, 2 SC into next stitch, repeat around, Sl St to close. Ch 1 (18)
Round 4: SC 2, 2 SC into next stitch, repeat around, Sl St to close. Ch 1 (24)
Round 5: SC 3, 2 SC into next stitch, repeat around, Sl St to close. Ch 1 (30)
Round 6: SC 4, 2 SC into next stitch, repeat around, Sl St to close. Ch 1 (36)
Round 7: SC 5, 2 SC into next stitch, repeat around, Sl St to close. Ch 1 (42)
Round 8: SC 6, 2 SC into next stitch, repeat around, Sl St to close. Ch 1 (48)
Round 9-16 : SC into each stitch around. Sl St to close. Ch 1 (48)
Round 17: SC 6, SC DEC, repeat around. Sl St to close. Ch 1 (42)
Round 18: SC 5, SC DEC, repeat around. Sl St to close. Ch 1 (36)
Round 19: SC 4, SC DEC, repeat around. Sl St to close. Ch 1 (30)
Round 20: SC 3, SC DEC, repeat around. Sl St to close. Ch 1 (24)
Round 21: SC 2, SC DEC, repeat around. Sl St to close. Ch 1 (18)
Pause here and stuff crochet pumpkin body before closing
Round 22: SC 1, SC DEC, repeat around. Sl St to close. Ch 1 (12)
Round 23: SC DEC around. Sl St to close. Ch 1 (6)
Sew any remaining opening closed and Fasten Off. Leave long tail (at least 3 feet) for forming Pumpkin
Fasten Off, weave in ends and, set aside for assembly
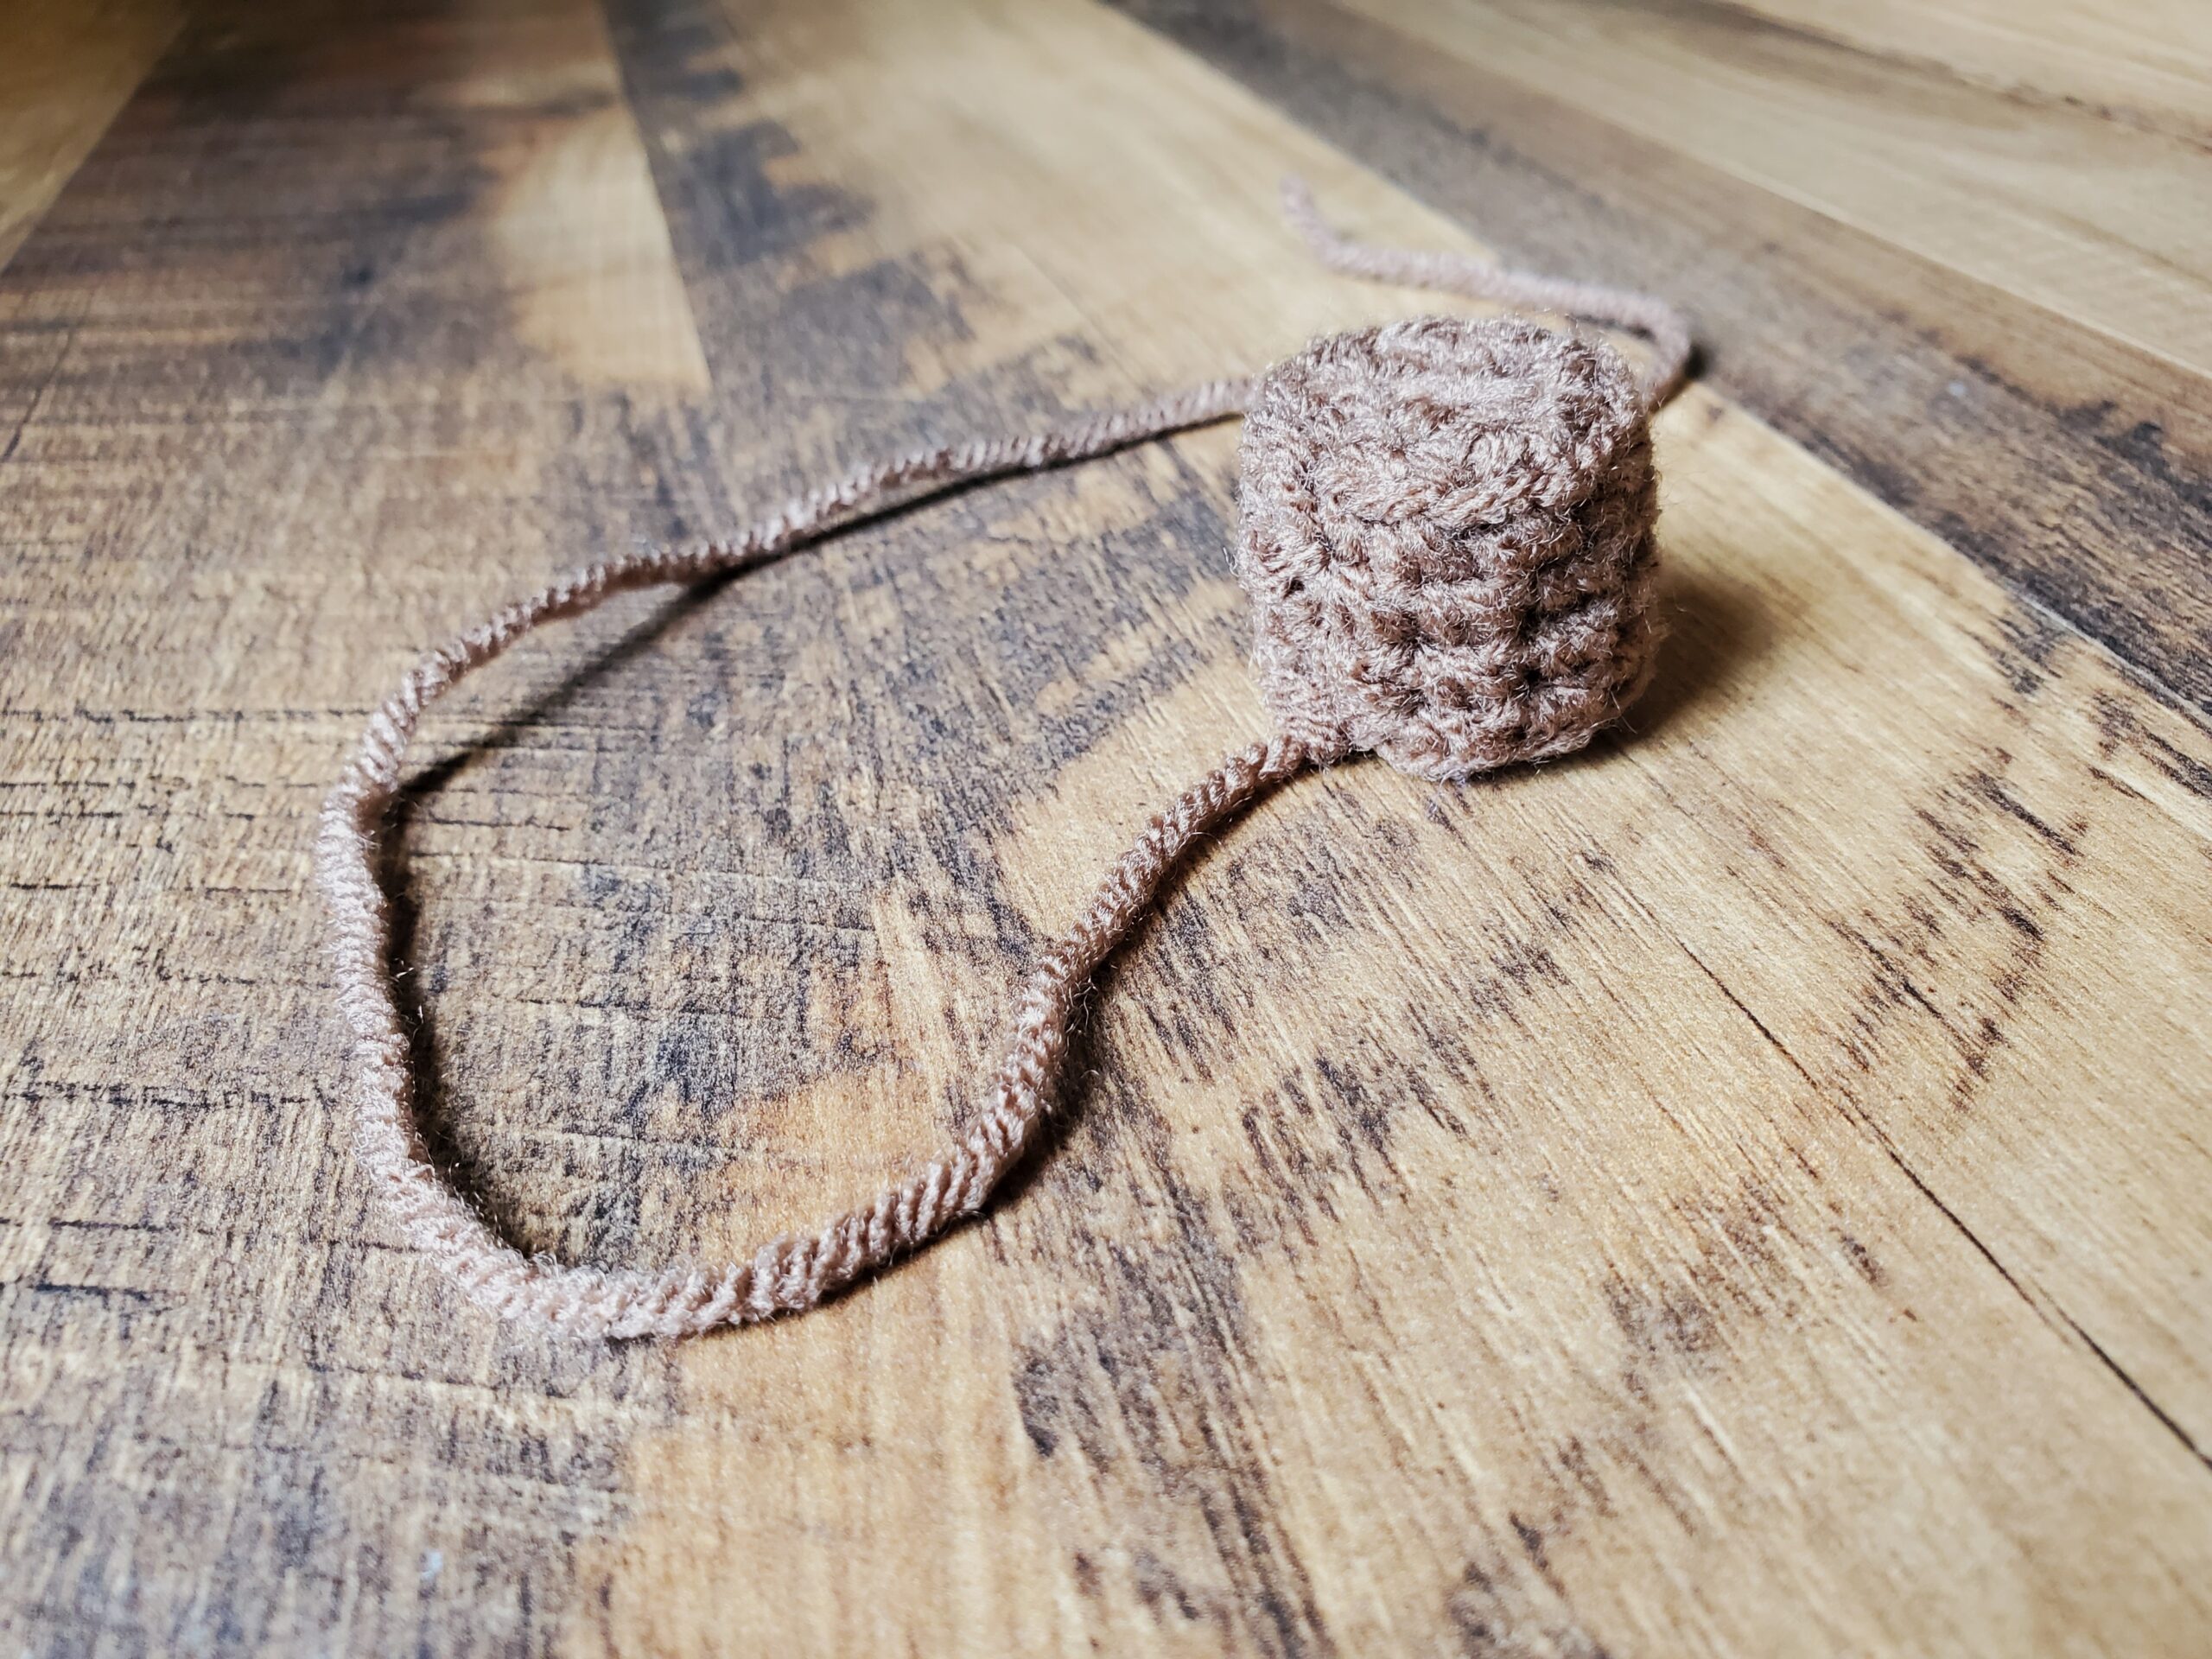
Crochet Pumpkin Stem
Using Brown:
Begin with MC
Round 1: SC 6 into MC, Sl St to close. Ch 1 (6)
Round 2: SC 1, 2 SC into next stitch, repeat around, Sl St to close. Ch 1 (9)
Round 3: SC BLO into each stitch around. Sl St to close. Ch 1 (9)
Round 4-6: SC BLO into each stitch around. Sl St to close. Ch 1 (9)
Fasten Off, weave in ends and, set aside for assembly
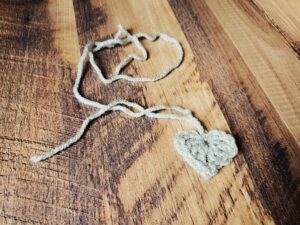
Crochet Pumpkin Leaf
Using Green:
Begin with MC
Ch 3
DC 3 into Magic Circle
Ch 2
Sl St into 2nd Ch from hook (leaf tip made)
DC 3 into Magic Circle
Ch 3
Sl St to Magic Ring
Tighten Ring and Fasten Off.
Leave long tail for sewing
Crochet Pumpkin Vine
Using Green:
Ch 21
Row 1: SC 2 Stitches into 2nd Ch from hook, and each stitch across (40)
Fasten Off, leave long tail for sewing and, set aside for assembly
Assembly
Crochet Pumpkin Body Shaping
To shape the body, thread long tail of yarn into yarn needle. Flatten the pumpkin body in one hand bringing the yarn around the outside of the pumpkin and put the yarn into the bottom circle of the pumpkin back towards the top. Pull through tightly to create pressure. Repeat 5 more times, evenly spaced, for a total of 6 sections. Tie, maintaining pressure. Weave in ends.
Crochet Pumpkin Piece Assembly
Using tails, attach leaf and vine to pumpkin body in desired locations, by sewing approximately ½” from the center. Tie and weave in ends.
Using tail, attach stem to pumpkin body over center of pumpkin, slightly covering edges of vine and leaf. Tie and weave in ends.


I hope that you enjoyed making the Stuffed Crochet Pumpkin! Don’t forget to follow me on Facebook or join my Facebook Group for more patterns and tutorials!
Copyright 2022 Emerald Cherub. Do not sell, share or modify this content. You may sell projects made from this pattern, please link back to the original pattern. The images and content contained in this pattern are copyright protected. To obtain permission for commercial use, contact Emerald Cherub.


2 Comments