Blocking Crochet Projects
It’s finally happened. You’re reading a pattern for a project, or browsing an online forum or community, and you come across the term blocking. There is a lot of debate over blocking crochet projects. Some people say it is necessary, others swear up and down they have been crocheting for 874 years and have never once blocked a project, and the world hasn’t ended. So, which is it? Read on to learn the basics of blocking, if it is necessary, and the different methods for blocking your crochet projects.
What is Blocking?
To put it simply, blocking is the process of setting your fabric with water. Have you ever made something, and the stitches don’t look quite as defined or clean as the project in the pattern image? It is highly likely, the pattern writer blocked their project before photographing.
Why Block Your Crochet Projects?
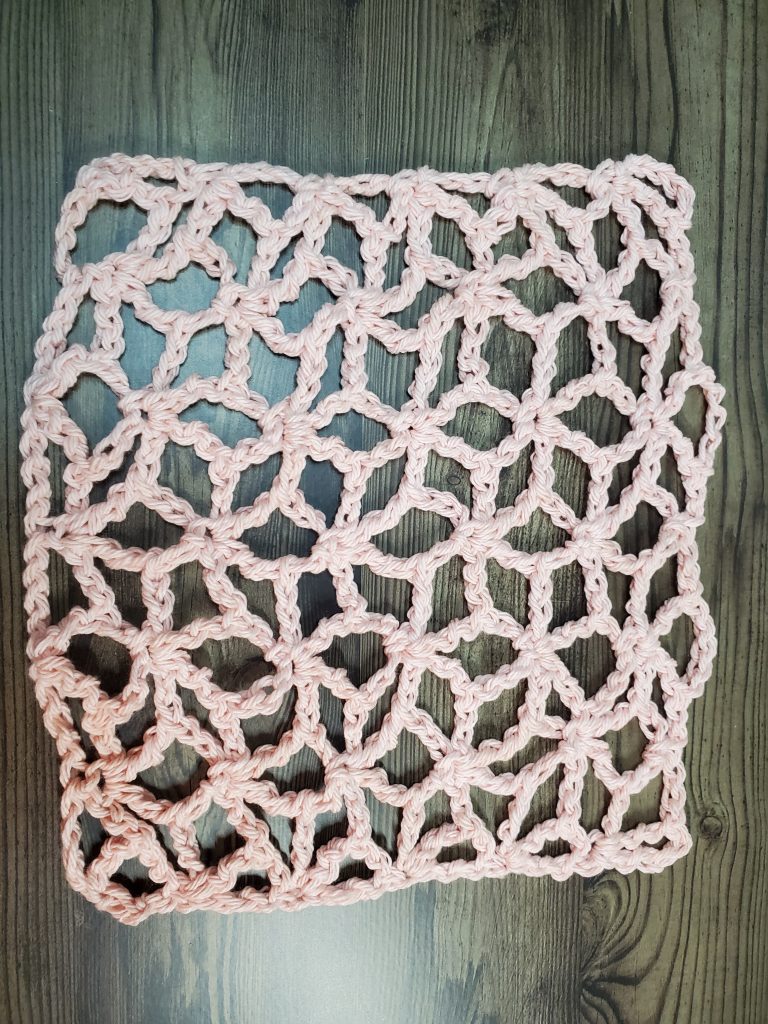
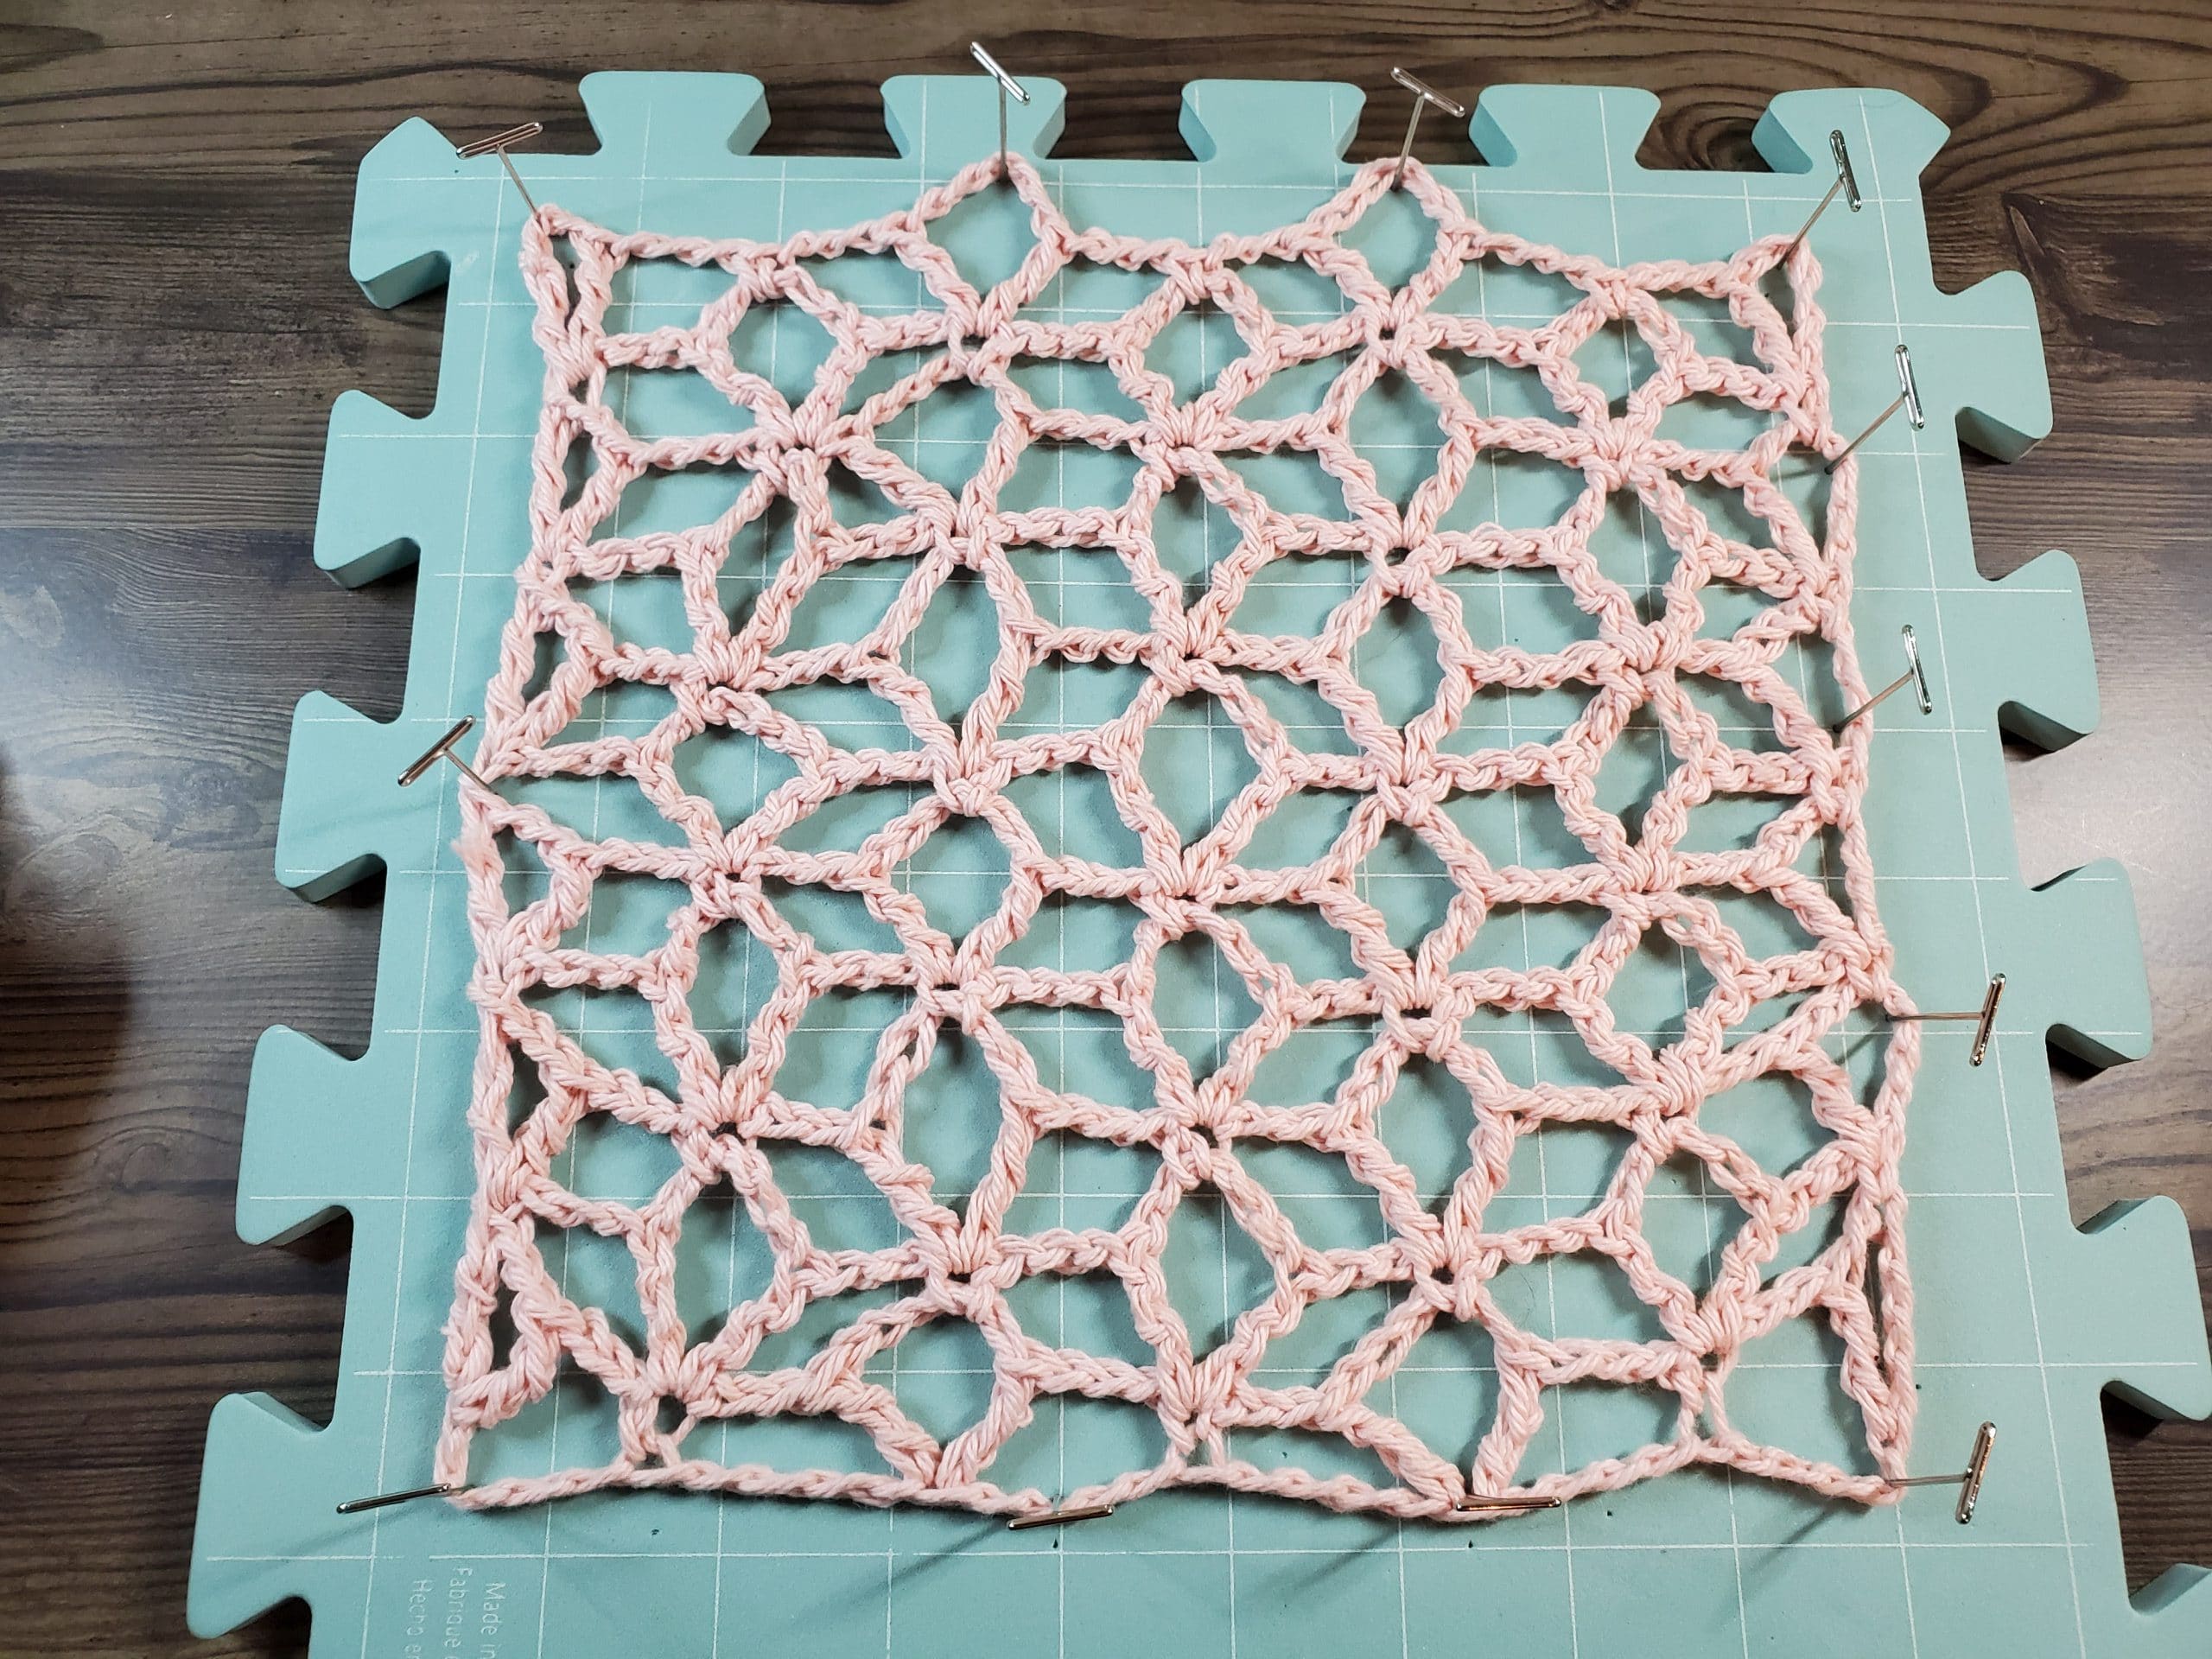
Before Blocking 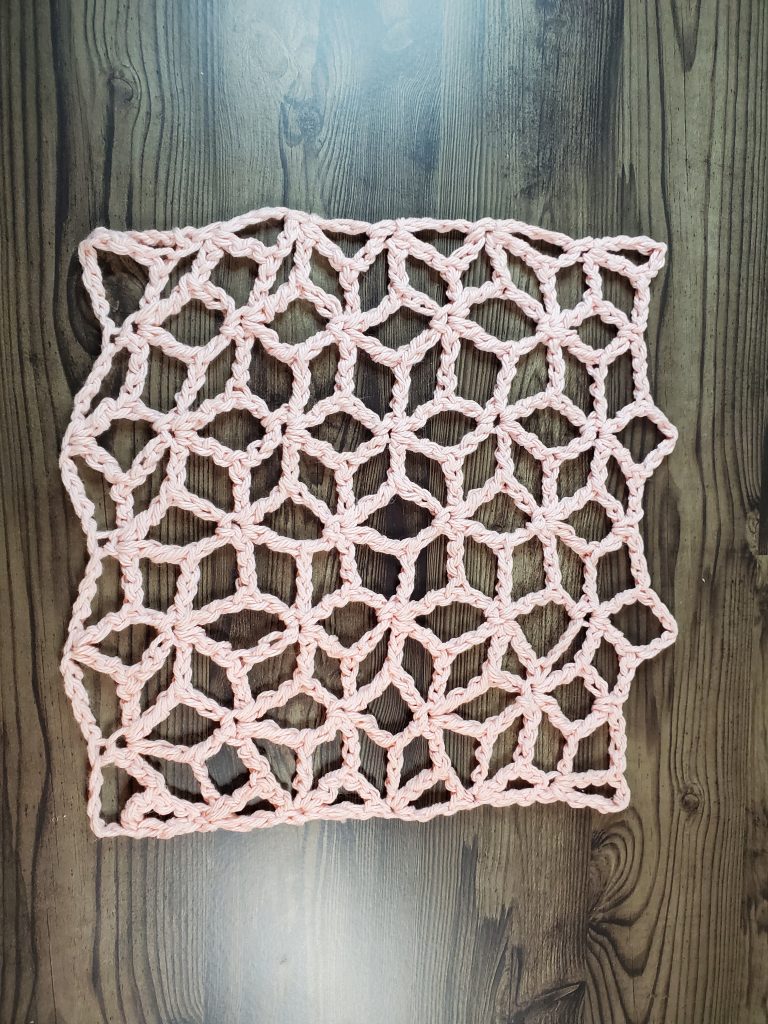
After Blocking
One of the biggest reasons to block a crochet project is to make sure your stitches line up for easier seaming. For example, a blanket or afghan made of many squares requires a lot of seaming or sewing. You may choose to block your projects so that the stitches of each square line up without much effort while you are piecing them together. Another example would be when creating an article of clothing. A sweater sometimes requires sewing. Blocking the pieces before assembling will help make sure that your pieces are all to gauge and you are achieving the desired look. I highly recommend blocking for pockets sewn onto the exterior of a garment. Blocking the squares before you sew them to the base fabric will help you achieve a symmetrical look.
Is Blocking Crochet Projects Necessary?
The short answer is no. No, it is not necessary. No, there are no crochet gods who will come down and condemn you for not blocking your crochet projects. In fact, there are projects that I would recommend you don’t block. One piece blankets, washcloths, tote bags, etc. Why do I say you shouldn’t block those? There is no functional reason to block these crochet projects. A one piece blanket doesn’t need sewing. And you’re not going to try to maintain it’s shape. It’s going to get used repeatedly (hopefully!), washed and cuddled with, folded up, moved around. Blocking a one piece blanket wouldn’t have any effect, and the results of the blocking would be lost almost immediately. Washcloths, for a similar reason. You don’t need to set them into shape with water. They’re going to spend a good majority of their use being used and abused in water. Once again, with washcloths, you’re simply not going to get a long term benefit from blocking. Tote bags. They’re tossed around, stretched, and they will lose their shape almost immediately after the first use, making blocking a bit of a waste.
So when should you block? When you need to set a certain tension or gauge to a project for assembly. Or when you have a decorative piece that will need to hold it’s shape. Filet crochet is a perfect example of this. You have a fabric made of open mesh around the outside, and closed mesh, usually forming a design or words, on the inside. Blocking will help keep the image clear and the exterior looking sharp. There is a definite purpose for it, and if you have the time, and your project will benefit, it’s definitely worth the extra effort to block.
How to Block
Once you determine you need to block your crochet project, the next step is to determine the best method for blocking. There are three main crochet blocking methods; Spray Blocking, Wet Blocking and Steam Blocking.
Wet Blocking – Crochet Blocking Method 1

Wet blocking is a process that involves getting your entire fabric wet prior to blocking. This method is typically best for fabric made from natural fibers, such as cotton or bamboo, that requires a significant amount of stretching or shaping.
What you need:
Board/Mat (you can use cardboard if you don’t have a board handy)
Pins/Dowels
Bowl filled with water
Towel
The Process:
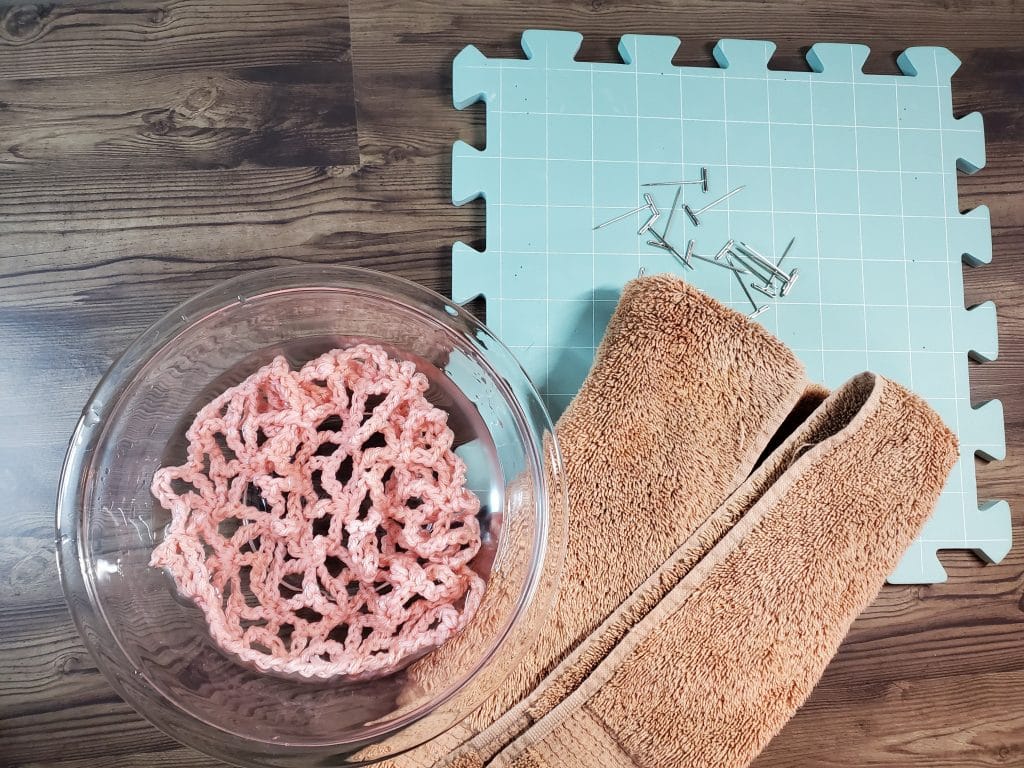
Start by placing your fabric into the bowl of water, and letting it fully absorb the water.
Next, remove the fabric from the water and drain, but do not wring, the fabric. Wringing it will stretch, and potentially damage your fabric.
Now, place your fabric onto the towel, and roll the towel and the fabric together. This will help get the excess water from your fabric.

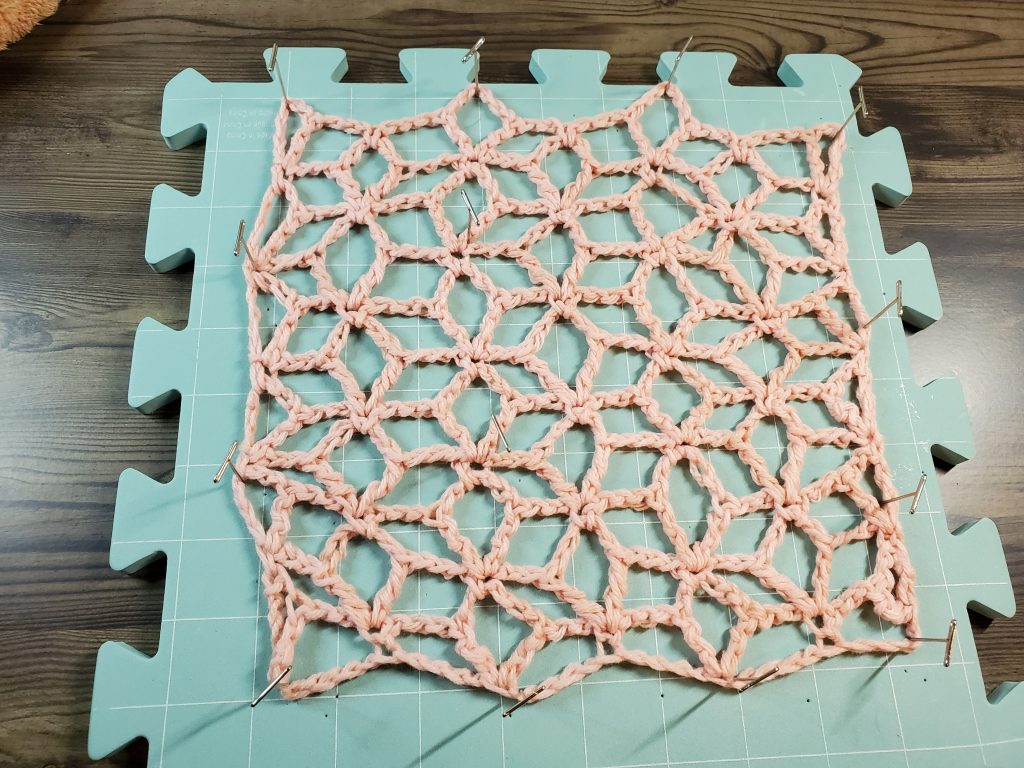
Finally, using pins or dowels, attach your fabric to the board or mat in the desired shape/size, and allow to dry, and remove from the board or mat.

The fabric may need to dry for 24 hours.
Spray Blocking- Crochet Blocking Method 2

Spray blocking is a process that involves getting your fabric damp after attaching to the board or mat. This method is typically best for fabric made from natural fibers, such as cotton or bamboo, that requires a minimal amount of stretching or shaping. It is also a quicker method of blocking.
What you need:
Board/Mat (you can use cardboard if you don’t have a board handy)
Pins/Dowels
Spray bottle filled with water
The Process:
Start by attaching your fabric onto the board or mat in the desired shape/size using pins or dowels.
Next, spray the fabric with the bottle until damp
Finally, allow to dry, and remove from the board or mat.
The fabric may need an hour or two to dry.
Steam Blocking- Crochet Blocking Method 3
Steam blocking is a process that involves using steam and heat to shape your fabric after attaching to the board or mat. This method is typically best for fabric made from acrylic fibers that need more than just water to hold their shape.
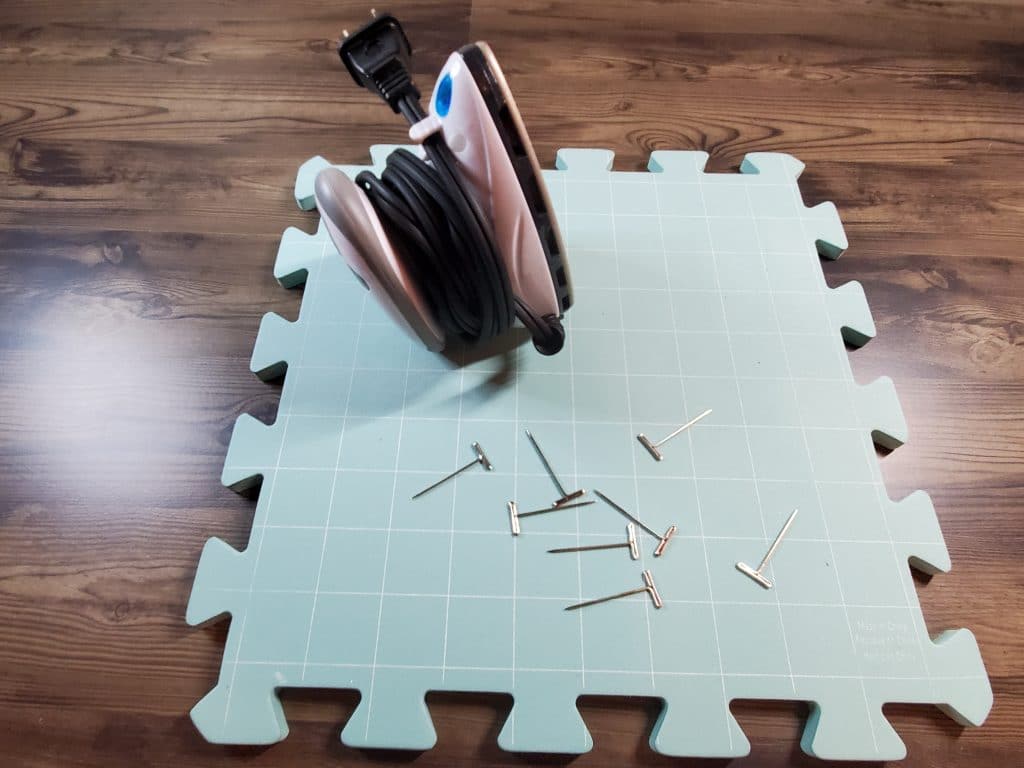
What you need:
Board/Mat (you can use cardboard if you don’t have a board handy)
Pins/Dowels
Steam iron filled with water
The Process:
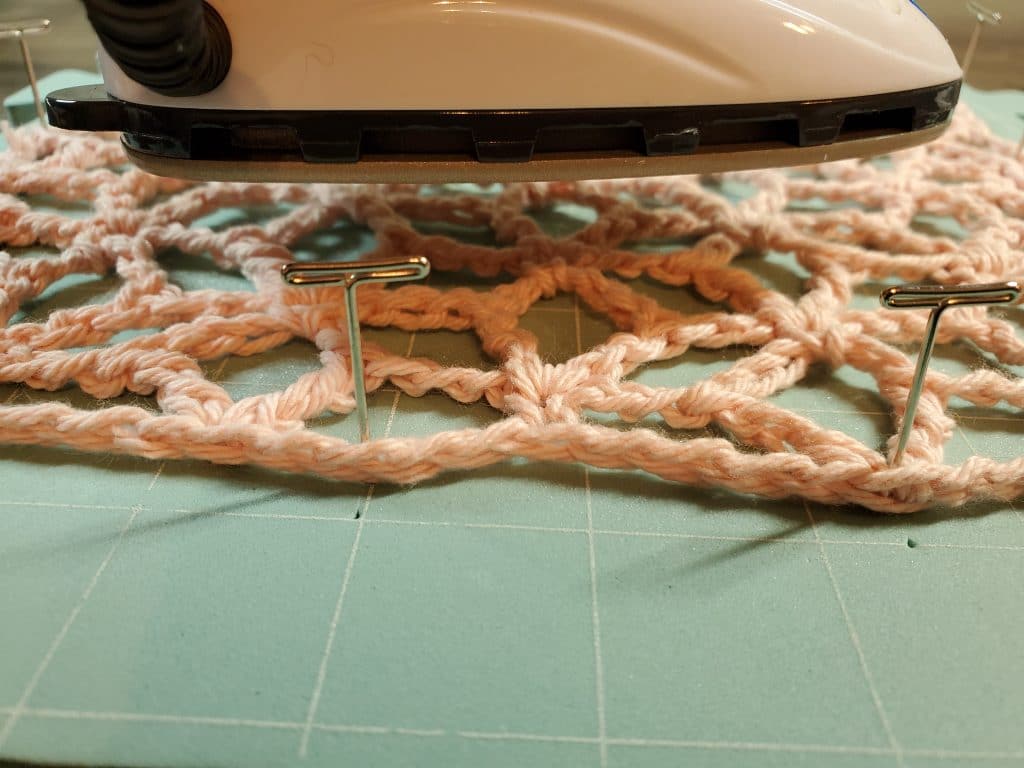
Start by attaching your fabric onto the board or mat in the desired shape/size using pins or dowels.
Next, using your iron, apply steam to fabric, being careful not to touch the iron to the fabric. Touching the iron to the fabric will melt the fibers, potentially ruining your project. Ideally, you should keep the iron at a distance of ½ to 1” away from the fiber at all times.
Continue to apply steam by moving iron along the fabric until damp.
Finally, allow to dry, and remove from the board or mat.
The fabric may need an hour or two to dry.
So tell me? Are you team Block or No Block? Let me know below, or in my Facebook Group!