Teach Yourself Crochet
You’ve decided to teach yourself crochet. Great! Now what? I’ve put together this guide to walk you through everything you need to know to get started, and where to go once you do start. As always, I am available to help you, just let me know what you need, and I will keep you moving!
Teach Yourself Crochet – Where to Start
I am one of those people who likes to have a bit of knowledge about a hobby before I dive in. I want to make sure I’ve got the right tools and materials to really be successful. Knowing what you can do, and what you need to make those projects well, will make teaching yourself how to crochet much easier.
What can you make?
Let’s get started with what you can make. Crochet creates a fabric, so anything you can make from fabric, you can make with crochet. You’re not limited by anything but your imagination. There are the typical crochet projects, like blankets, sweaters, scarves and hats, the stuff everyone thinks about when crochet comes to mind. While those are fun projects, and quite warm and useful, they aren’t the only things you can create with crochet. You can make bags, purses, washcloths, fashion accessories like jewelry and hair accessories, home decor like pillows, flowers and even pictures for your wall. I go into more detail about the things you can make with crochet in my post about Crochet Creations.
Choosing the Right Yarn
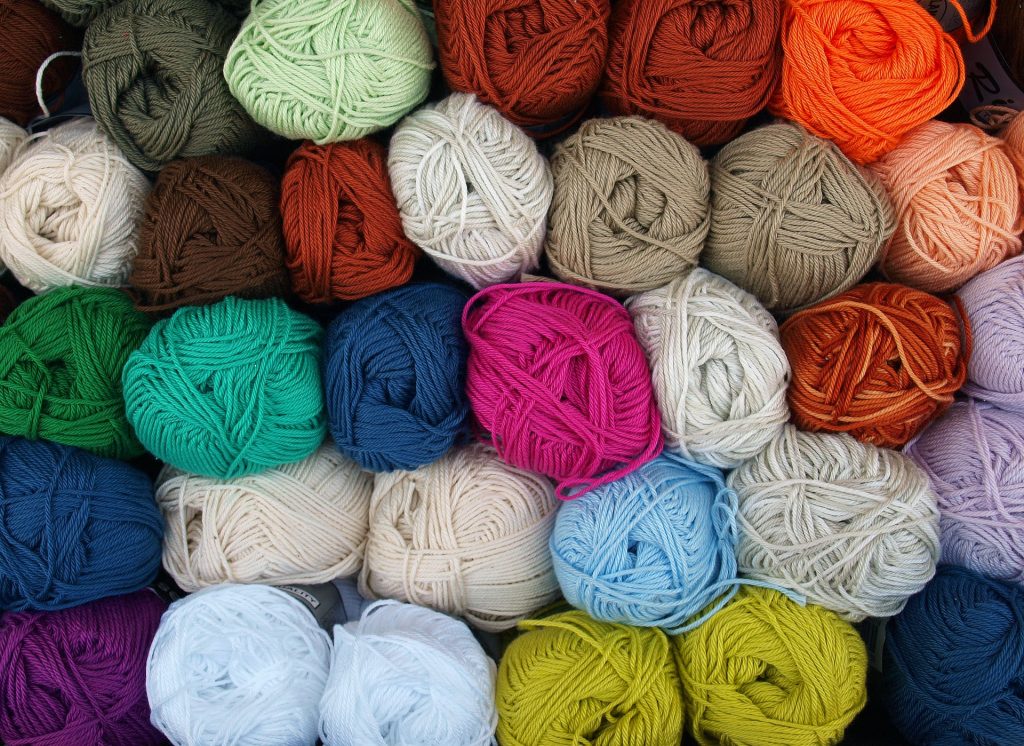
There are many different factors that go into choosing the right yarn for your project. Yarn is usually chosen by two main characteristics – fiber type and thickness. Fiber type is important because certain yarns just work better for things. The main fibers you come into are going to be Acrylic, Cotton, Wool, and blends between those three. There are more, but those are the basic options. Acrylic is a man made yarn, and works really well for things like blankets, sweaters, and other winter wear. It WILL melt, however, so it’s not recommended for projects like pot holders. Natural fibers, like cotton and wool, are ideal for things that need to get hot or wet, like potholders, coasters and washcloths. They can be more expensive than acrylic yarns, but there are times you do not want to use acrylic, or an acrylic blend.
The second characteristic for choosing your yarn is thickness. If you’ve walked down the yarn aisle at all, you’ve probably seen what this means. Yarn comes in a variety of sizes or weights. You can get thread, which is used for detailed and small works like doilies, home decor, and filet crochet, all the way up to bulky yarn. The two most commonly used weight of yarn are worsted or medium weight yarn and DK or sport weight. If you’re just picking up some yarn to practice, a regular skein of worsted weight acrylic yarn is the perfect choice. The two most common brands of these are Redheart SuperSaver and Caron Simply Soft.
If you are looking for more detail on how to choose the correct yarn, you can read more on my post about Yarn.
Tools & Accessories
I love talking about tools and accessories, because there is always something new coming out! But right now, I’m only going to focus on the basics, and what you need to know in order to get started. You need three items to teach yourself crochet; a hook, yarn and a pair of scissors or snips.
Crochet Hook
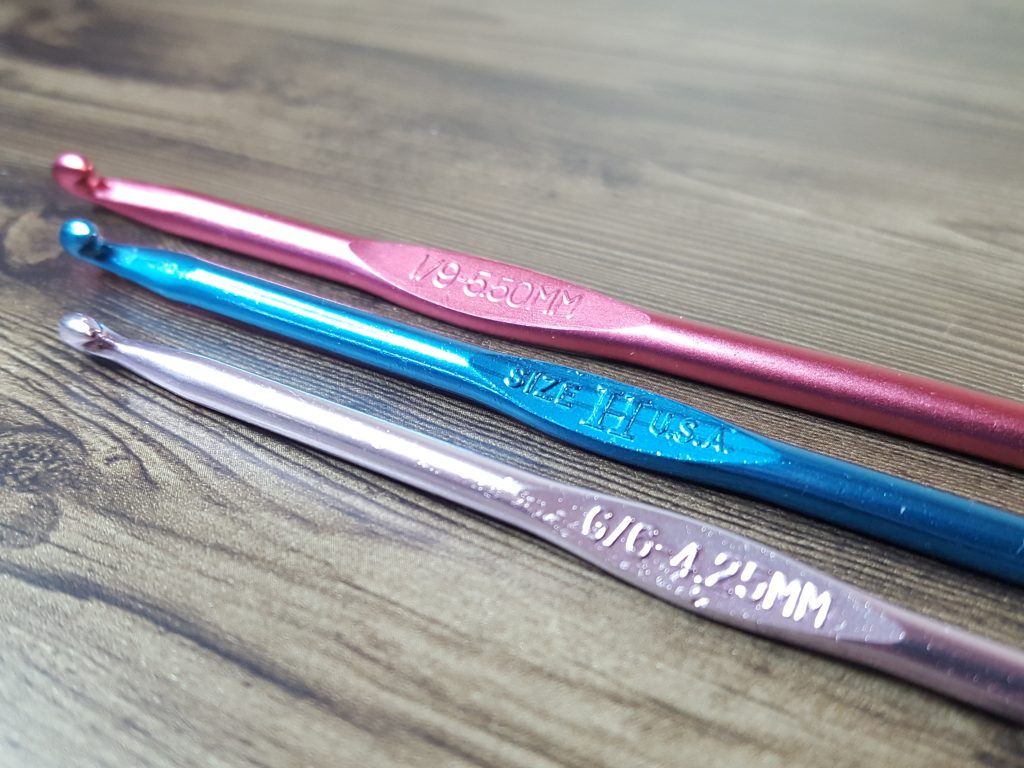
Choosing the right crochet hook may seem a bit intimidating, because there are so many options, but it really isn’t hard, I promise. The most important factor when choosing a hook is the size. Crochet hooks come in various sizes ranging from really tiny for thread, to really big for bulky yarn. When you’re just starting out, size is really the only thing you need to worry about when it comes to your hook. To make it even easier, the majority of the time, your pattern will tell you what size hook to use, and if it doesn’t, your yarn does!.
If you’ve picked up a skein of worsted weight acrylic, you’re probably going to want a size I/6mm crochet hook. It doesn’t matter if you get one with a handle on it or not. The handle is an ergonomic grip, which does help with comfort as you’re working, but it isn’t necessary and won’t affect your work at all. I go into more detail about hooks in my post Getting Hooked – A Comprehensive Guide to Crochet Hooks.
Scissors
Scissors or snips are pretty important, but you don’t need anything fancy to teach yourself crochet. I’ve even used nail clippers in a pinch. You just want to have a pair of scissors handy so you can fasten off your work.
Yarn Needle – Optional
It’s optional to have a yarn needle when you’re first learning, but they do come in handy when sewing or weaving in your ends. I will be the first to admit, I use my hook more than the needle to weave in my ends. Don’t rush out to grab one if you don’t have it.
For a more in depth look at the tools and accessories, check out my post Beyond the Hook.
Teach Yourself Crochet – Stitches to Learn First
Once you have your materials, you’re ready to get started on learning the stitches. I recommend learning the stitches in the order I have placed them in this list, but you don’t have to. I simply recommend this because each stitch has only a slight change from the one before it.
Crochet Chain Stitch
You are definitely going to have to start with the chain stitch. This stitch is used as the starting point for most projects, and you will rarely have a project which doesn’t use it. The chain stitch is exactly what the name says, a straight chain of slip knots. Check out my Chain Stitch Tutorial for an in depth look at how to work this stitch.
Single Crochet
The Single Crochet stitch is the smallest of the stitches used to build your project. It creates a dense fabric with little to no space between stitches. Check out my Single Crochet Tutorial for an in depth look at how to work this stitch.
Half Double Crochet
The Half Double Crochet stitch is slightly larger than the Single Crochet stitch. It creates a similar fabric to the single crochet, but works up faster as the stitches are taller. Check out my Half Double Crochet Tutorial for an in depth look at how to work this stitch.
Double Crochet
The Double Crochet stitch is about twice as tall as the Single Crochet stitch. It creates a beautiful fabric with moderate spacing between the stitches. Check out my Double Crochet Tutorial for an in depth look at how to work this stitch.
Teach Yourself Crochet – Beyond the Basics
Terms & Abbreviations
One key element of teaching yourself how to crochet is learning the Terms and Abbreviations. Learning these will help you navigate patterns and social media groups much more easily. I’ve compiled a list of the most commonly used Crochet Terms & Abbreviations used in patterns and in social media groups across the internet to help you. I highly recommend saving the page for reference later!
Crochet Tips for Beginners
Not everything you need to know about teaching yourself to crochet falls into a nice category. I’ve put together a list of Crochet Tips for Beginners to help you get familiar with things more seasoned crocheters have picked up as they have progressed.
Blocking
Would you believe me if I told you there is actually a controversial topic in crochet? There is, and it’s Blocking! People can get HEATED about this. As a beginner, it’s really not anything you need to be overly concerned with. Don’t worry about blocking until you get into more complex patterns or wearables, and even then, don’t worry about it.
Blocking is simply setting the stitches of your project or fabric to rest in a certain position. You don’t have to do it, but for more complex projects, or pieces that need to be assembled with sewing, it can make things easier. Even then, you don’t have to do it. If you want to learn more, check out my post on Crochet Blocking. But don’t worry about it. For real. Don’t.
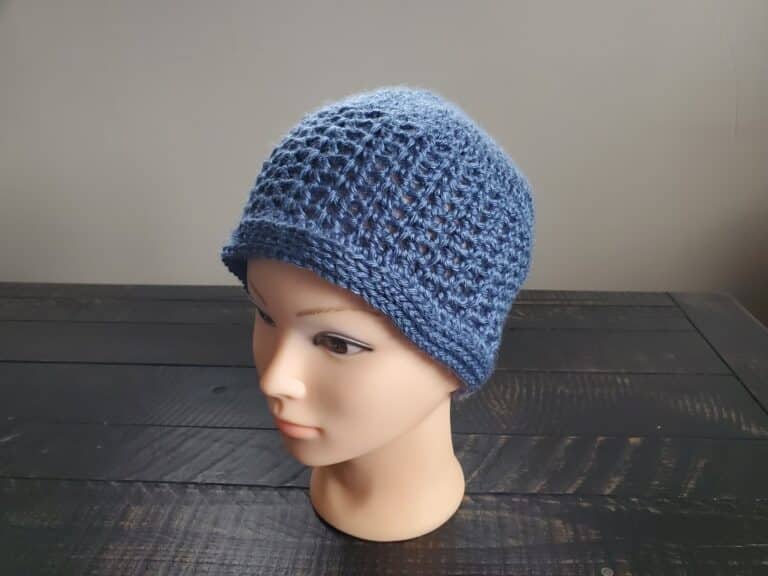
Working in the Round
Crochet isn’t always worked back and forth in rows. Sometimes you work from the center towards the outside of your project. This is called working in the round. There are quite a few projects worked this way. Hats, as an example, are very commonly, but not always, worked in the round. Another example of working in the round is a granny square. These are squares worked from the center. You can make a solid square blanket this way, or you can make multiple squares sewn together to create a larger blanket, or even a sweater. Remember, the possibilities are endless! Amigurumi is also worked from the center out, in tighter stitches, to create shapes.
Weaving in Ends
I mentioned Weaving in Ends earlier. This is simply the process of making sure the tails of your yarn, whether from color changes or changing to a new skein of the same color yarn, are hidden within your project. Using a needle, or your hook, you literally just weave the tails in and out of the stitches of your project. Going back and forth in the row will help your tails be held into your project more securely. Another option to hide your ends is to create a fringe, which looks great on scarves…but fringe doesn’t work on all projects, so you’re going to have to learn to weave in those ends!
Teach Yourself Crochet – Beginner Projects
As you’re working, you are going to find it easier to keep motivated if you can create projects to go with each new stitch you’ve learned. At the bottom of my tutorials for the Crochet Chain, Single Crochet, Half Double Crochet and Double Crochet stitches, I have links to projects specifically using those stitches, for practice. These are smaller projects, just help keep you going, so you have something to show for your work. Below are some of my favorites.
Chain Stitch Only – Embroidery Floss Choker & Bracelet Combo
Single Crochet Only – Ear Warmer Headband
Half Double Crochet Only – Hair Bow
Double Crochet Only – Scrunchie
For more, check out this collection of Beginner Crochet Projects!
Remember, if you need help, join my Facebook Group! I’m here to help you!