
Single Crochet and Working Into the Chain Stitch
Now that you’ve mastered the Chain Stitch, and hopefully created a few projects with the stitch, it’s time to learn how to work into the chain. The best way to learn this is to start with the single crochet.
So what is the single crochet? It is the most simple row building stitch in crochet. The first few stitches every crocheter learns are all variations of this stitch. Once you have gotten the hang of the single crochet stitch, the rest of the stitches will all come a bit easier.
What You Need to Learn Single Crochet
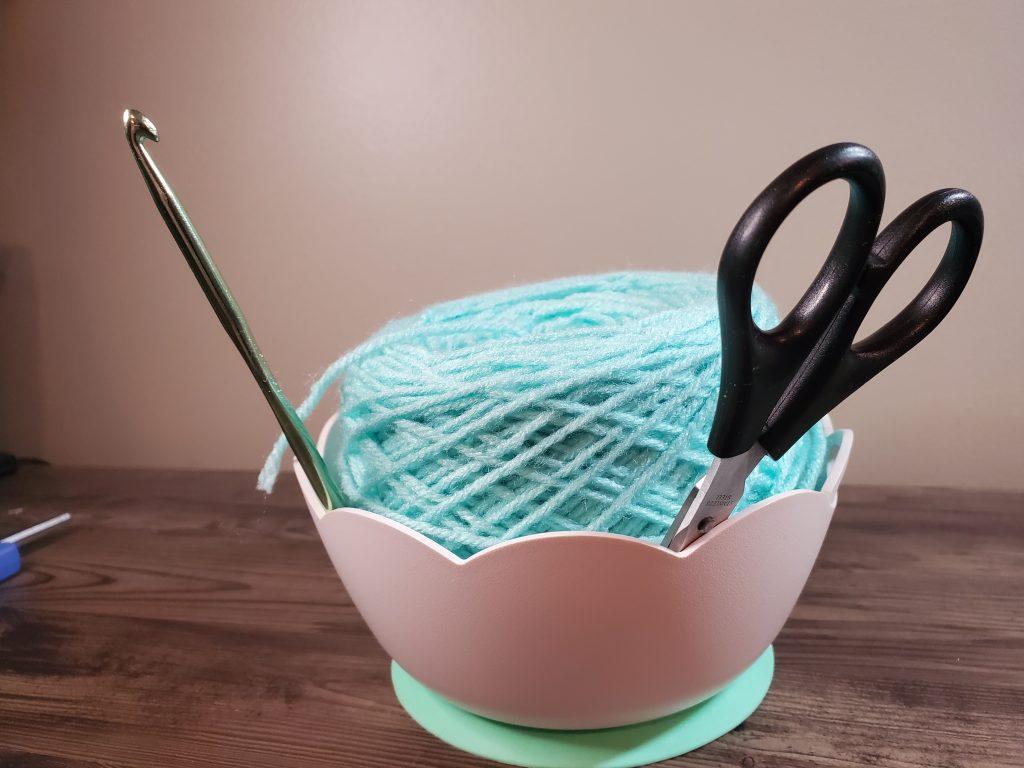
Yarn – I used a Red Heart Super Saver acrylic yarn in medium, or worsted, weight.
Scissors
Hook – I used a size I/6mm crochet hook
Getting Started
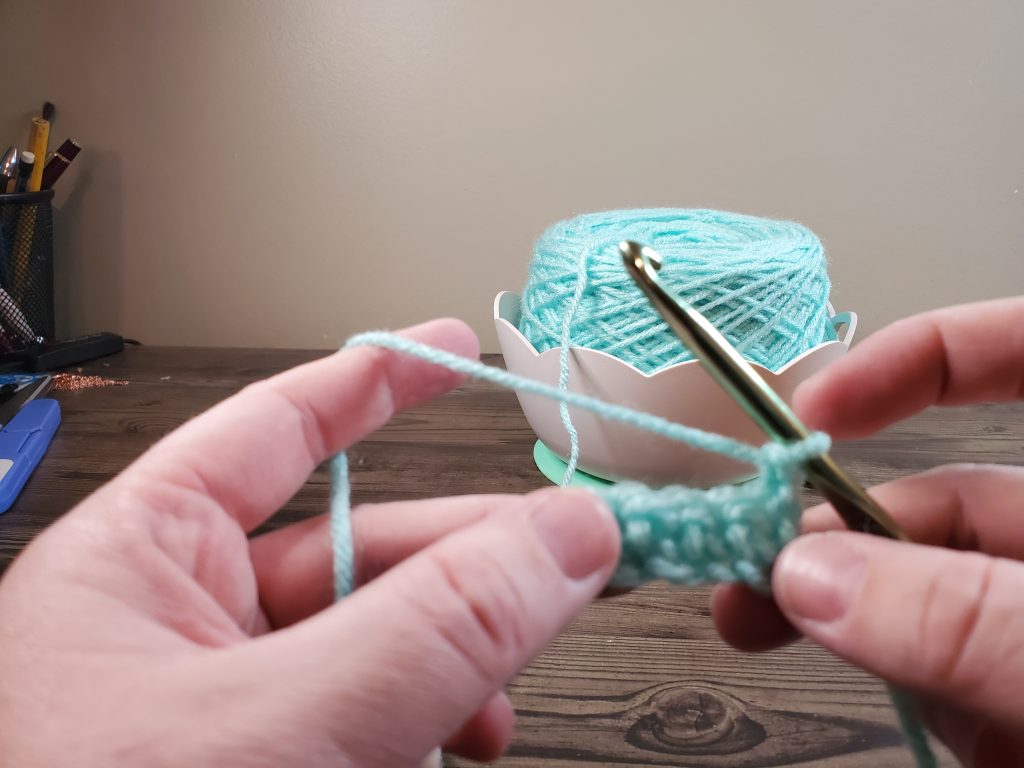
First, let’s start with our chain stitch. Remember to begin with a slip stitch, and tighten it around your hook. Yarn Over with your working yarn, and pull through the bottom loop on your hook. I want you to repeat this process until you have a chain of 25.
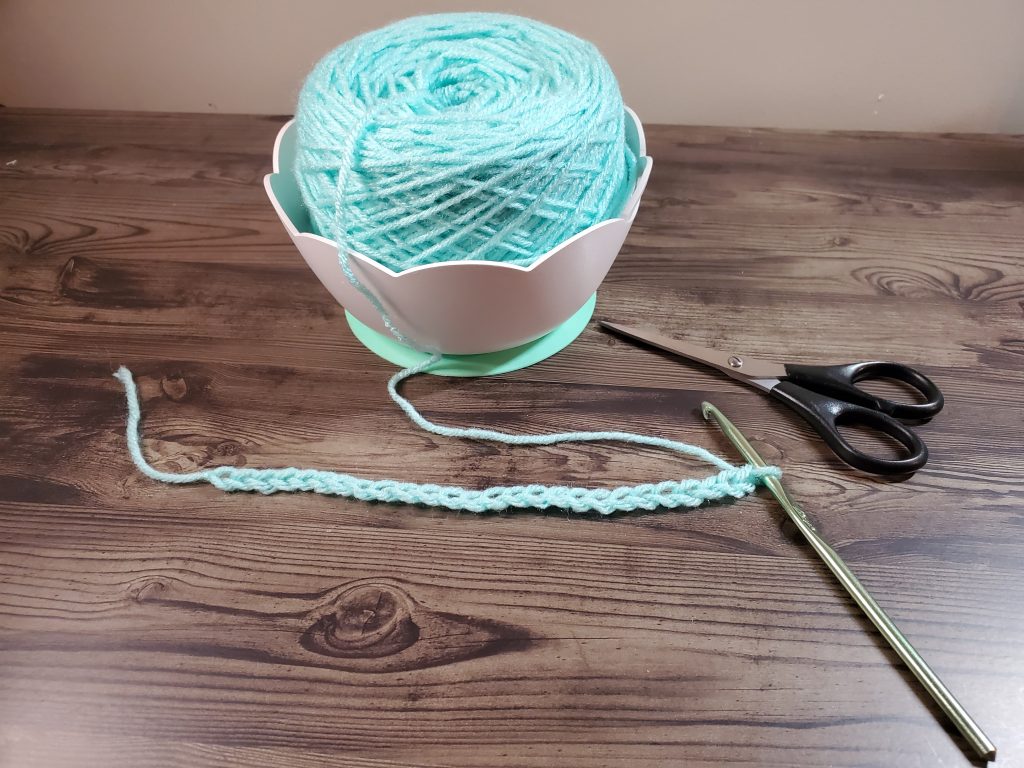
If this was a written pattern, this step would be written as:
Ch 26
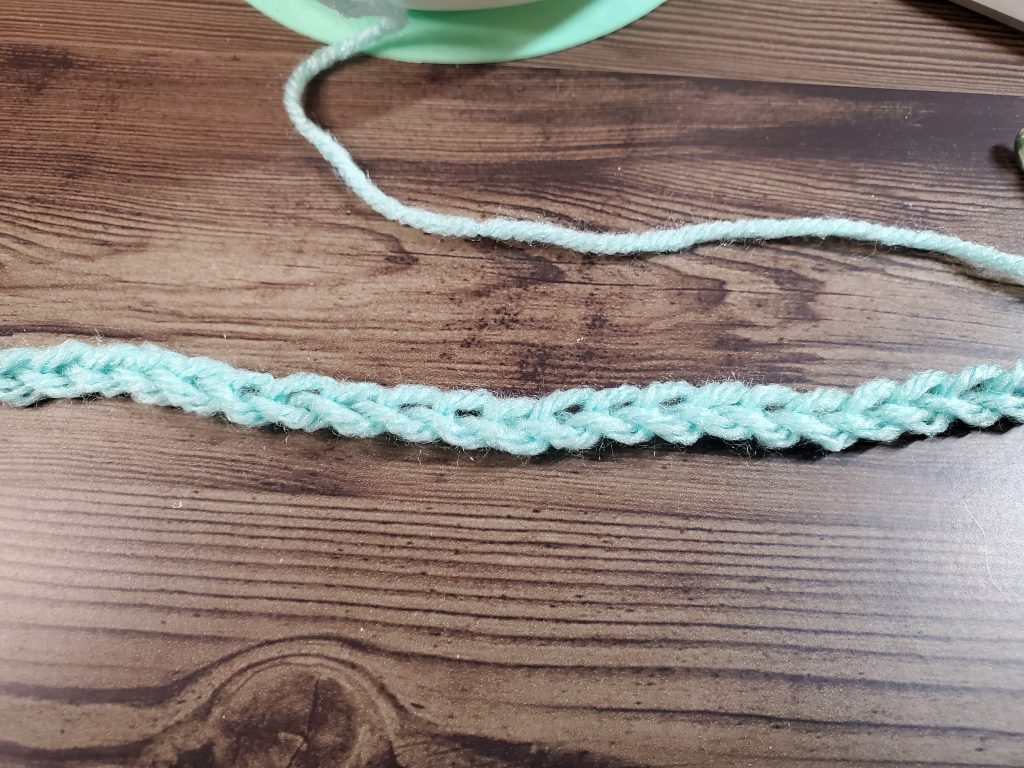
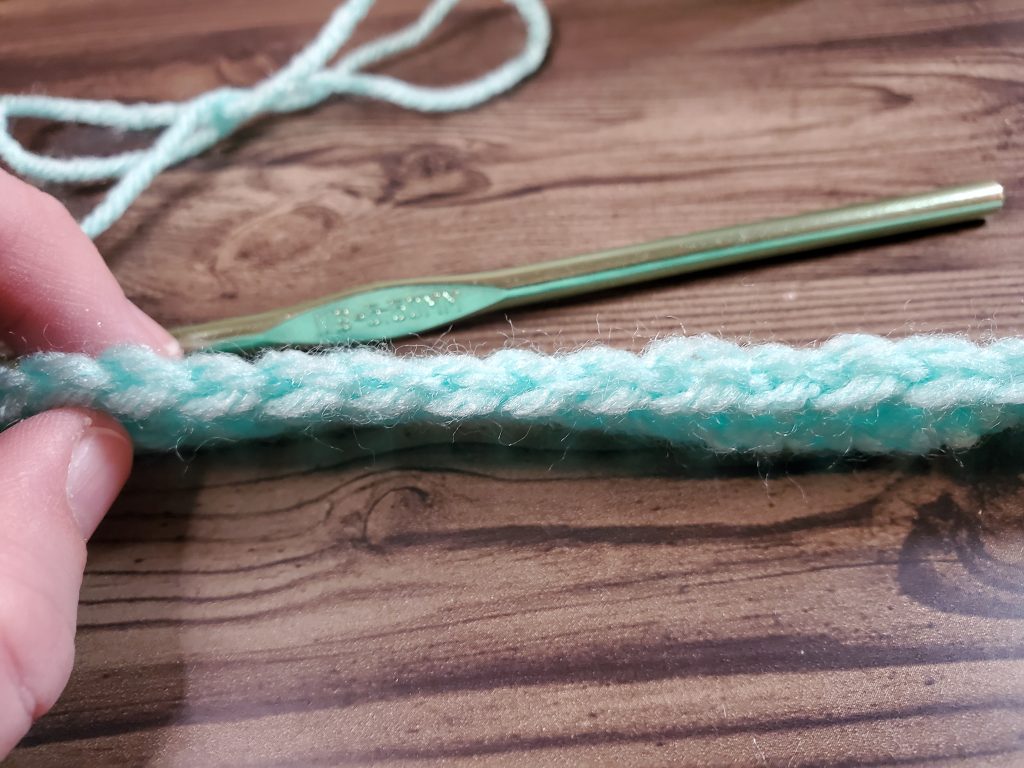
Once you have your chain, I want you to take a look at it. Believe it or not, there is a top and a bottom to the chain. Take a look at all sides. The top of the chain is the side that looks like hearts all connected to each other. The bottom almost looks like a dotted line, with the way the yarn is woven through the chain.
Working Your Single Crochet Into the Chain
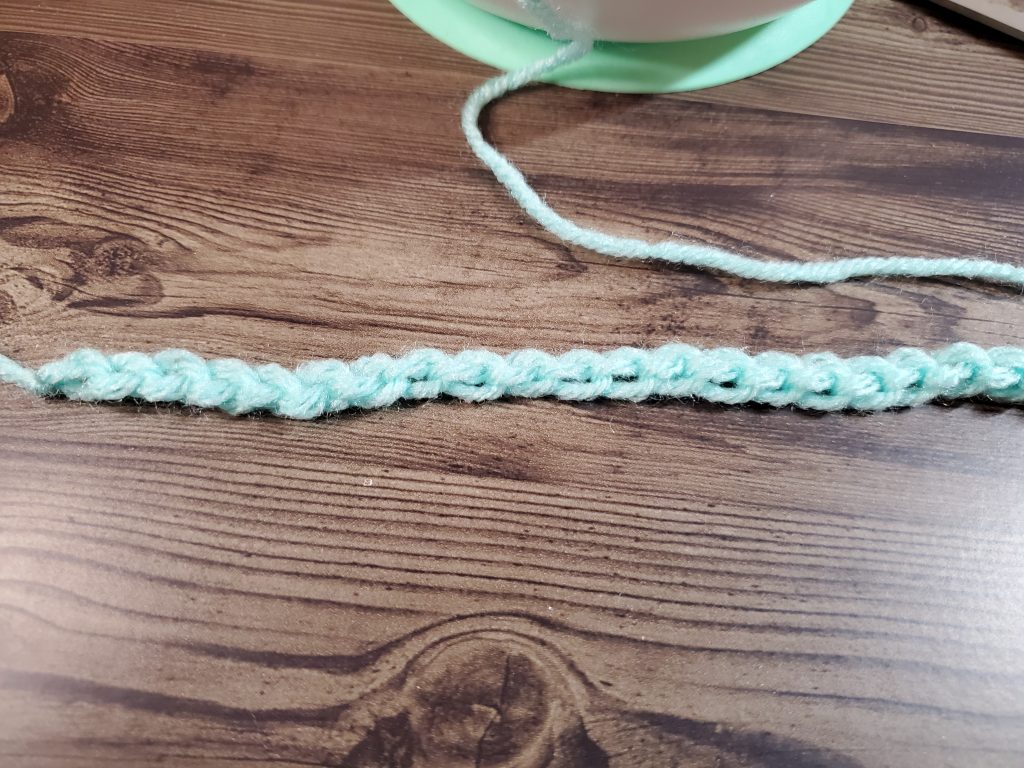
We are going to work into the bottom of the chain to start. The reason you want to work your first row into the bottom of the chain is so that the side that is exposed looks finished. As we get further along, you will start to see what I mean, and why you want to do it this way. I promise this will all make sense in just a few minutes.
If you are right handed, you made your chain from left to right, and if you are left handed, you made your chain from right to left. Now, and for the rest of the project, all your stitches are going to be made in the opposite direction.
Your First Single Crochet
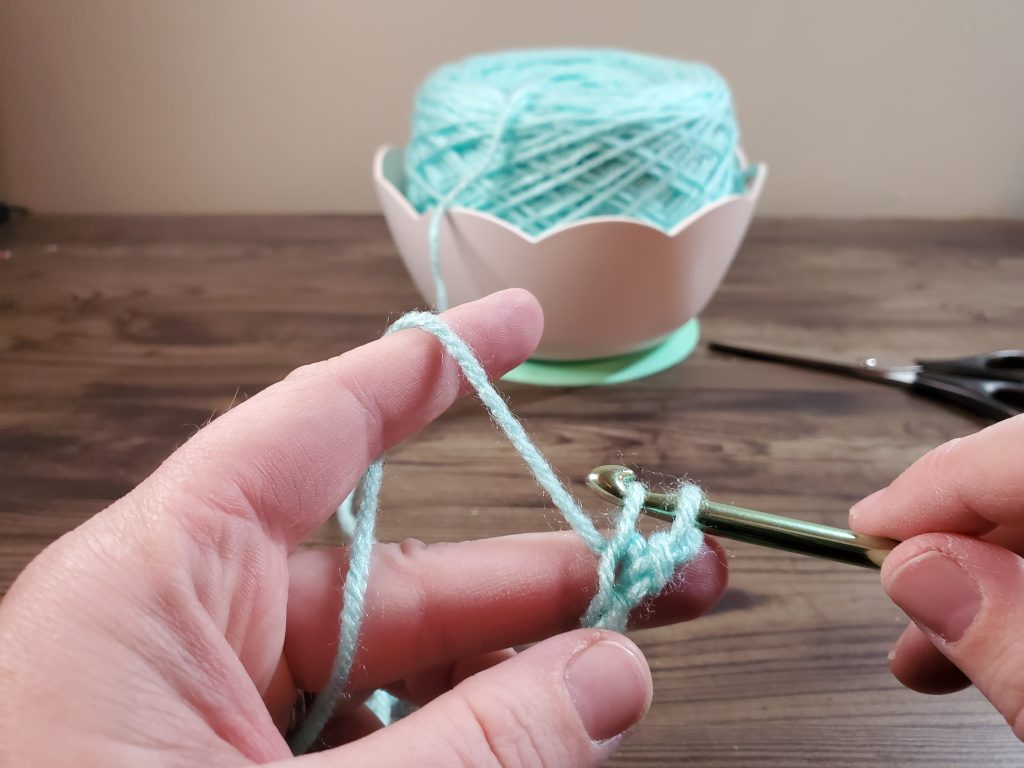
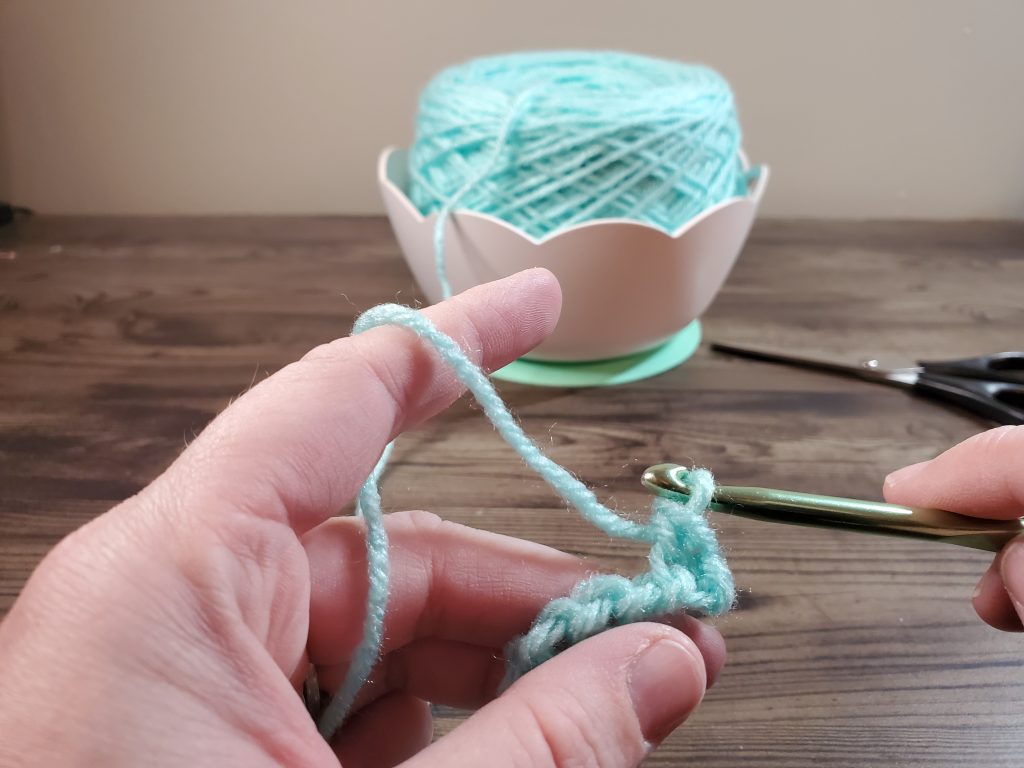
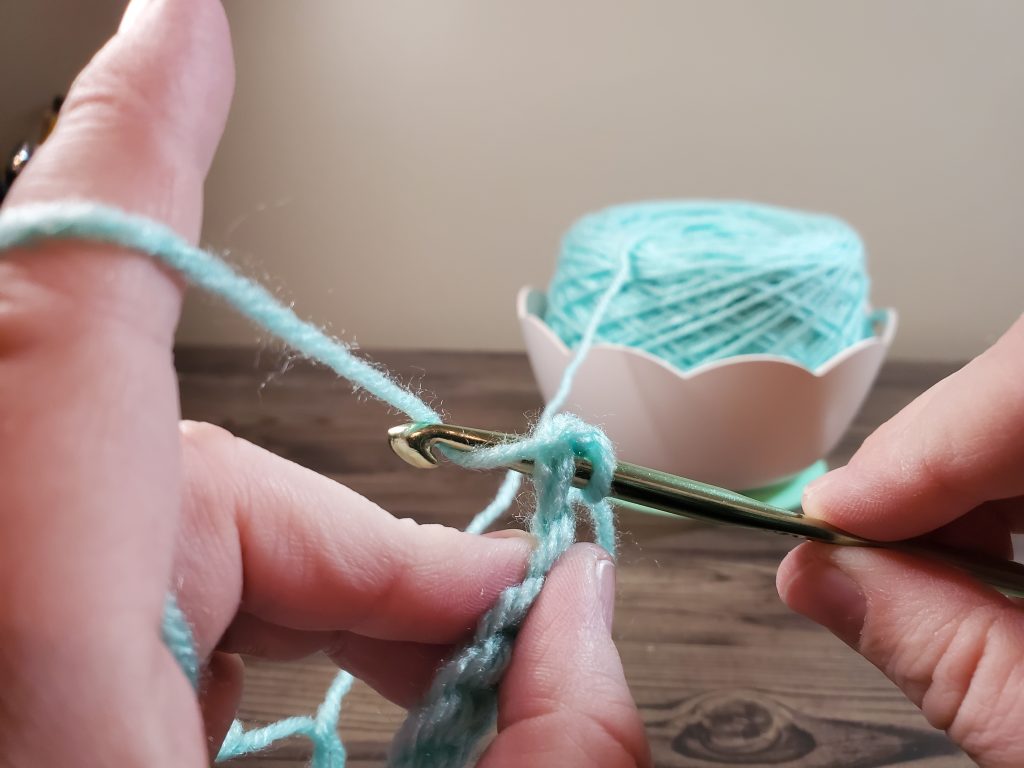
Enough talking, let’s get to it! With your hook in your working hand, and your yarn and chain in the other, count back 2 chains from the hook. This is the chain stitch we are going to start working into.
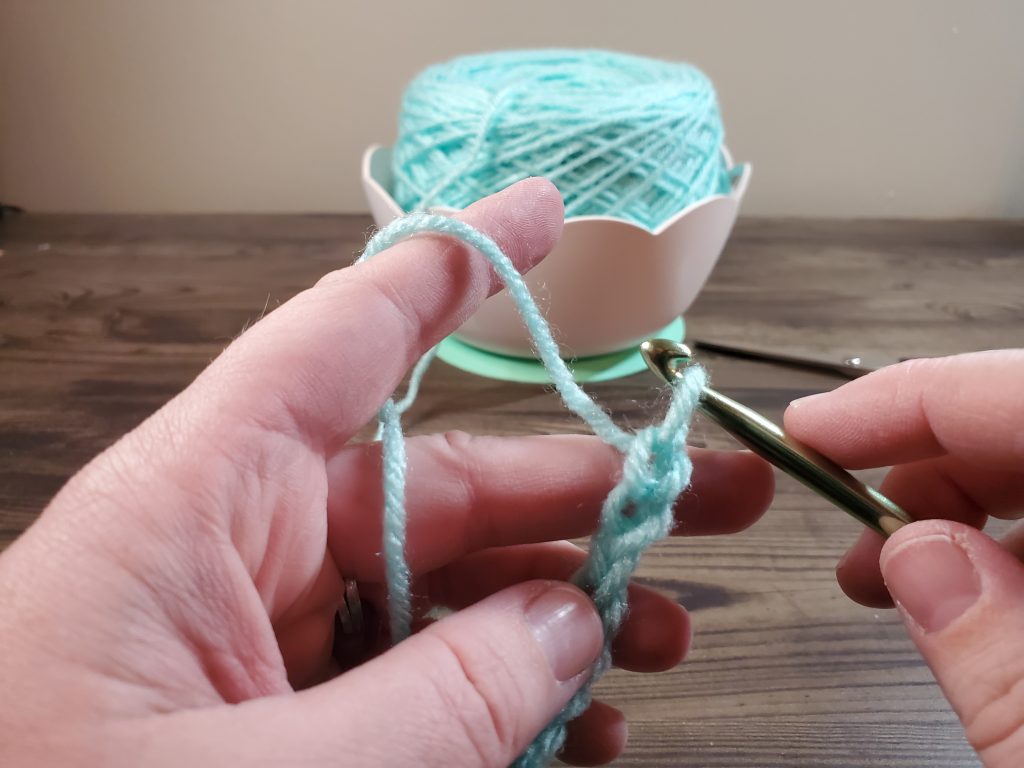
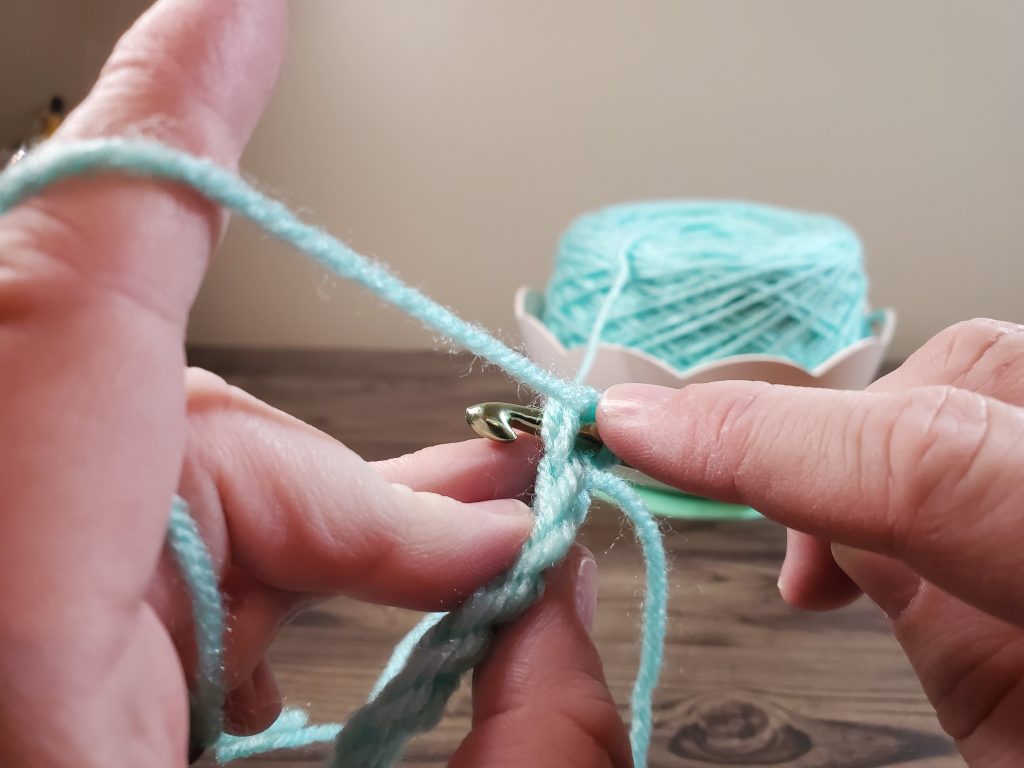
Take your hook, and slide it under the loop on the back side of the stitch. Your hook should be under the loop and your working yarn.
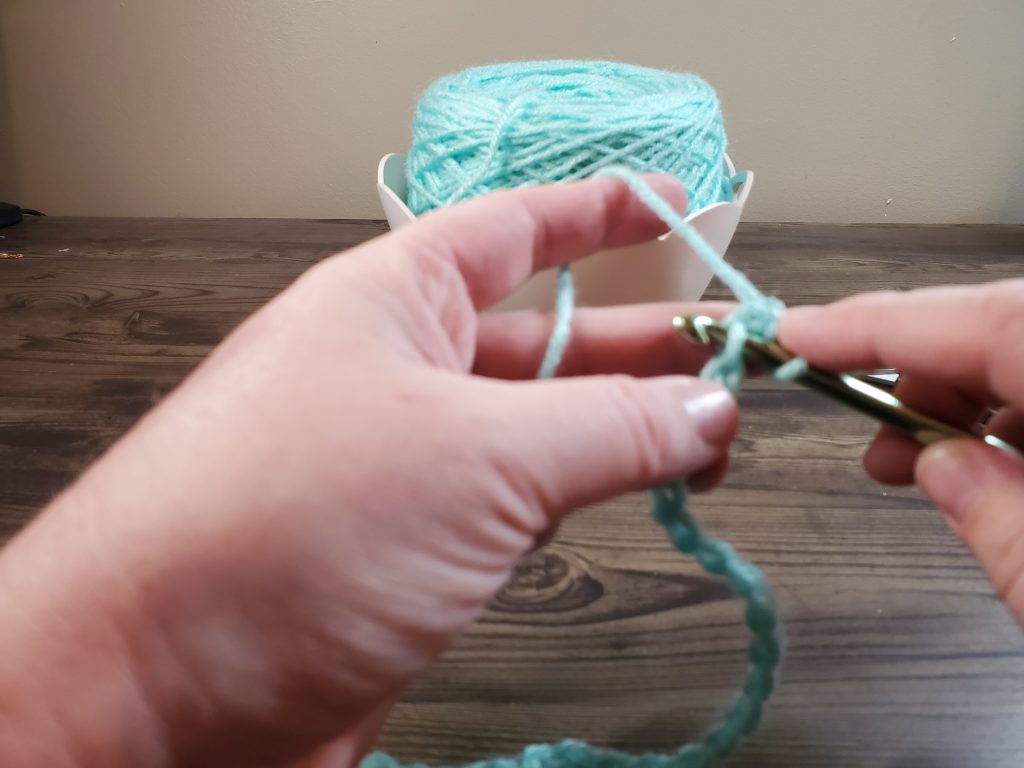
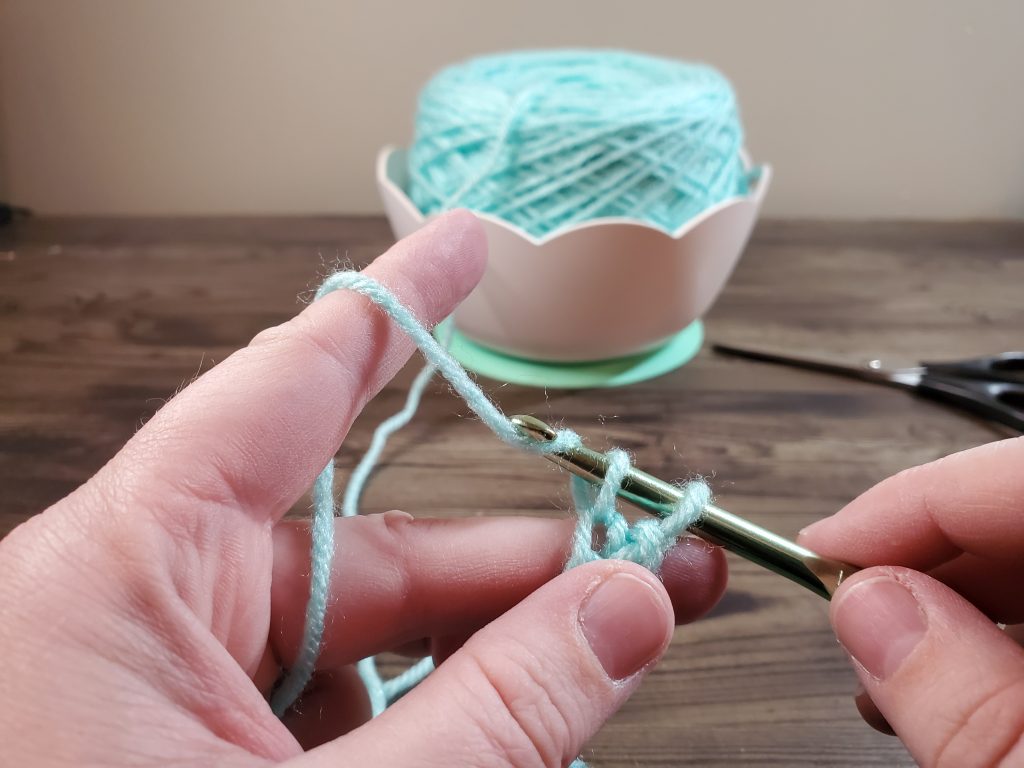
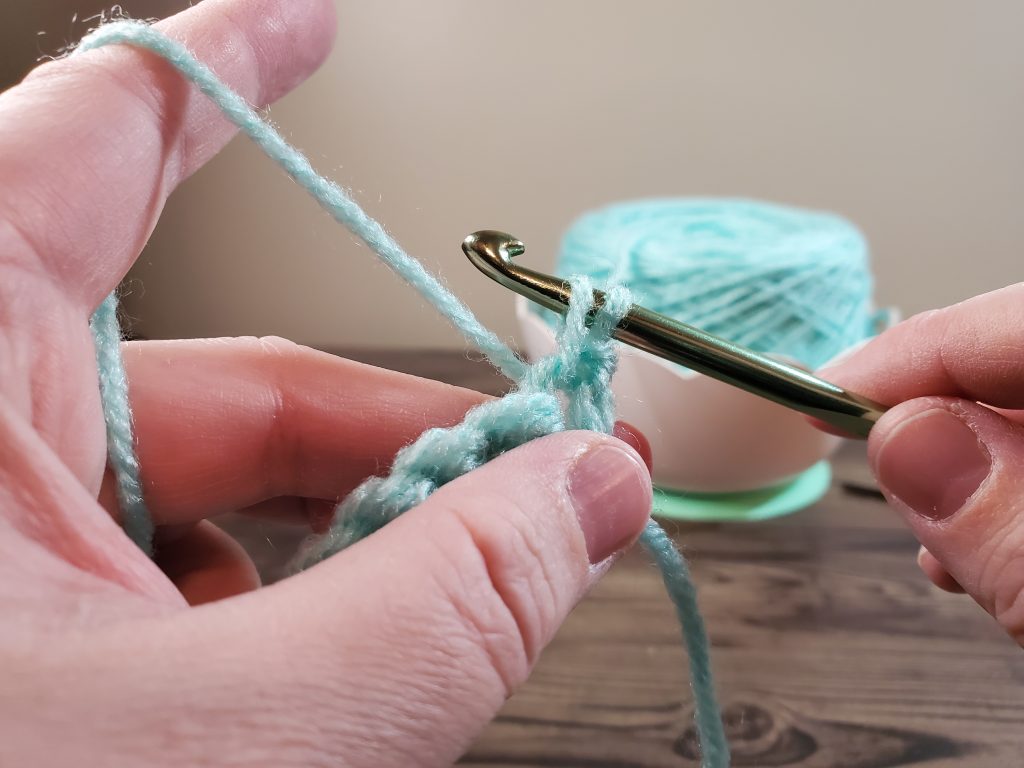
Now, use your hook to grab the working yarn. Do this by bringing your hook up underneath the working yarn and sliding the hook down slightly to grab it. You should now have 3 loops on your hook. The top loop is your working yarn, the middle loop is the loop you put your hook into, and the bottom loop is the one left on your hook from the chain.
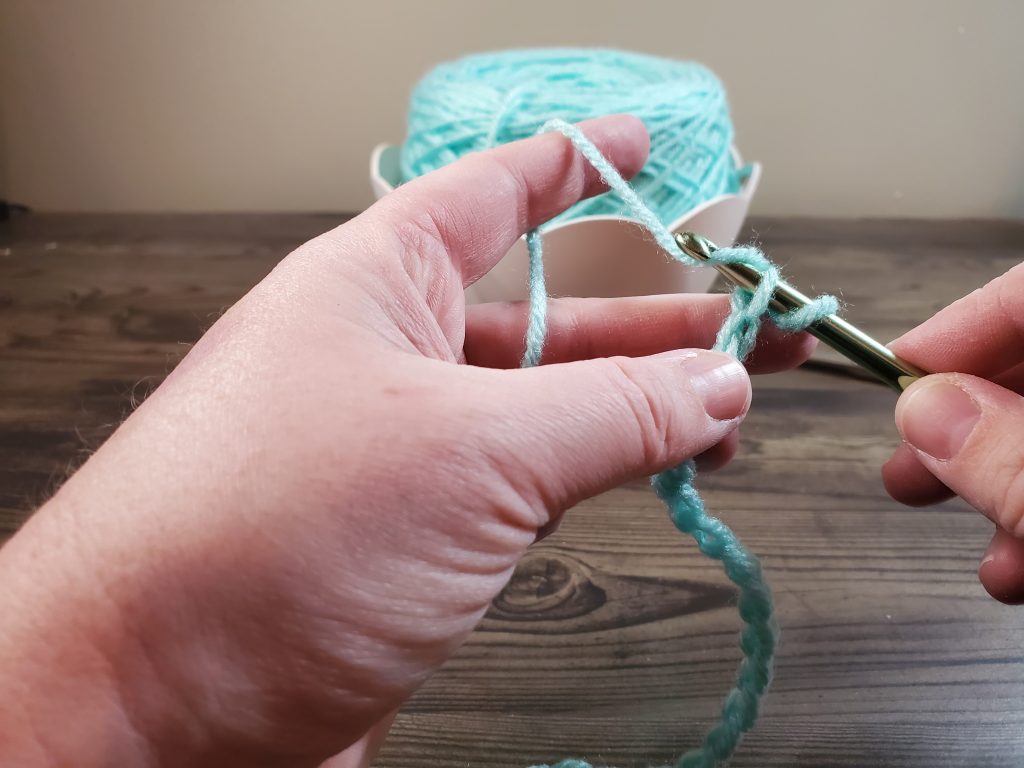
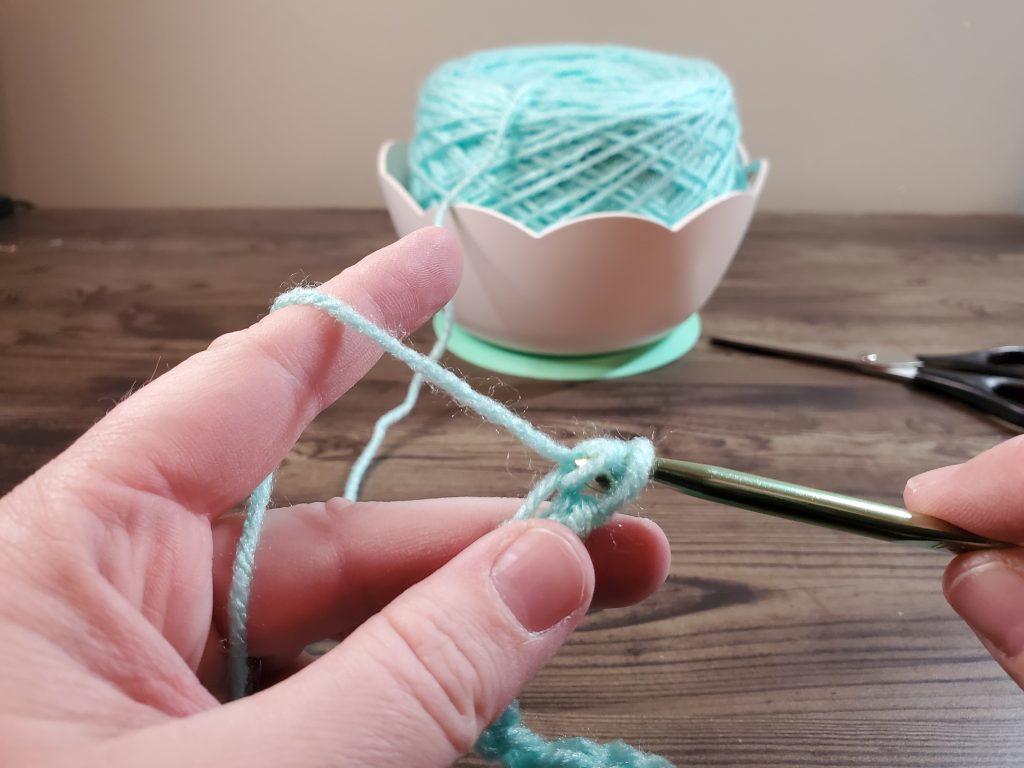
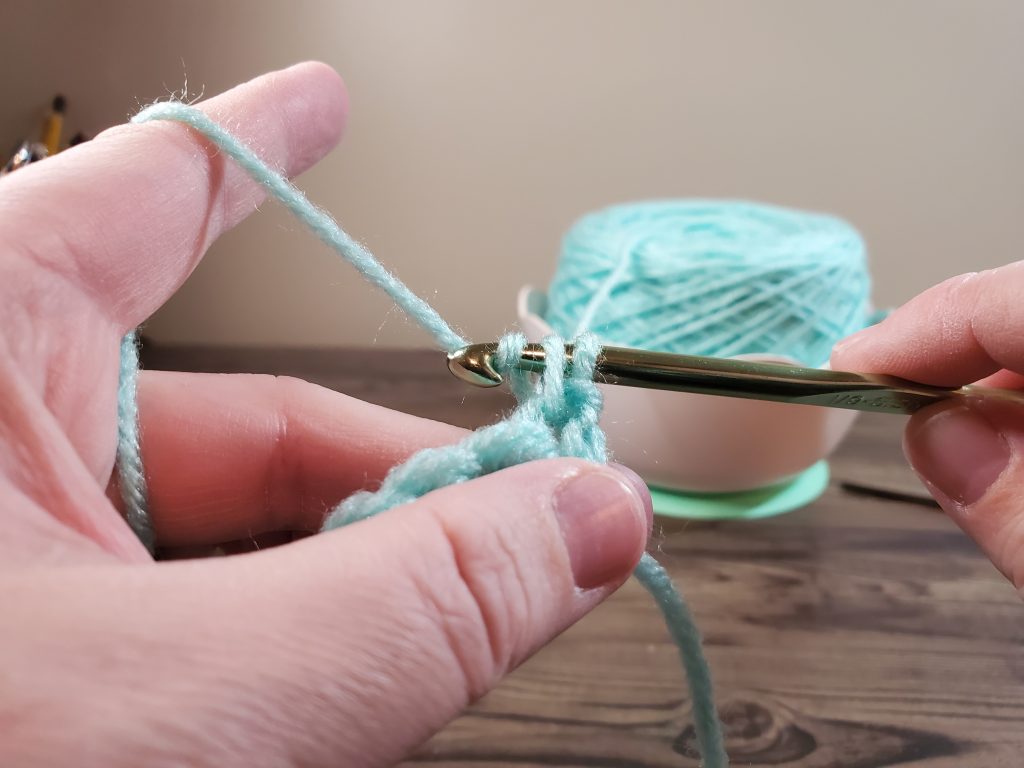
Next, you need to pull the top loop through the middle loop. This is just like your chain stitch. Pull and turn your hook to grab the top loop, and slide it through the middle loop.
You should now have 2 loops left on your hook.
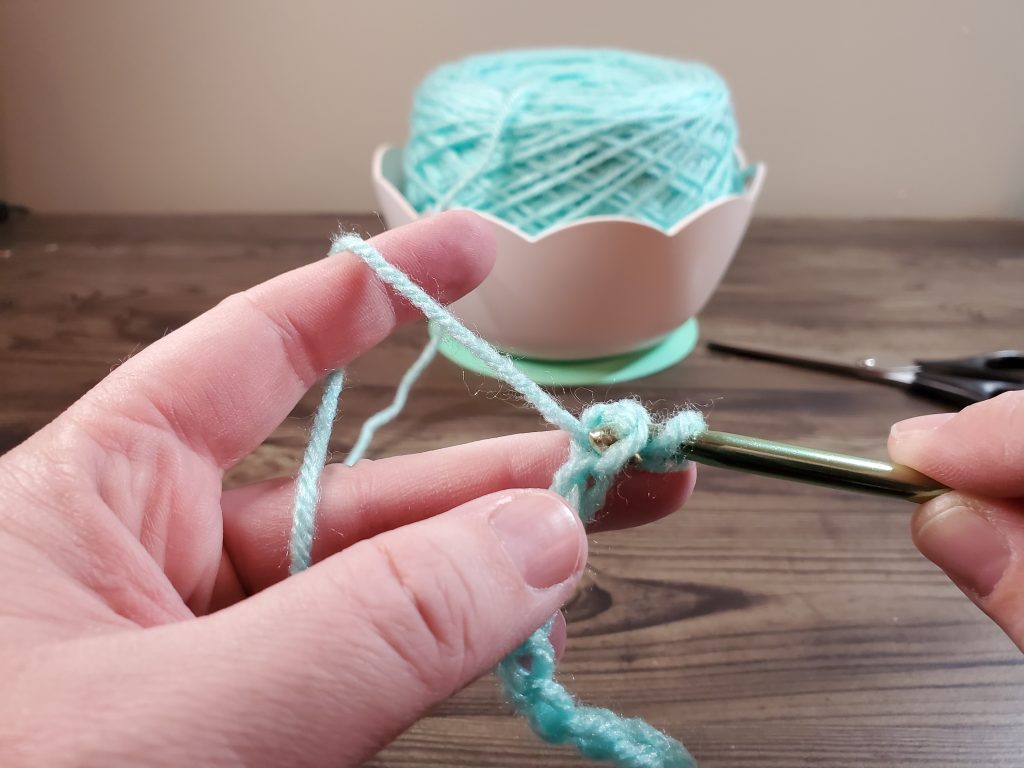
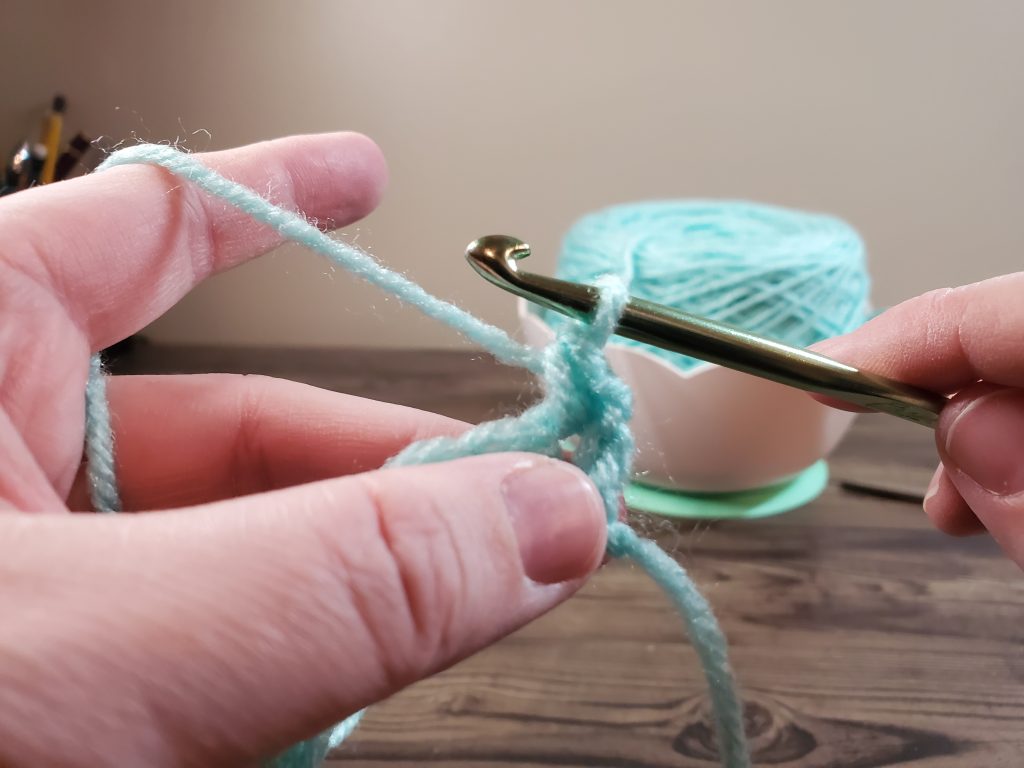
To finish our stitch, and get back to one loop on your hook, yarn over again, with your working yarn. Turn and pull your hook to bring the newest loop through the two bottom loops you have on your hook.
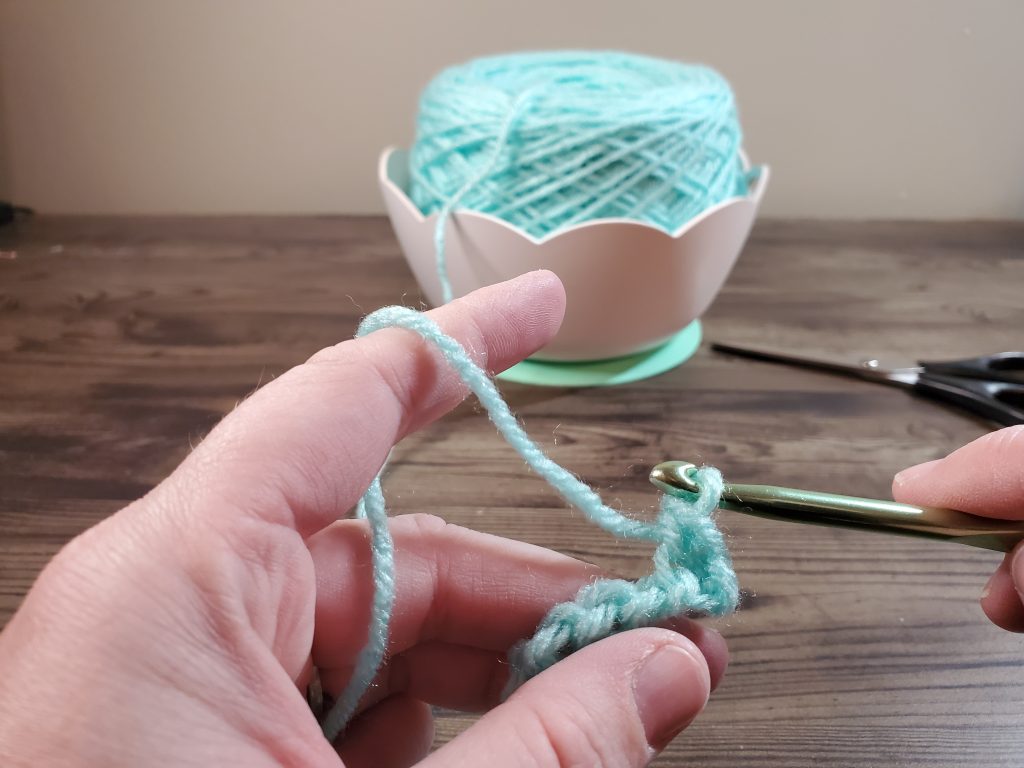
Congratulations! You have finished one single crochet stitch!
Keep It Going!
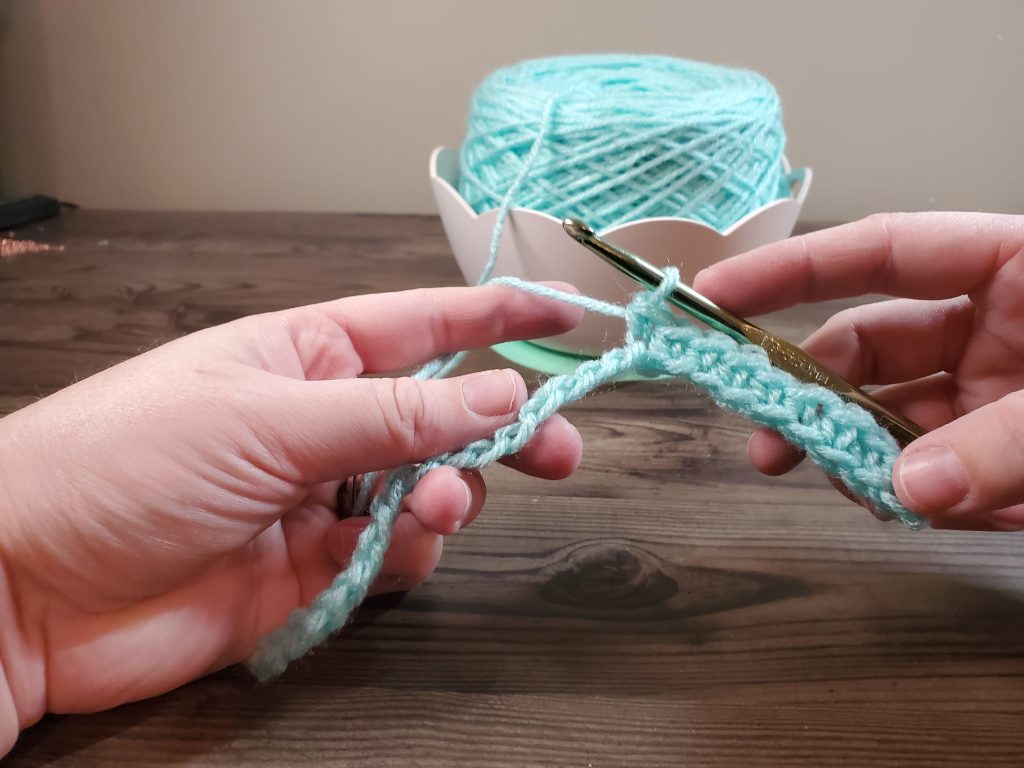
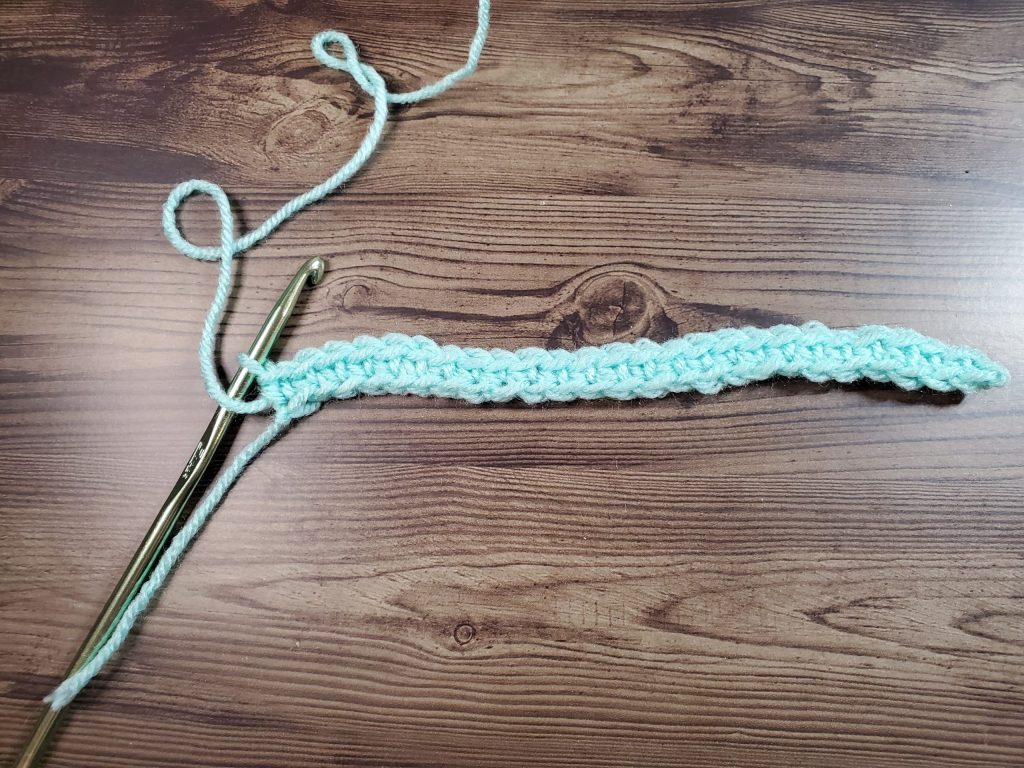
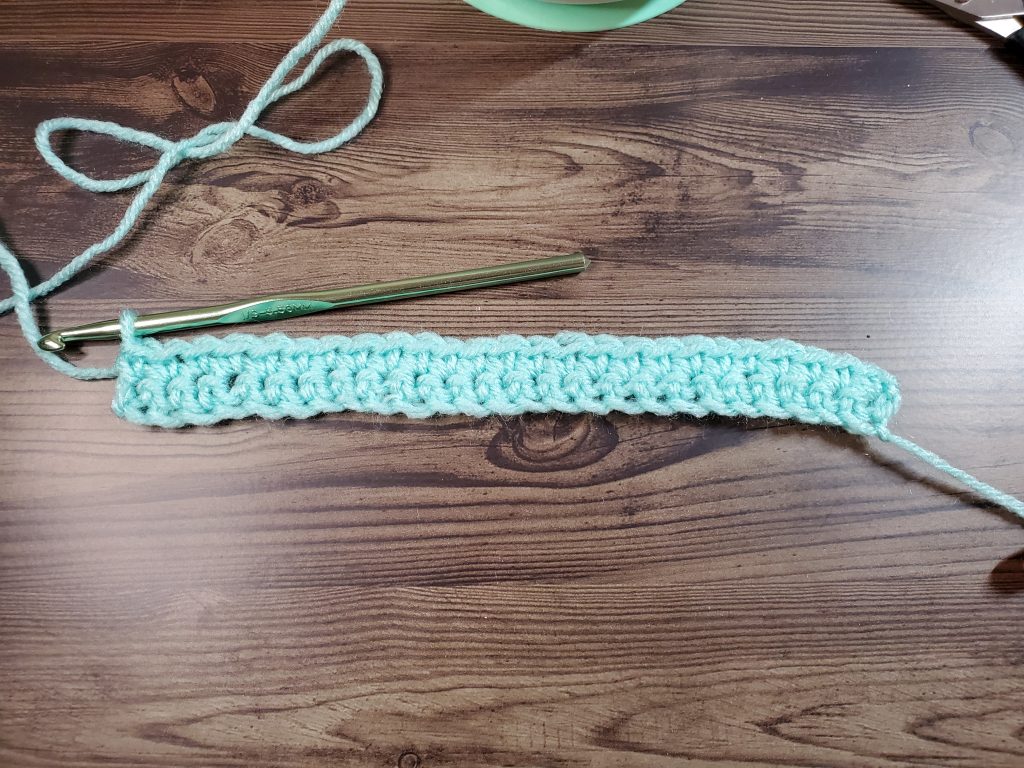
Continue to make a single crochet stitch into each chain stitch in your chain. You should end your row with a total of 25 single crochet stitches.
Remember that if you make a mistake, it is very easy to undo things it fix them. Simply remove your hook and pull your working yarn away from your project. It will undo the stitches. Pull until you have removed the error, and reinsert your hook into the loop. You can then continue making stitches across your chain.
Making Additional Rows
Now that we have completed our first row, which is typically called the foundation row of a project, it is time to move to our second row. To do this, you are going to make a chain stitch, and then turn the project, so you can continue making stitches in the same direction you made the previous row.
Before we move onto the next step, I want to take a look at your project. If you look at the top of your single crochet stitches, they look just like the right side of your chain stitches, which we discussed a bit earlier. All of your stitches are going to finish like that. This is why we worked your foundation row stitches into the back of the chain. When we work the stitches that way, we have a nice finished edge to our projects.
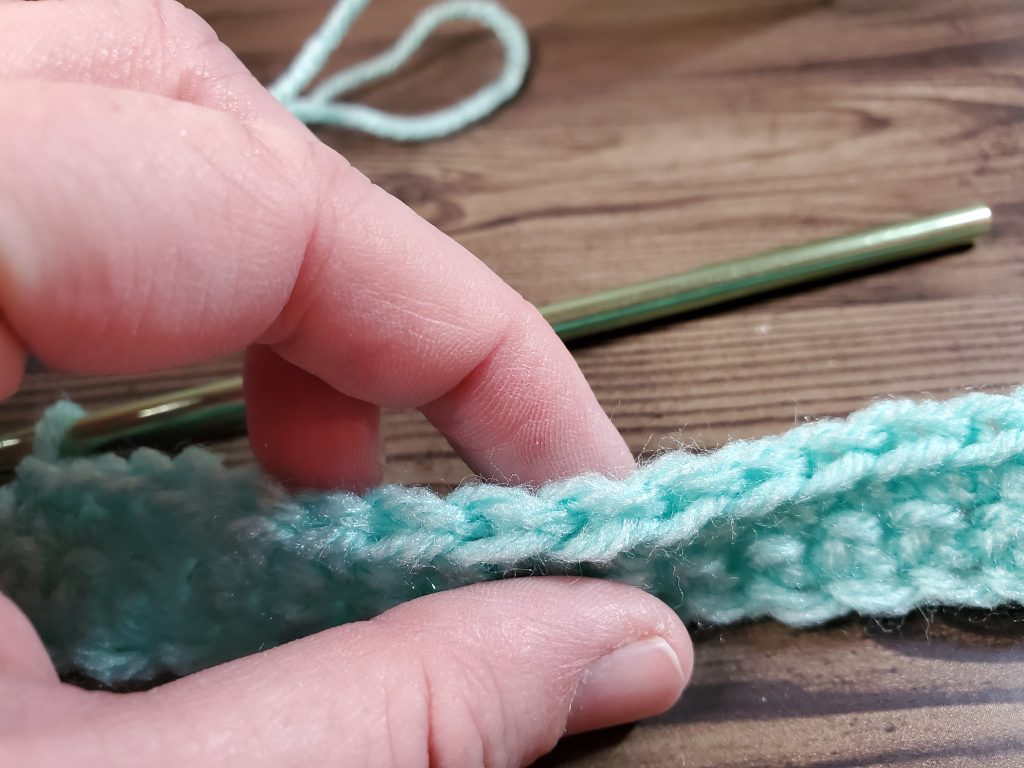
From here until you finish your project, we are going to work our stitches under both loops on the top of each stitch.

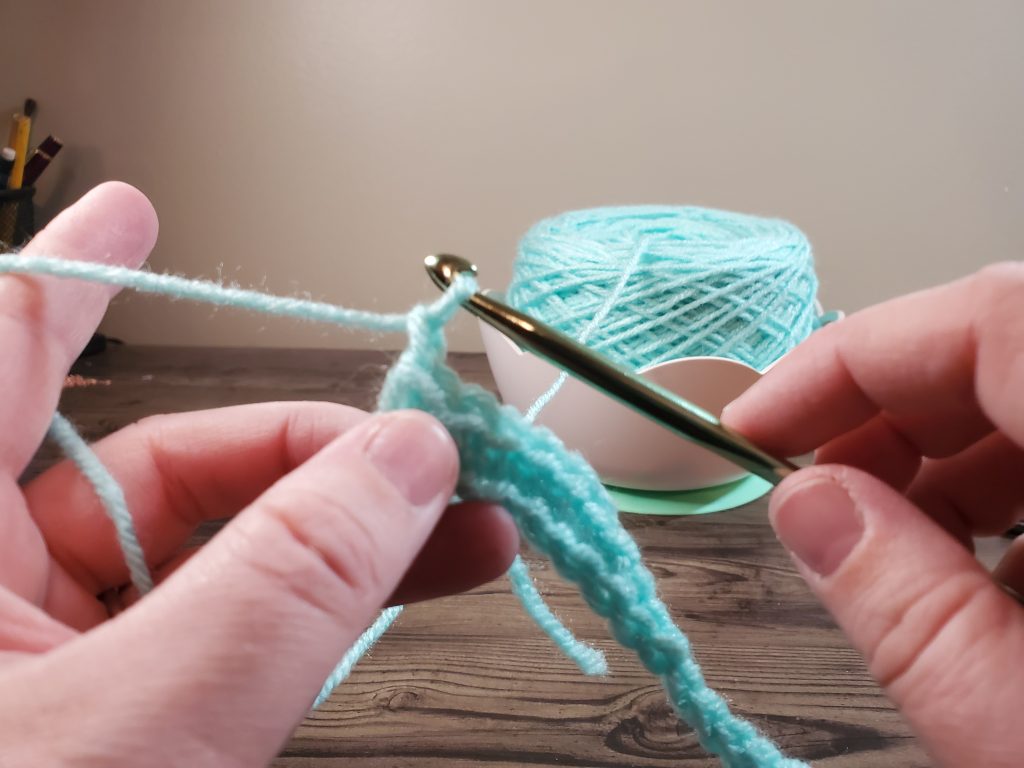
Working into the first single crochet of the previous row, insert your hook so it goes under both loops, and grab your working yarn with your hook. Pull the top loop under the loops of the single crochet stitch you are working into. Next, yarn over, and using your hook, pull the top loop through both bottom loops on your hook. You have completed the first stitch of your second row. Continue working single crochet stitches into each single crochet stitch across the row. You should have a total of 25 stitches in this row.
When you get to the end of the row, chain one (make one chain stitch), and turn. This will get you to the next row. Continue working this row and every row from now on, just like the last row we worked. Keep making rows of 25, until you are comfortable with the single crochet stitch. Once you are comfortable, try one or all of the single crochet projects below!
Try These Projects
Single Crochet Project One
Single Crochet Headband
Single Crochet Project Two
Crochet Hook Case


I would have loved this post about two years ago when I taught myself to crochet. My Granny crocheted her whole life and she passed away and I never asked her to teach me. This was my way of remaining close with her, and my aunt was luckily able to get me some of her yarn and hooks she used. Love the color of yarn you used!!
Great tutorial – I didn’t learn this method until much later in my “crochet career,” so I forget how nice the edges look when you’re finished 🙂 Thanks for sharing!
Thank you so much for this post! I’m learning how to crochet and your step by step instructions with photos are really helpful. It is also a great reminder to stop and take a look at your work while you’re in progress. Thank you!
Ive been looking for a site like this. I know how to knit but never learned to crochet and I really want to. I’m going to try it now using your tutorial.
These are great tips. I am a self taught crochet person. I do the basics and moderately advanced stitches. By far the hardest is keeping straight edges. My first project was a blanket that started off very wide and ended up very narrow haha.
Thanks for the large photos and clear directions. You make it look so easy.
Great tutorial! I wish this had been around when I taught myself to crochet about 10 years ago, lol. I had a lot of trial and error using a book. Your pictures are wonderful!
How did you finish the head band?
For the headband linked in the post, I whip stitched it into a loop, then wrapped yarn around it multiple times to finish it off. If you’re looking for a different type of finish, I show how to get the twisted look without the yarn wrapping in this pattern. Images on assembly are included in the post. https://emeraldcherub.com/winter-links-ear-warmer/