
Single Crochet Headband – Beginner Tutorial
Welcome to my Single Crochet Headband Tutorial. This is the first project in my single crochet series for beginners. If you are a more seasoned hooker just looking for the pattern, you will find that at the bottom of this post. If you’re a beginner working your way through the crochet stitches, I hope you enjoy this tutorial!
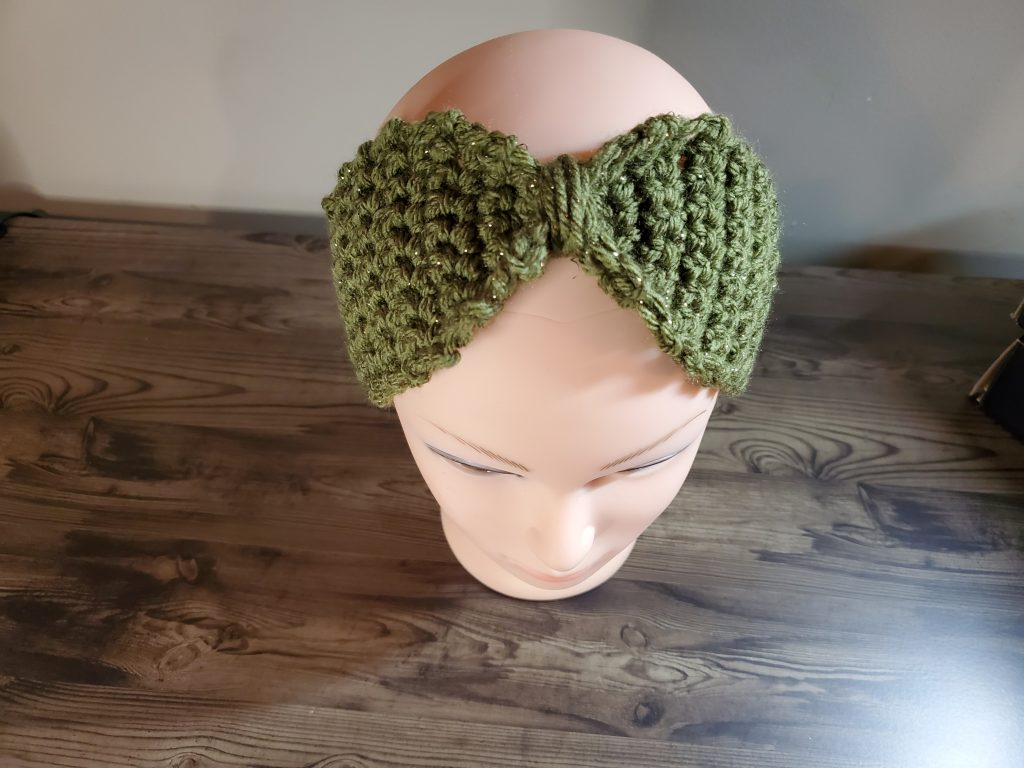


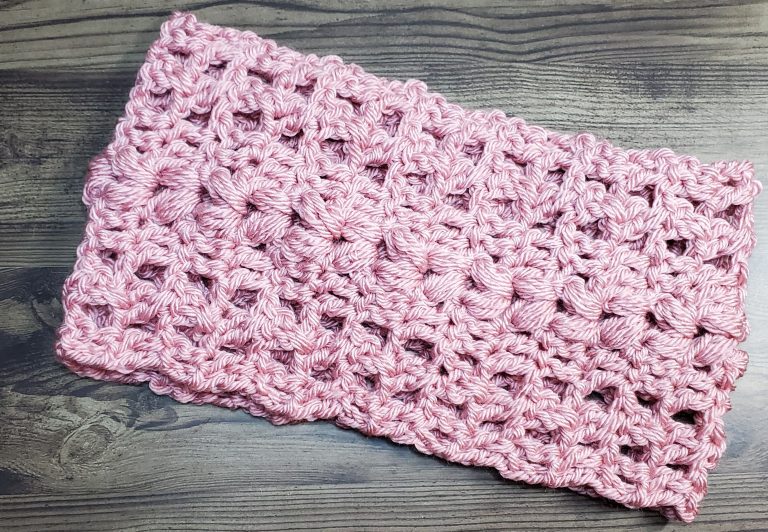
The Single Crochet Headband
I love crochet headbands. They’re thick enough to keep you warm, and small enough to shove in your pocket. Plus, it is much easier to wear a headband with a ponytail, than to wear a hat!
So let’s get started!
Pro Tip: Remember to read this in its entirety before starting!
What You Need for Your Single Crochet Headband
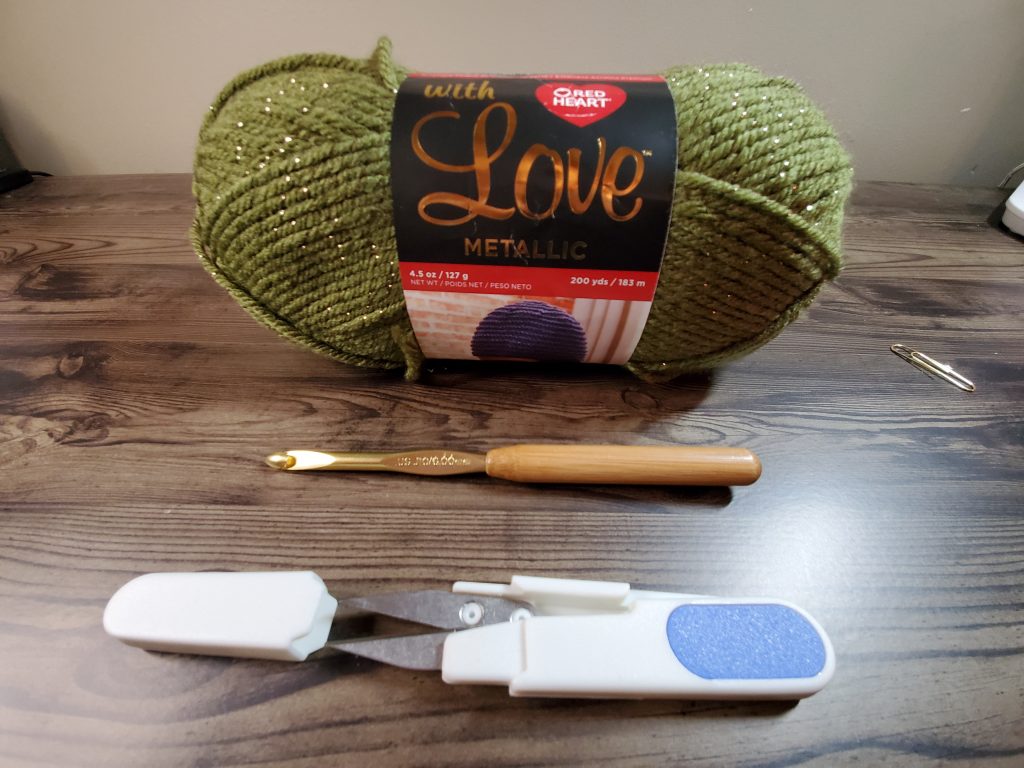
For this project, you will need:
- One skein of Redheart With Love Metallic yarn in any color. I used Olive.
- A 5.5mm crochet hook
- Scissors
- Yarn needle
Let’s Get Hooking!
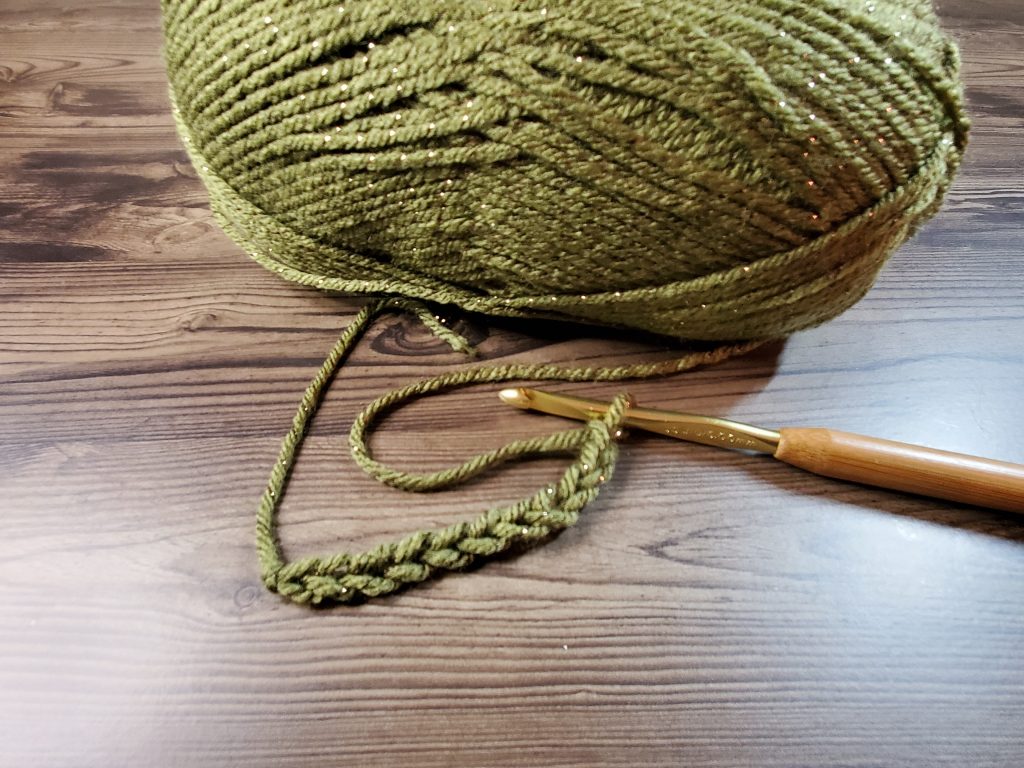
First, start by making your slip stitch and tighten it around your hook. Make sure you are holding your yarn in a way in which you can maintain tension. Next, make 11 chains.


Position your chain so you can work into the single loop on the back side of the chain. Next, insert your hook into the second chain from the hook, and yarn over (YO) to get the yarn on your hook. Pull the yarn through the first loop on your hook. Now, yarn over again, and pull through both loops on your hook. The first stitch of your foundation row is done! Continue to make stitches down your chain until you get to the end. You should have 10 single crochet stitches when you are done with this row.
If you need a refresher of the single crochet, take a look at my Single Crochet Stitch Tutorial

Second row
Now it’s time to move up to row two. To do this, you are going to make a turning chain. For the single crochet stitch, you will chain one, and then turn your project.
The turning chain brought your hook up and now you can work into the first single crochet of the previous row. This is the stitch you ended the first row with.
Start by putting your hook through the first stitch from the previous row. Notice the top of the stitch is made of 2 loops. Make sure you put your hook under both of those when making your stitch. Once your hook is through the stitch, yarn over, and pull a loop through the stitch. Next, yarn over and pull through both loops on your hook. Repeat this process in each stitch left on the row. You should have 10 stitches on this row, as well.


Pro Tip: Remember, mistakes happen, even with seasoned hookers! If you make a mistake, remove your hook from the project and pull your working yarn away from the project to undo your work. If you are only removing a few stitches, pull slowly so you stop where you want to. However, sometimes you need to undo a lot. When this happens, you can RIP IT, which is pulling as fast as you are able. We call this frogging!
So now you should have two rows of ten stitches done. You are going to need to continue repeating row two until you have a total or 60 rows. So, chain one, turn and single crochet ten across 58 more times.


When you’re done, you can move on to the final steps.
Fastening Off and Preparing for Sewing
You are almost done! We just need to add the finishing touches!
At this point, your single crochet headband is nothing more than a really long rectangle. But we are going to sew it and cinch it into its final shape now!
First, you need to fasten off your yarn. This is done by doing a yarn over, and pulling the yarn through the loop, similar to a chain stitch. Then you remove the hook, and pull the loop to tighten it up.

Next, you need to cut your yarn. You are going need a good amount of yarn here, because this is the piece you are going to use to wrap around to form the knot. I recommend at a minimum one and a half to two feet.
Cut your yarn and pull it through the loop, so the tight end of the yarn does not come undone. If you pull it the wrong way, you will frog your project!
Weaving in Ends
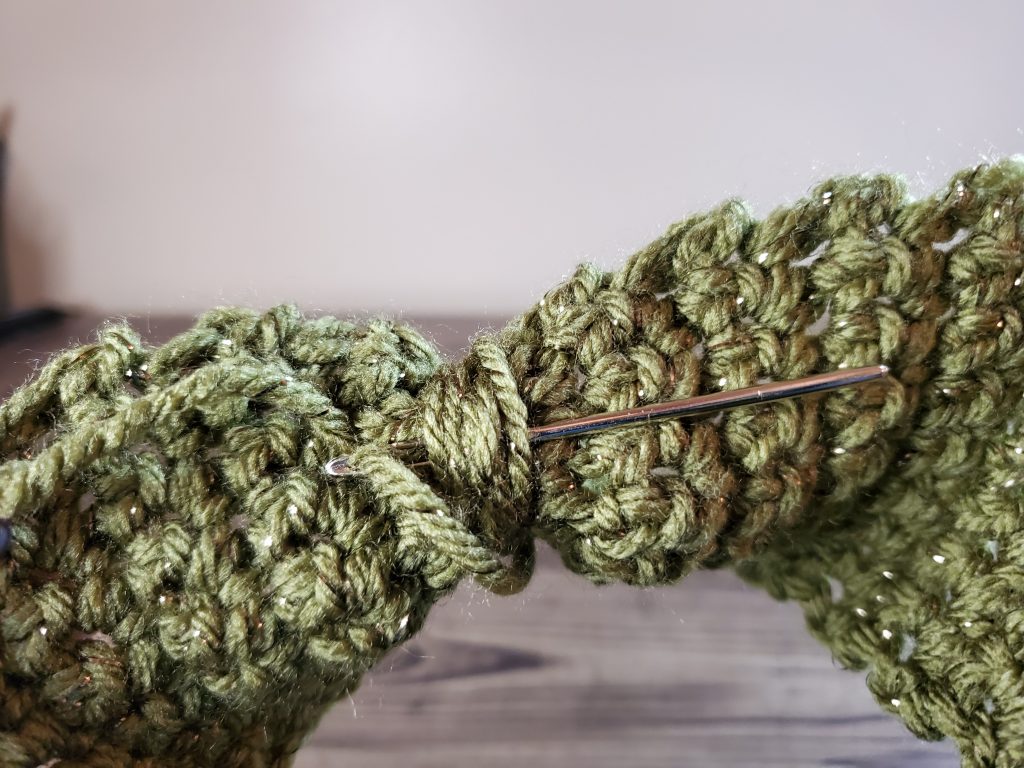
The next thing we need to do is weave in the tail from our starting chain. You do this by threading a yarn needle and sewing through the project, around your stitches. I usually take my needle and go back and forth between the stitches like in the pictures I have here. Once I have done that, I pull the needle through to the other side, and it pulls the yarn with it. Its usually a good idea to weave back the other way as well, to really secure the yarn.


Pro tip: If you don’t have a yarn needle, you can use your hook! Weave your hook through the stitches, starting on the side opposite the tail, and go towards the tail. Grab the tail with your hook, and pull through.
Sewing And Finishing Up
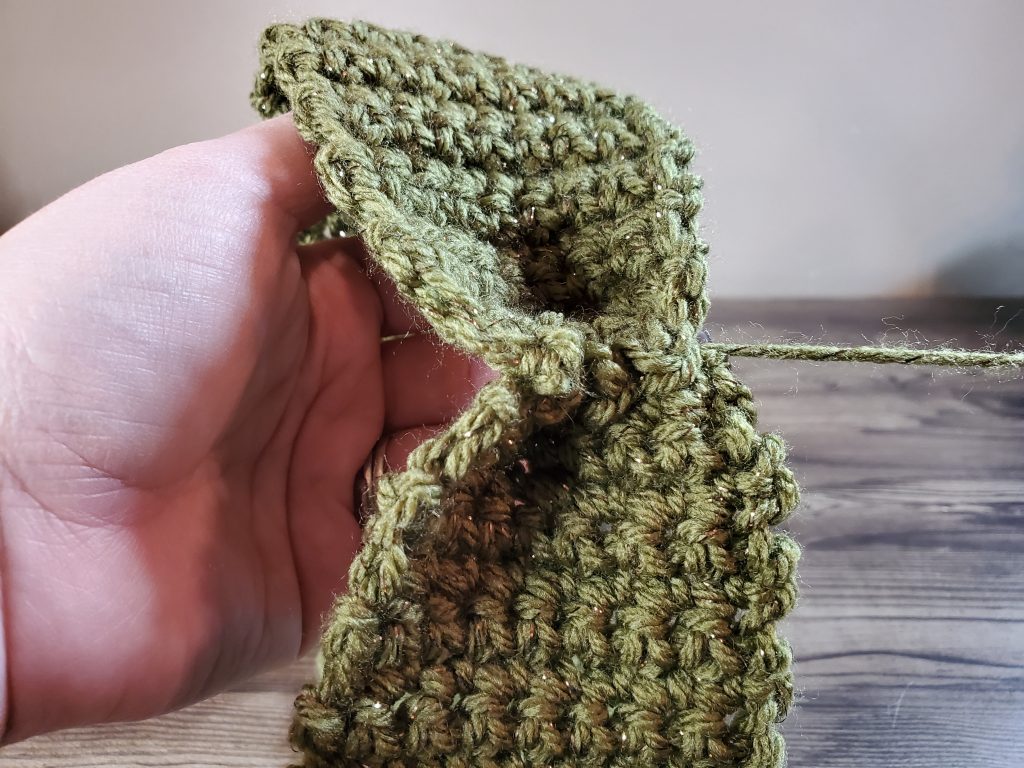
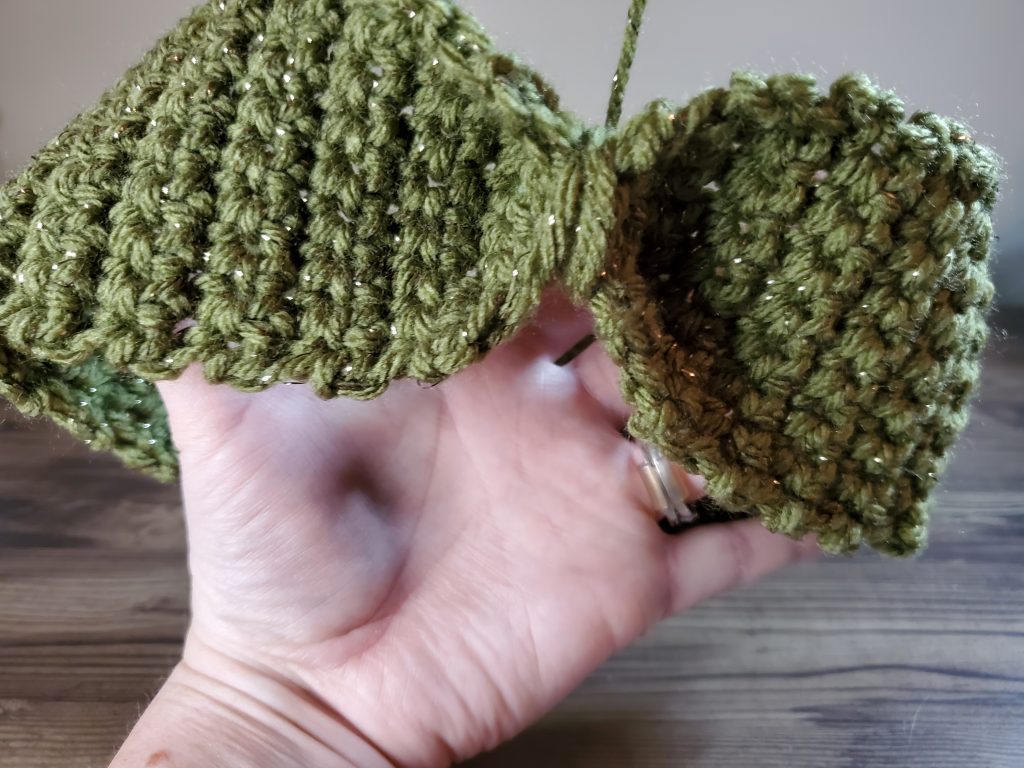
Now, your project is ready for the final step. Fold your project in half matching the ends together. Next, thread your extra long tail through your yarn needle. Now we simply sew the pieces together using the tail. Sew it just like you wove in the first tail, in and out of the stitches of both ends.


When you reach the end, pull the tail tight, and pinch the headband, to create the final shape.
Next, wrap the long tail around the cinched area multiple times, to create the look of a knot. Keep wrapping until you either get the look you want, or you have no more yarn.
Tie it off on the back side of the knot.
And you’re done! Congratulations! You’ve finished your single crochet headband!

Single Crochet Headband – The Written Pattern
If this were a written pattern, it would look like this:
- 1 skein of Redheart With Love Metallic
- A 5.5mm crochet hook
- Scissors
- Yarn needle
Ch 11
Row 1: sc in 2nd hook from the chain. Sc across. (10)
CH1, turn
Row 2-60: sc across (10), CH1, turn
Fasten off, leaving long tail for sewing.
Weave in starting tail
Sew ends together and cinch
Wrap remaining tail around cinch and tie off on back side.
How did it come out? Show me in the comments below!


One Comment