
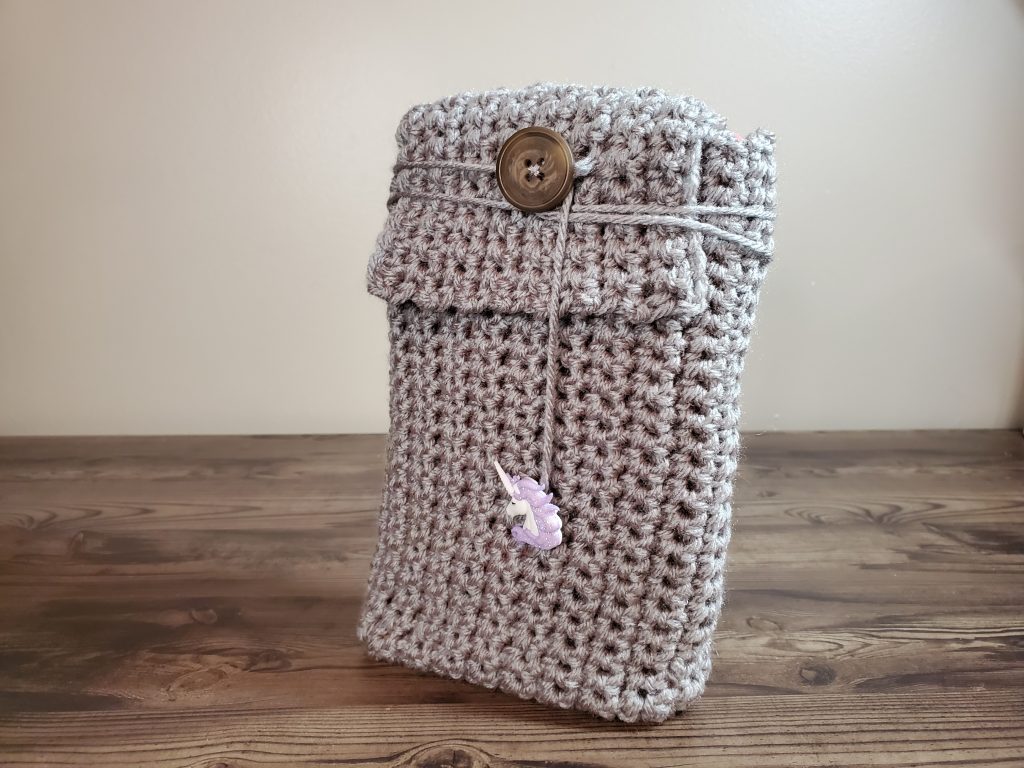
Crochet Hook Case
Who can’t use a cute storage case for their hooks? Or pencils, markers, pens, etc? This cute and easy crochet hook case works up using only the single crochet stitch with some simple sewing. This is the second project in the single crochet tutorial series. We started our single crochet tutorial with the Single Crochet Headband, a project that consisted of a rectangular flat panel, sewn into a circle. And now you are going to add to your skill library with this project! We are going to create a flat panel that has an increased number of stitches in the center, shaping the fabric like a T, to create a case with a wide bottom and a flap for closure at the top.
If you are an experienced hooker looking for the written pattern and would like to skip the tutorial, you can find that at the bottom of this page.
Crochet Hook Case Materials List
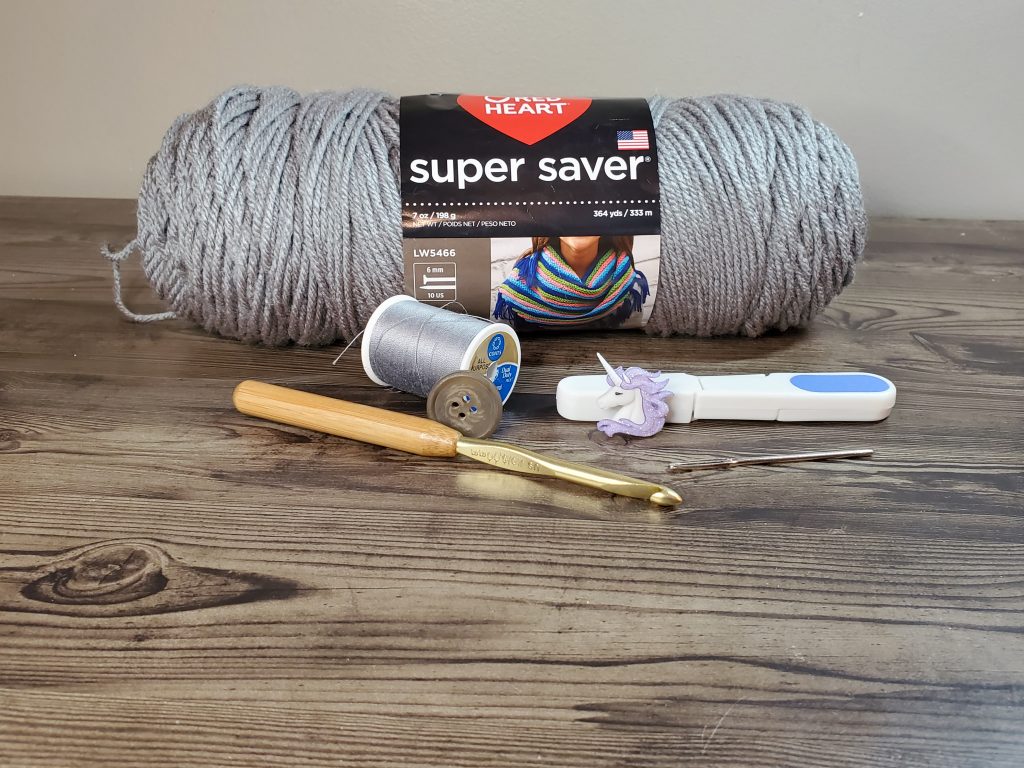
- 1 skein Redheart Super Saver worsted weight yarn
- 1 Round Button
- 1 Decorative Button or beads (Optional)
- Thread to match yarn or button
- Crochet Hook
- Yarn Needle
- Scissors
Let’s Get Started!
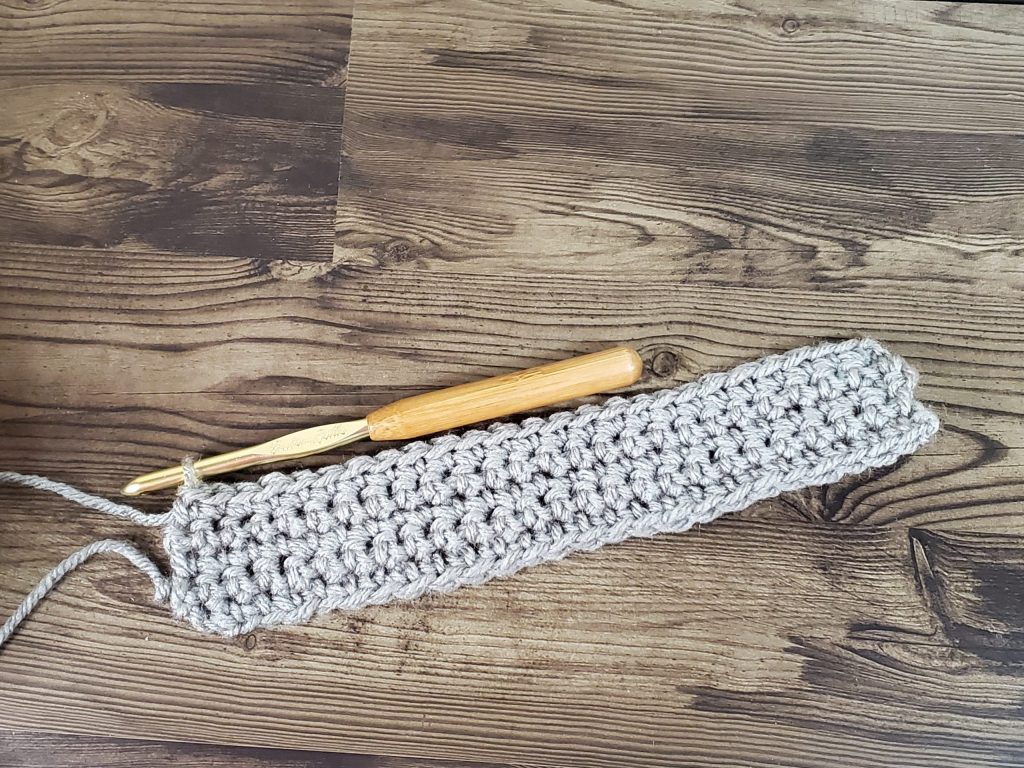
Let’s begin by making a chain of 26. Next, insert your hook into the second chain from the hook. Remember to put your hook into the single loop on the wrong side of your chain. Yarn over, and pull the yarn back through the stitch. Then yarn over and pull through both loops on the hook. Do this in each stitch across the chain. You will have a total of 25 single crochet stitches in this row.


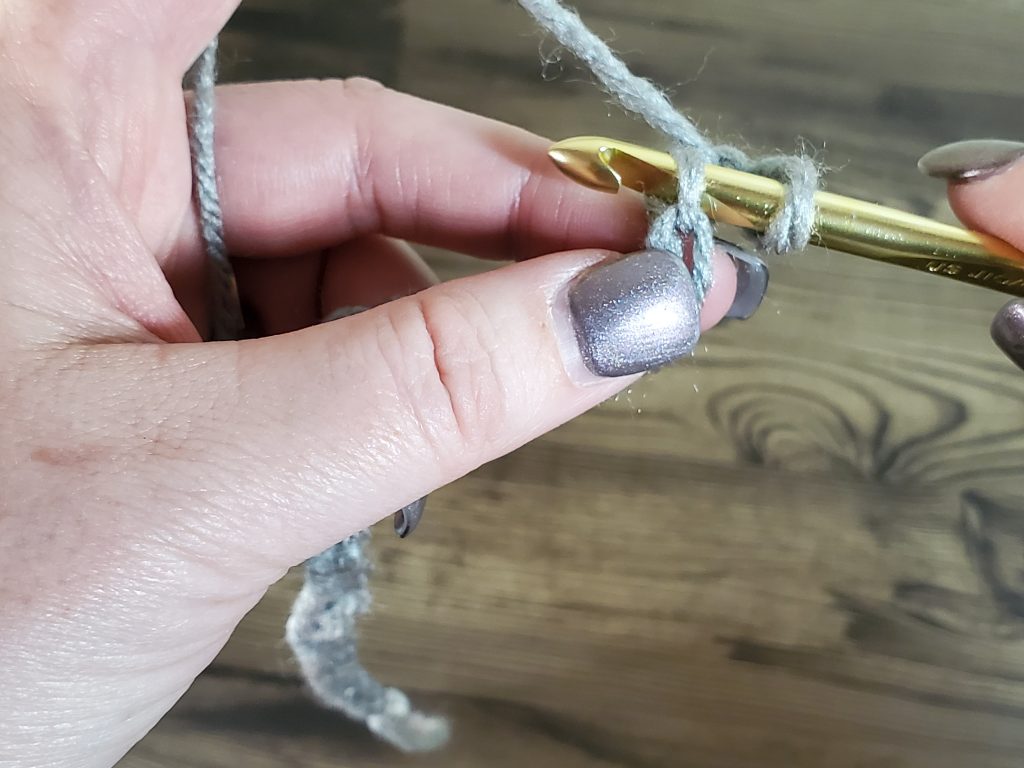


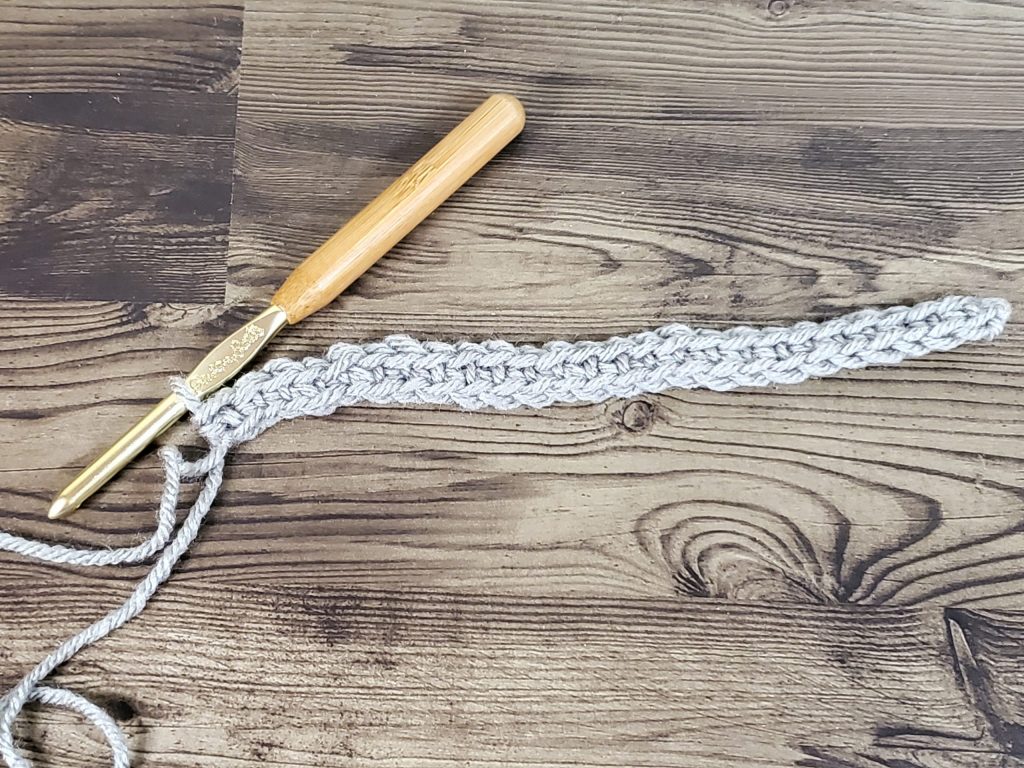
Once you get to the end of the first row, you need to make your turning chain. For single crochet, the turning chain consists of one chain stitch. So, chain one, and turn your project, so you can continue making your stitches in the same direction.
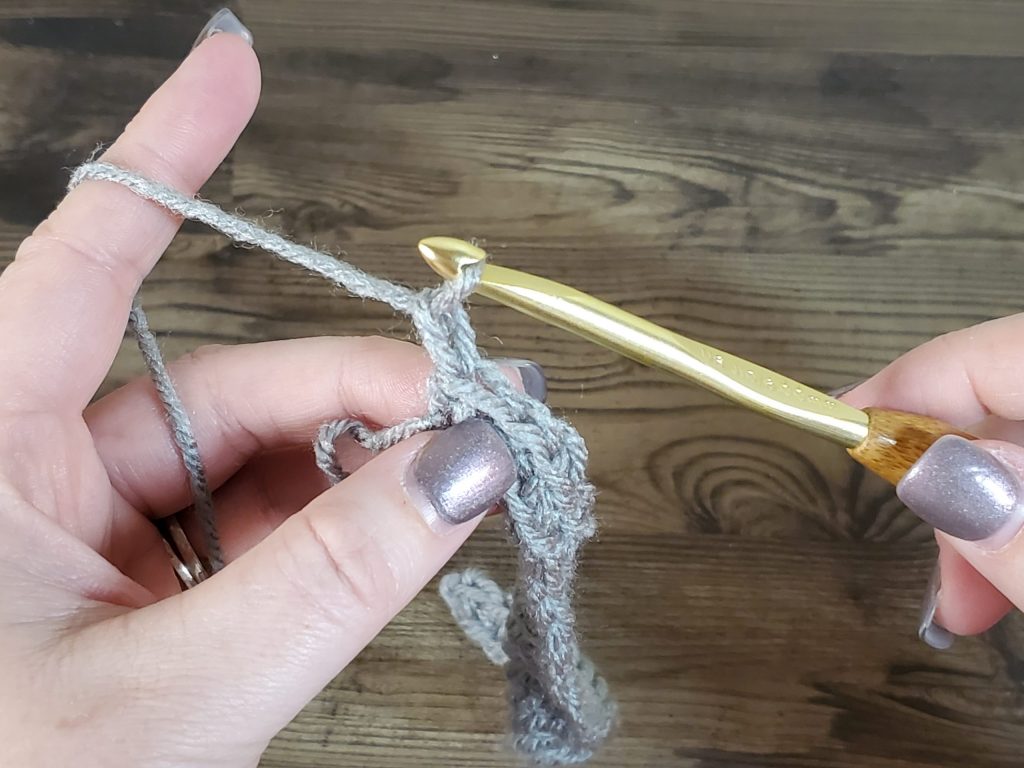


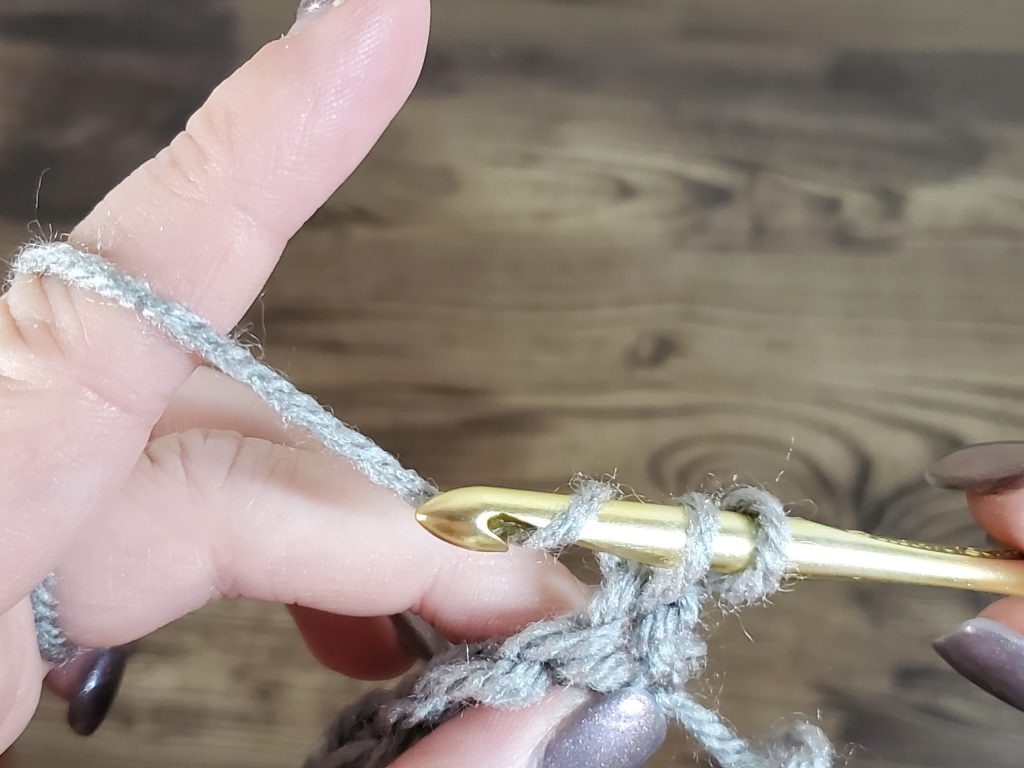
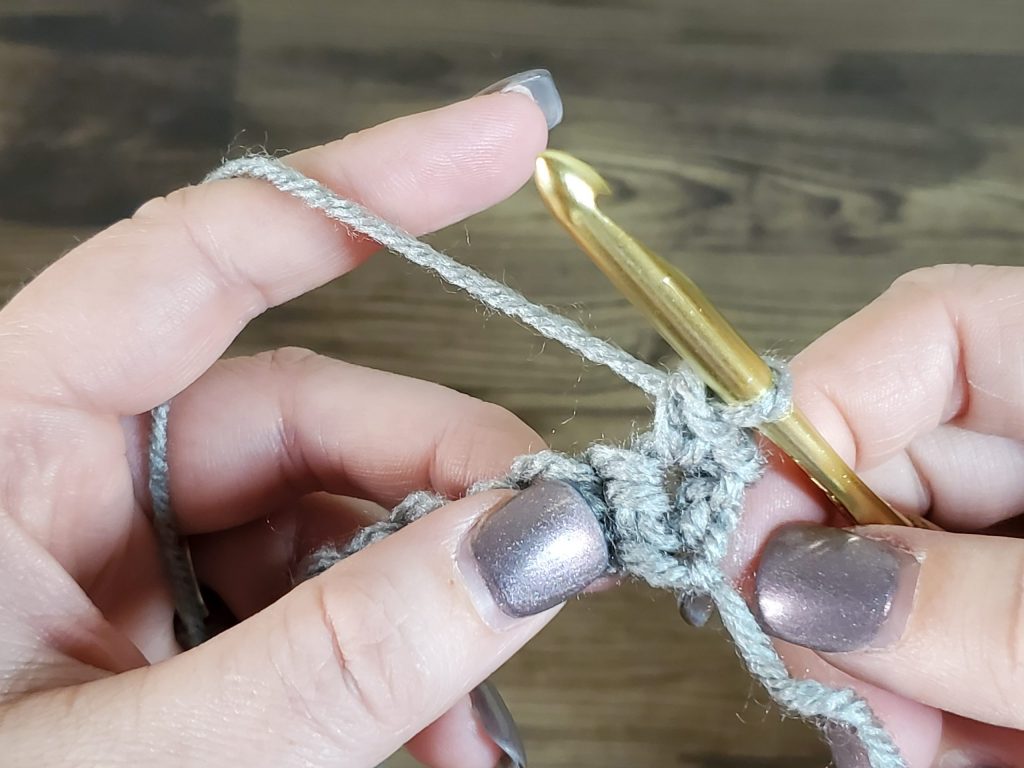
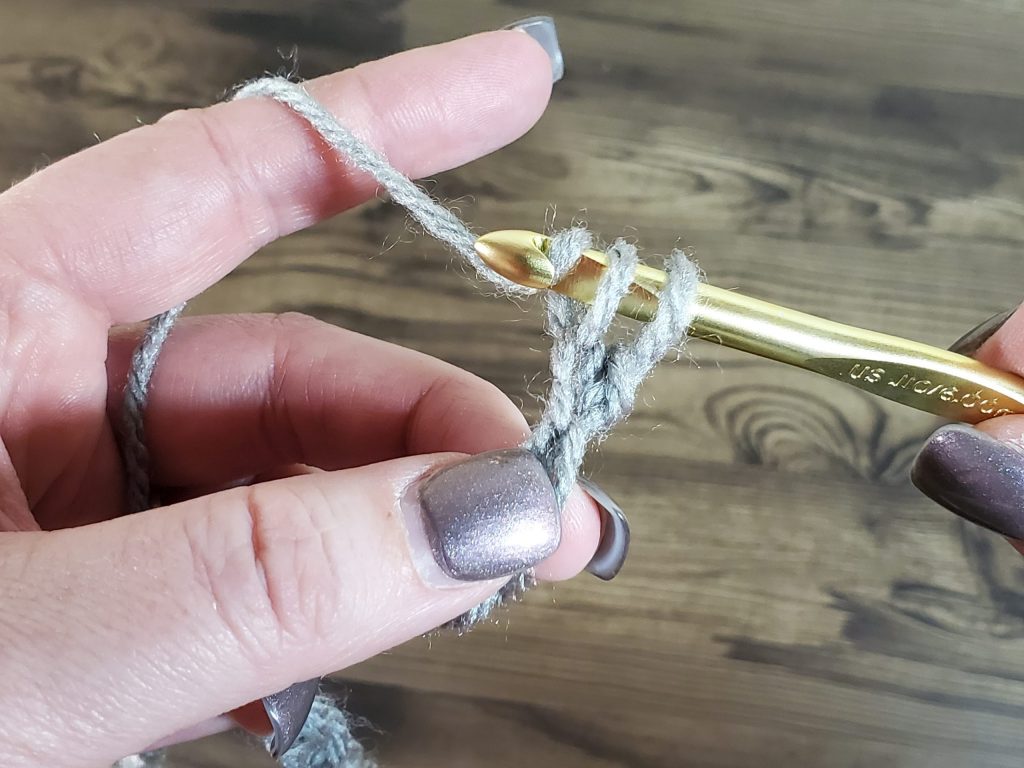
Now, insert your hook under both of the top loops on the first stitch of the previous row. Yarn over, and pull the loop through both loops of the single crochet stitch you are working into. Then yarn over again, and pull the yarn through both loops that are left on your hook. Continue to do this in each stitch across this row. You will have a total of 25 single crochet stitches in this row. When you get to the end of the row, make your turning chain (1 chain stitch), turn your work, and repeat this row three more times. You will stop when you have a total of 5 rows of single crochet, with 25 stitches in each row.
The Center
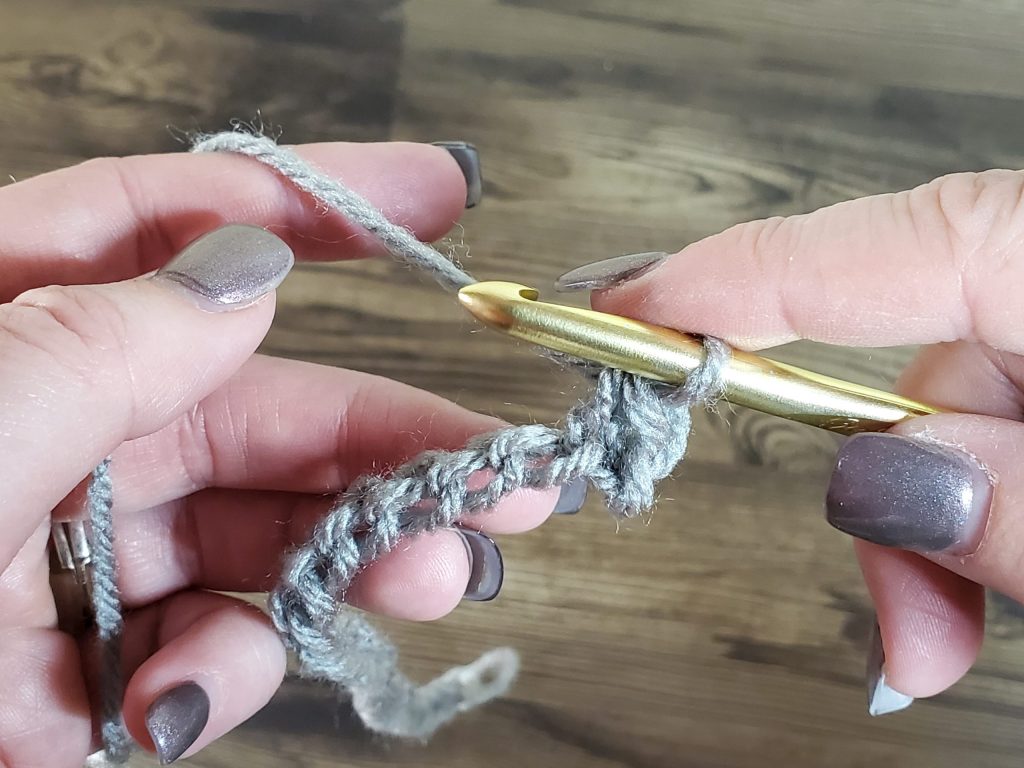
Now we need to increase the fabric in the center. By creating a longer fabric in the center section, we are creating a single piece front, bottom, back and closure. To do this, you are going to chain 41 after you get to the end of Row 5. Once you chain 41, single crochet in the second chain from the hook, and in each chain across. You will have a total of 65 single crochet stitches in this row.
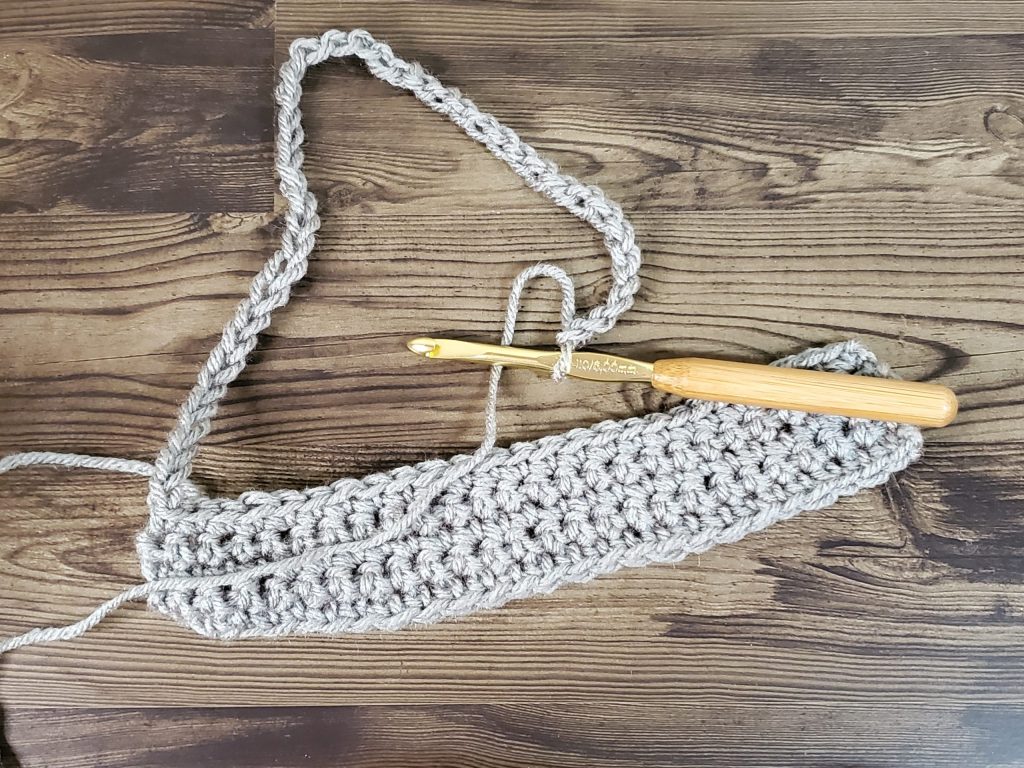


At the end of your 6th row, chain one, turn and single crochet across. You should have 65 single crochet stitches in this row. Repeat this row 13 more times. You should have 5 rows of 25 single crochet, and 15 rows of 65 single crochet.

Creating Symmetry
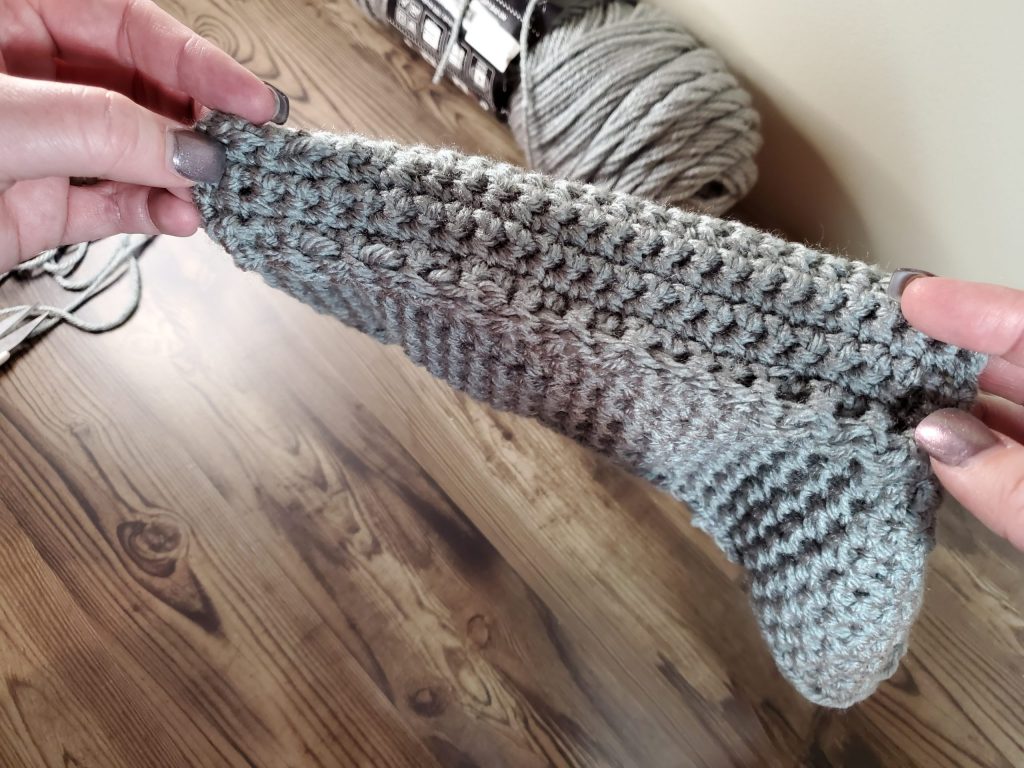
To make the other side of our Crochet Hook Case the same as the first side, we will need to create 5 rows of 25 single crochet. At the end of row 20, you should be back at the widest point of your fabric. Chain one and turn. Single crochet in the first 25 stitches. Do not crochet across the whole row. We are going to stop here, chain one, and turn. We are creating a symmetrical fabric, so this side will need to have a shorter end panel. Once you turn, single crochet across. Repeat this three more times, until you have 5 rows of single crochet. Fasten off, weave in your ends, and we are ready to sew!

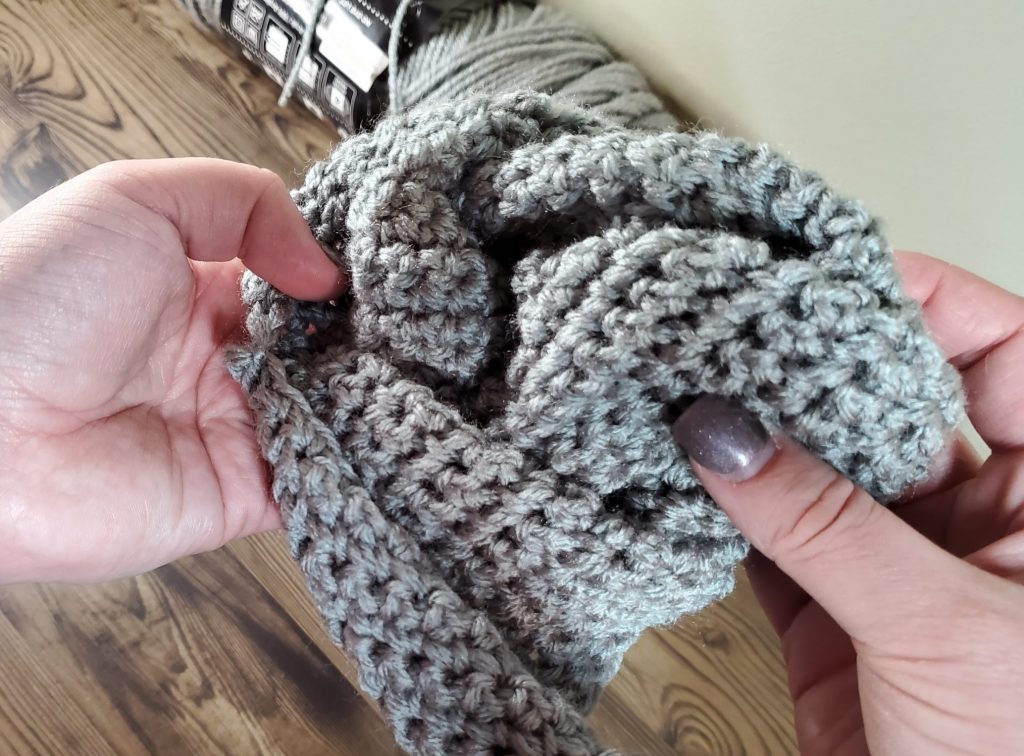
Assembling the Crochet Hook Case
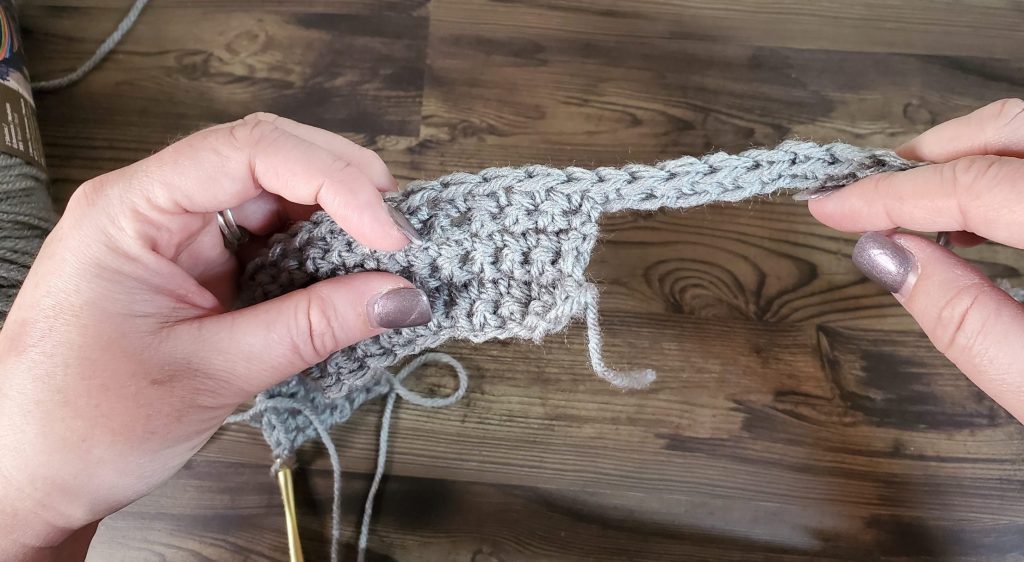
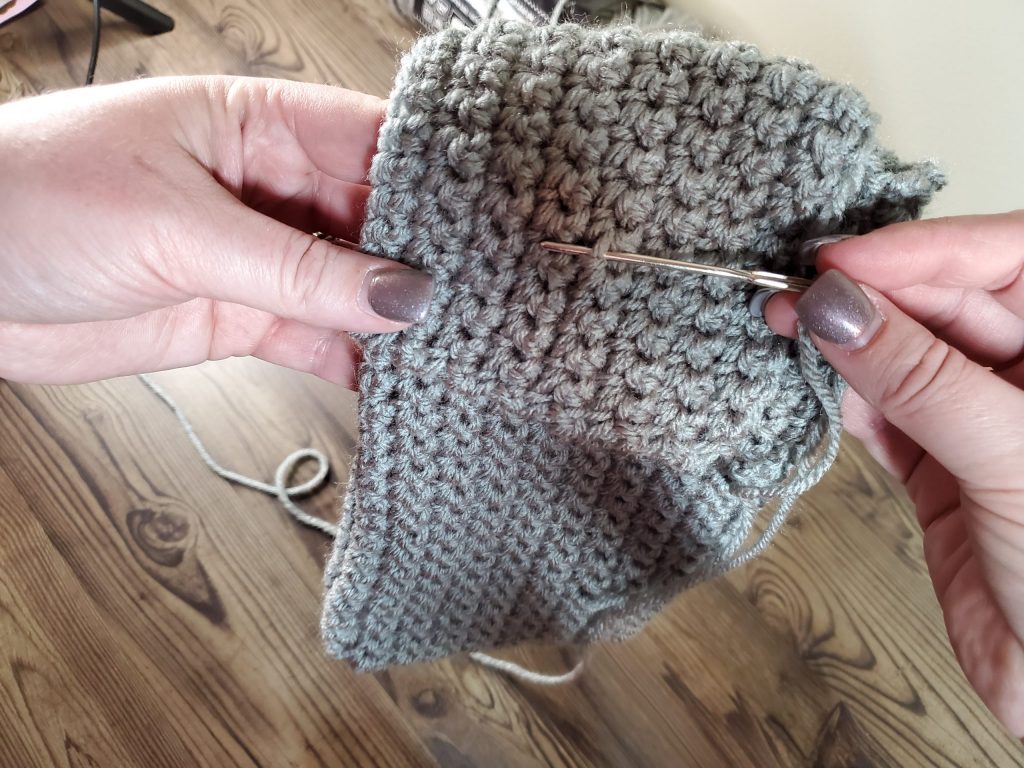
To assemble the Crochet Hook Case, we are going to use our yarn needle and the same yarn we created our fabric. Thread your needle and attach it to the fabric near the corner at the center increase. Leave a tail that is long enough to weave in, for a more finished look. You can always trim this later!
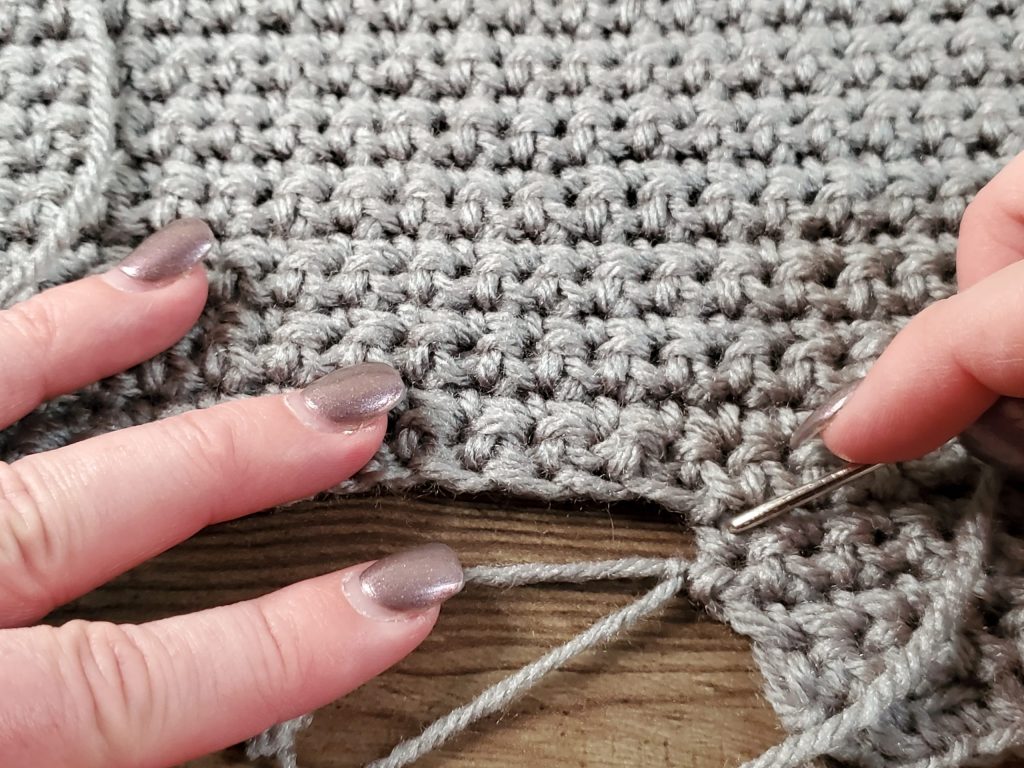
Pay attention here, so there are no bumps or scrunched fabric on your case. Single crochet stitches are pretty much square, meaning they are about as tall as they are wide. So each stitch from our first 5 rows will match up with a stitch from the 6th row past your increase. This will make it easier to sew, and maintain symmetry for our case.
After you attach your yarn, bring the edge of the first 5 rows up and over, to match up with stitches 26 through 31 of row 6. Starting in the front corner (where your fold is), sew the edges of your fabric together. When you reach the back, continue sewing up the back of the case. When you reach the top of the side fabric, fasten off your yarn and weave in the ends.
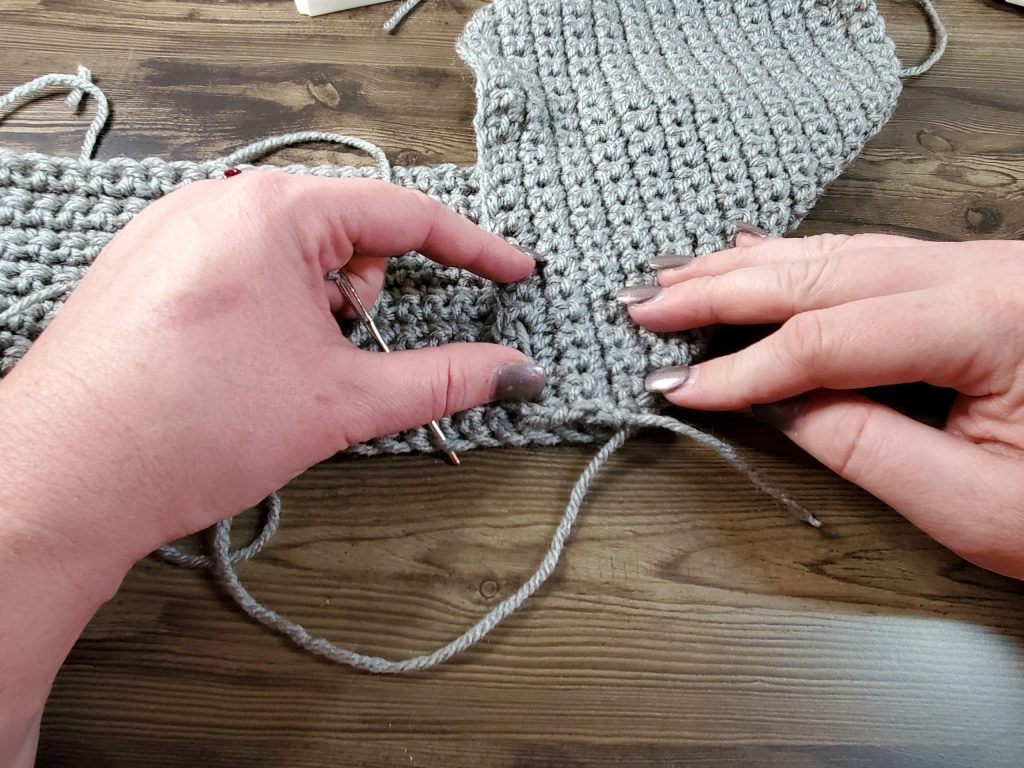
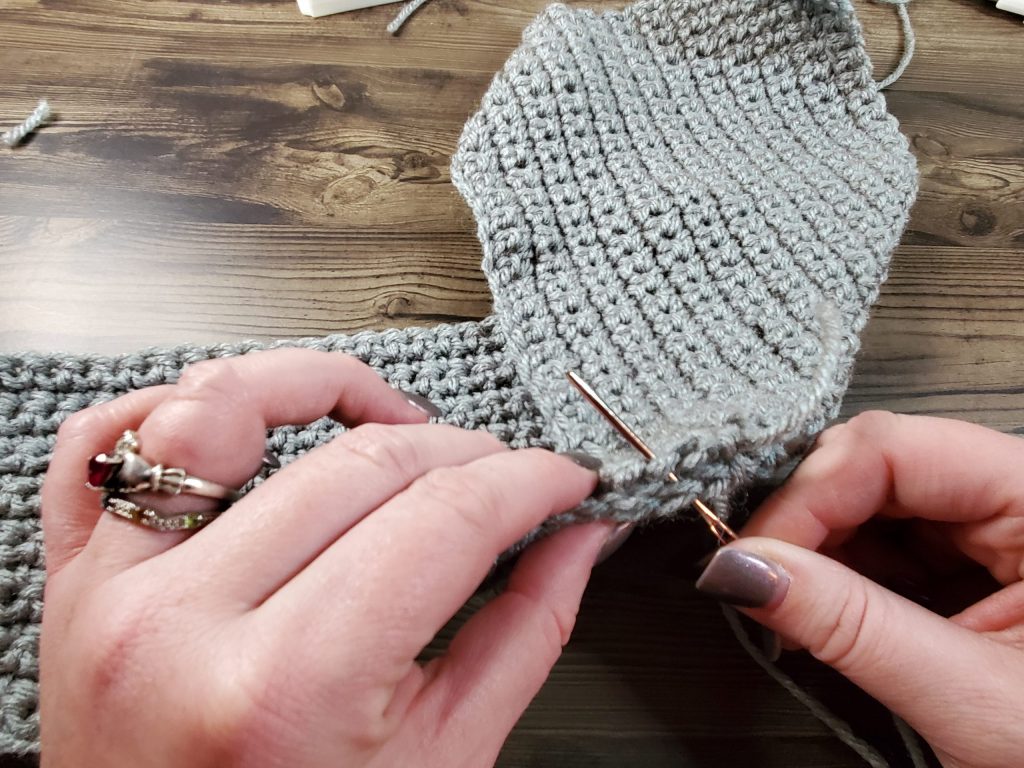

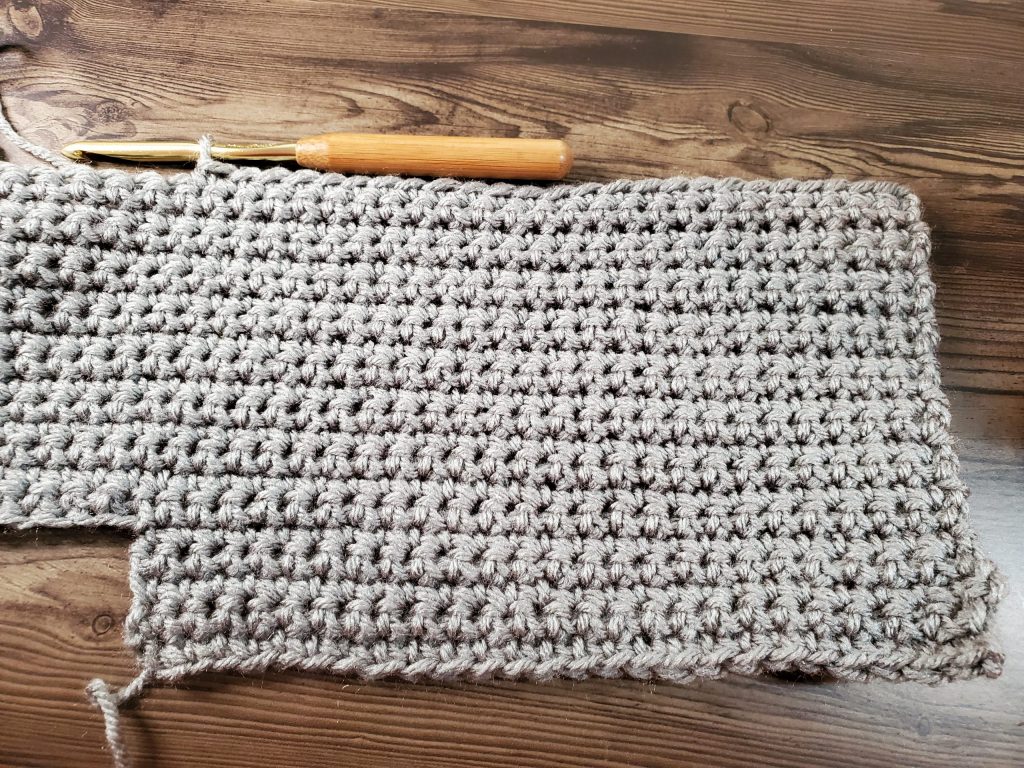
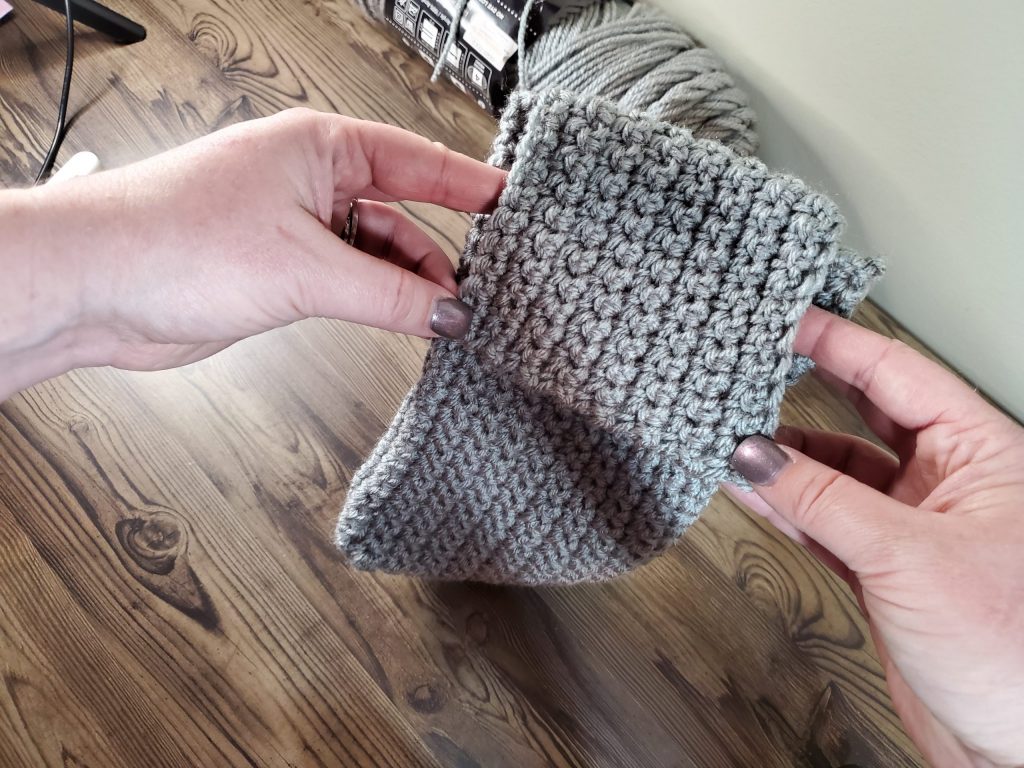
Repeat this process for the other side, to create finish enclosing the bottom portion of your crochet hook case. When you have finished, turn the bag inside out, to hide the sewn seams on the inside.
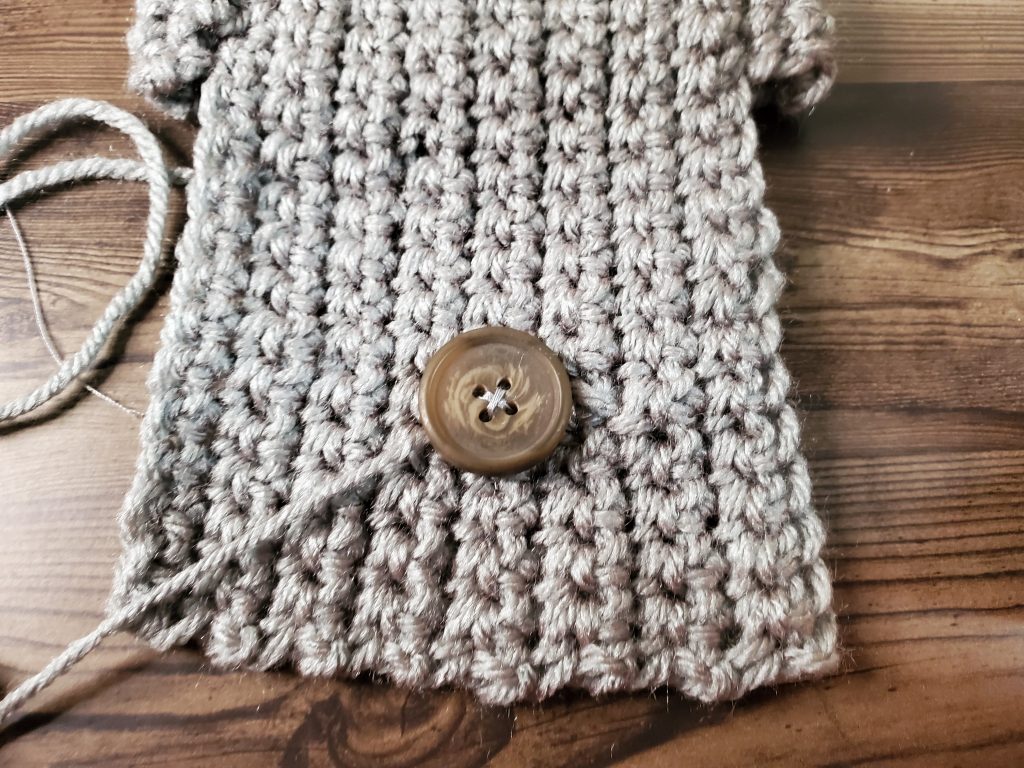
Front Flap Closure
For the front flap Closure, take a long strand of yarn (approximately 12”-14” long) and attach it to the center of the front side of the flap. If desired, attach a decorative button or beads to the bottom of this piece of yarn.
Next, using coordinating thread, attach a button over the yarn you just attached to the front of the flap. Fold the flap down, wrap the yarn around the case a few times, and then around the button, to hold your case closed. To open, simply unwrap.
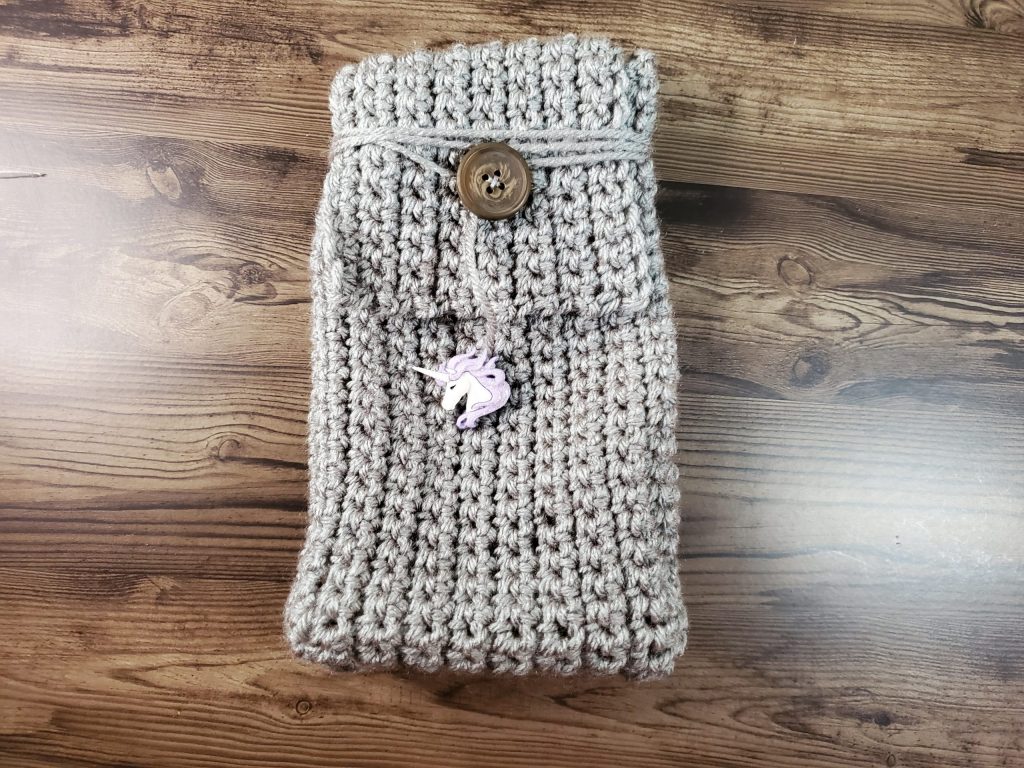
If you are looking to have a more structured bottom, cut a piece of cardboard or plastic canvas to the size of the bottom and put it inside your case!
Crochet Hook Case Written Pattern
Below is the written pattern for the Crochet Hook Case
Materials List:
- 1 skein Redheart Super Saver worsted weight yarn
- 1 Round Button
- 1 Decorative Button or beads (Optional)
- Thread to match yarn or button
- Crochet Hook
- Yarn Needle
- Scissors
Ch 26
Rows 1-4 – SC across, Ch 1, turn (25)
Row 5 – SC across, Ch 41 (25 SC/41 Ch
Row 6 – SC in second Ch from hook and across, Ch 1, turn (65)
Rows 7-20 – SC across, Ch1, turn (65)
Row 21 – SC in first 25 SC.
Ch1, turn
Row 22-25 – SC across, Ch 1, turn (25)
Fasten off & Weave in ends.
Assembly
Fold fabric so the ends of rows 1-5 line up with stitches 26-30 in row 6. Sew from front to back, and up back of bag. (see photos above for clarification, if needed)
Fasten off and weave in ends.
Repeat on other side to create bag.
Attach 12″-14″ piece of yarn to center front of front flap. If desired, add decorative button or beads to end of yarn.
Sew button over piece of yarn on closure flap, using coordinating thread.
Wrap yarn tail around bag and secure around button. Undo to open.


Congratulations! You’ve finished your Crochet Hook Case!
Let me see what you’ve made! Show me your cases below!


One Comment