Learn the Chain Stitch – Beginner Step One
The chain stitch is the first step to learning how to crochet. It is the groundwork of most projects, and an important part of every project I have ever made.
If this is your first visit to my site, and you are brand new to crochet, I highly recommend you take a look at the other posts about the tools and materials needed to begin crochet. You can find those in my Crochet Corner.
If you’ve got your yarn, hook and snips or scissors, and are ready to begin learning the chain stitch, welcome! I’m ready to get to work, and I hope you are, as well! We are going to start with the basics, and then I’ve got a few projects for you to try using JUST the chain stitch! What fun is learning a new craft if you can’t put it to good use right off the bat?
So let’s get started!!
Chain Stitch Step One
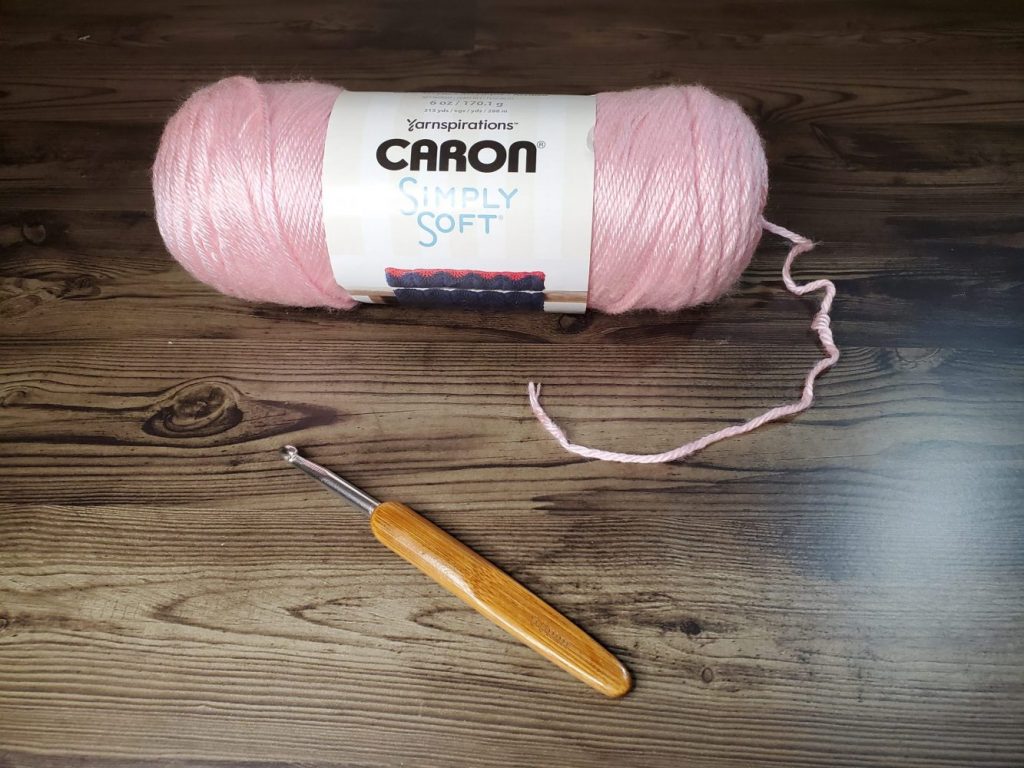
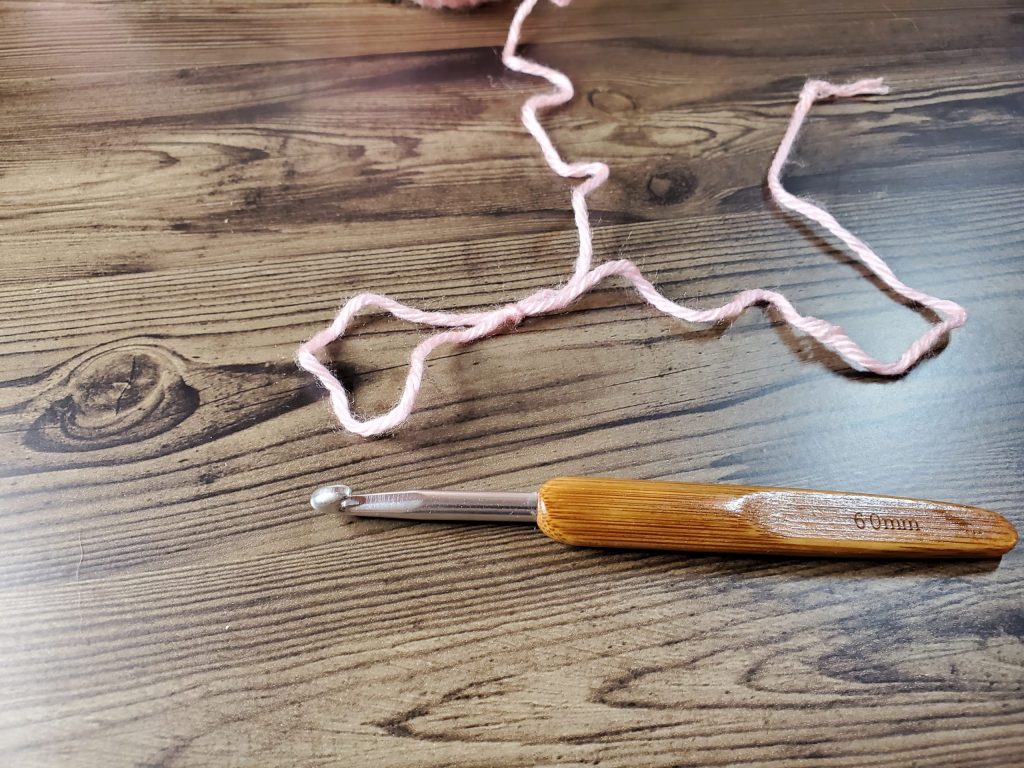
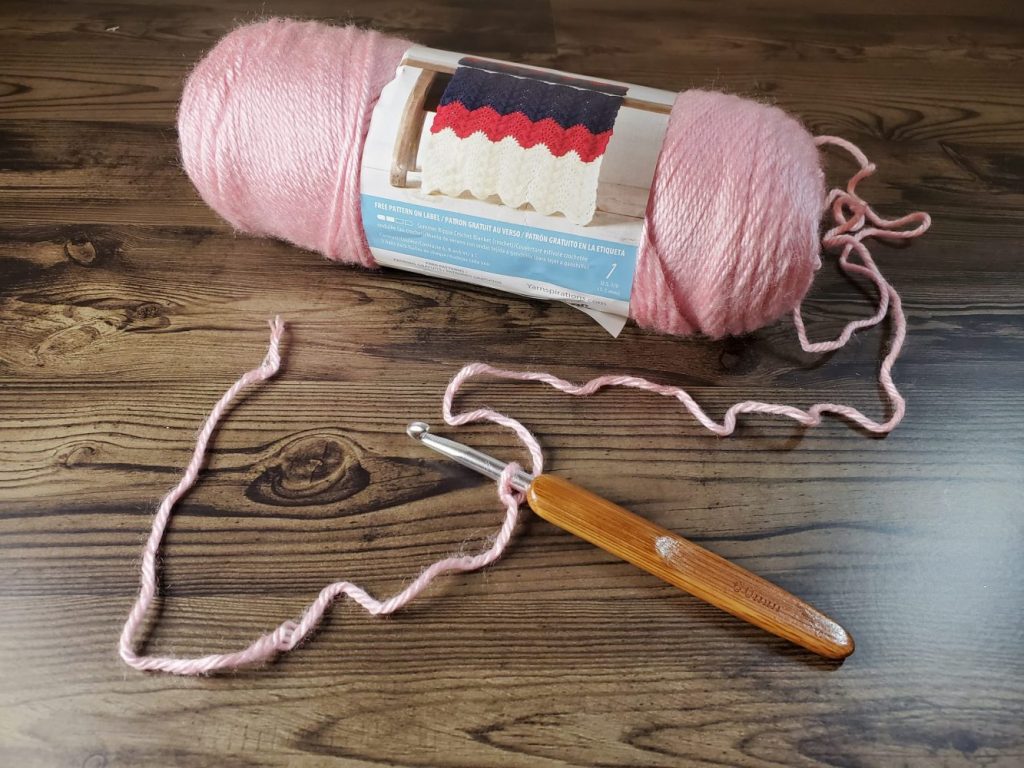
For this tutorial, I am using Caron Simply Soft yarn, which is a medium, or worsted, weight yarn, and a 6mm hook. You can use any yarn you would like, but I highly recommend using a worsted weight to begin with, as it is easier to hold and see.
The first thing you need to do is get your yarn ready for you to put it on your hook. Depending on your yarn, and personal preference, you may be able to pull your yarn from the center of the skein. I prefer this method, as it keeps the yarn from rolling around. Sometimes the end of the yarn can be a bit difficult to find inside of the skein, so don’t be afraid to pull from the outside. All that matters is you’re able to get the yarn off the skein (or ball!) for your project.
To get the yarn on the hook, most people simply make a slip knot with the end of the yarn. I use my hook to make a slip knot, but it is not necessary to do so. Many seasoned hookers use the slip knot method to start their projects. Simply make a slip knot, put your hook through the loop, and tighten. Congratulations! Your first step is done!
How to Hold Your Hook
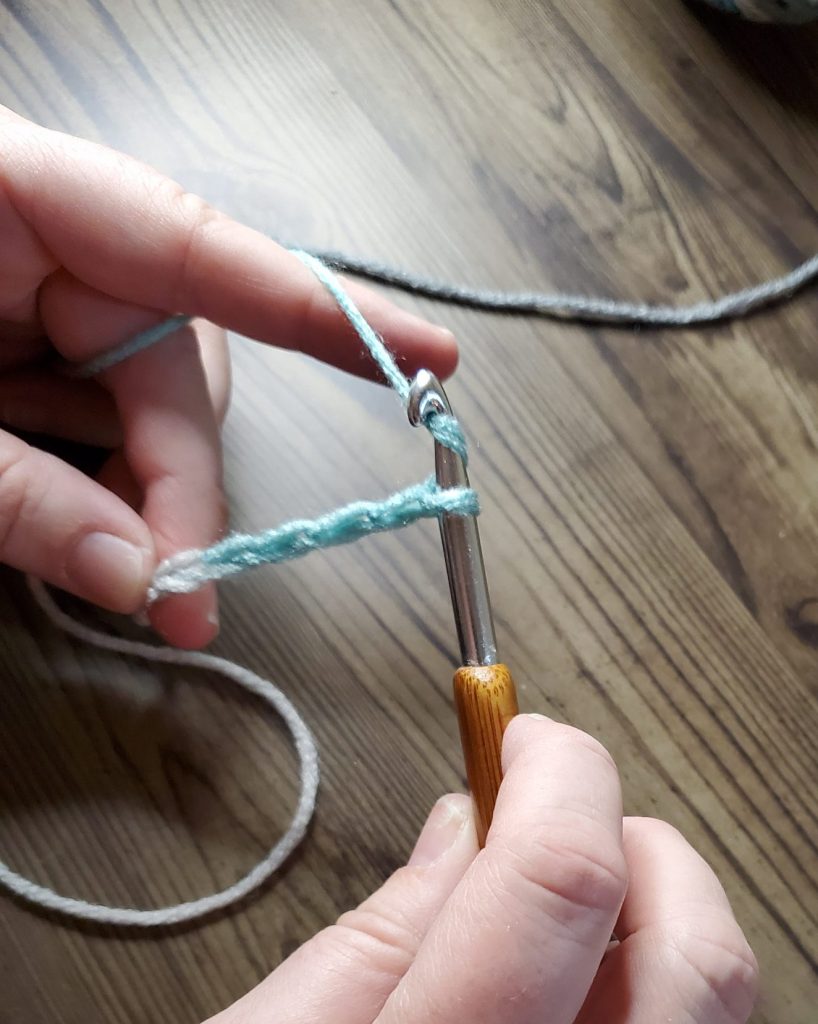
Let’s take a short break and discuss how to hold your hook. There are two common ways to hold your hook: like a pencil or like you would hold a dinner knife. In my tutorials, you will see me using the knife-like grip. This does not mean you cannot or should not use the pencil grip. Hold the hook in a way that is comfortable for you. The important thing is your grip is firm (but not too tight!) and you’re putting the proper tension on the yarn. If you’re brand new to crochet, you may want to try both grips, and see which one is the best fit for you. Of course, you’re not forced to commit to one grip right off the bat. If you’re using one, and weeks, months or even years down the line, decide you prefer the other one, then just switch!
Chain Stitch – Making Your Chain
The next step is called the “Yarn Over,” or YO for short. If you haven’t yet, please check out my post on Crochet Terms and Abbreviations. Having a basic understanding of these terms is going to come in handy as you’re working your way through my tutorials. The yarn over is simply the act of putting the yarn around the hook. Make sure you’re letting your hook do the work. You don’t need to use your non hook hand to wrap the yarn around your hook. Put the hook to work by placing it under the yarn and lifting up to wrap it around!

You should now have 2 loops on your hook, the slip knot, and the yarn from your YO (yarn over). Congratulations on finishing step two! We’re almost there!
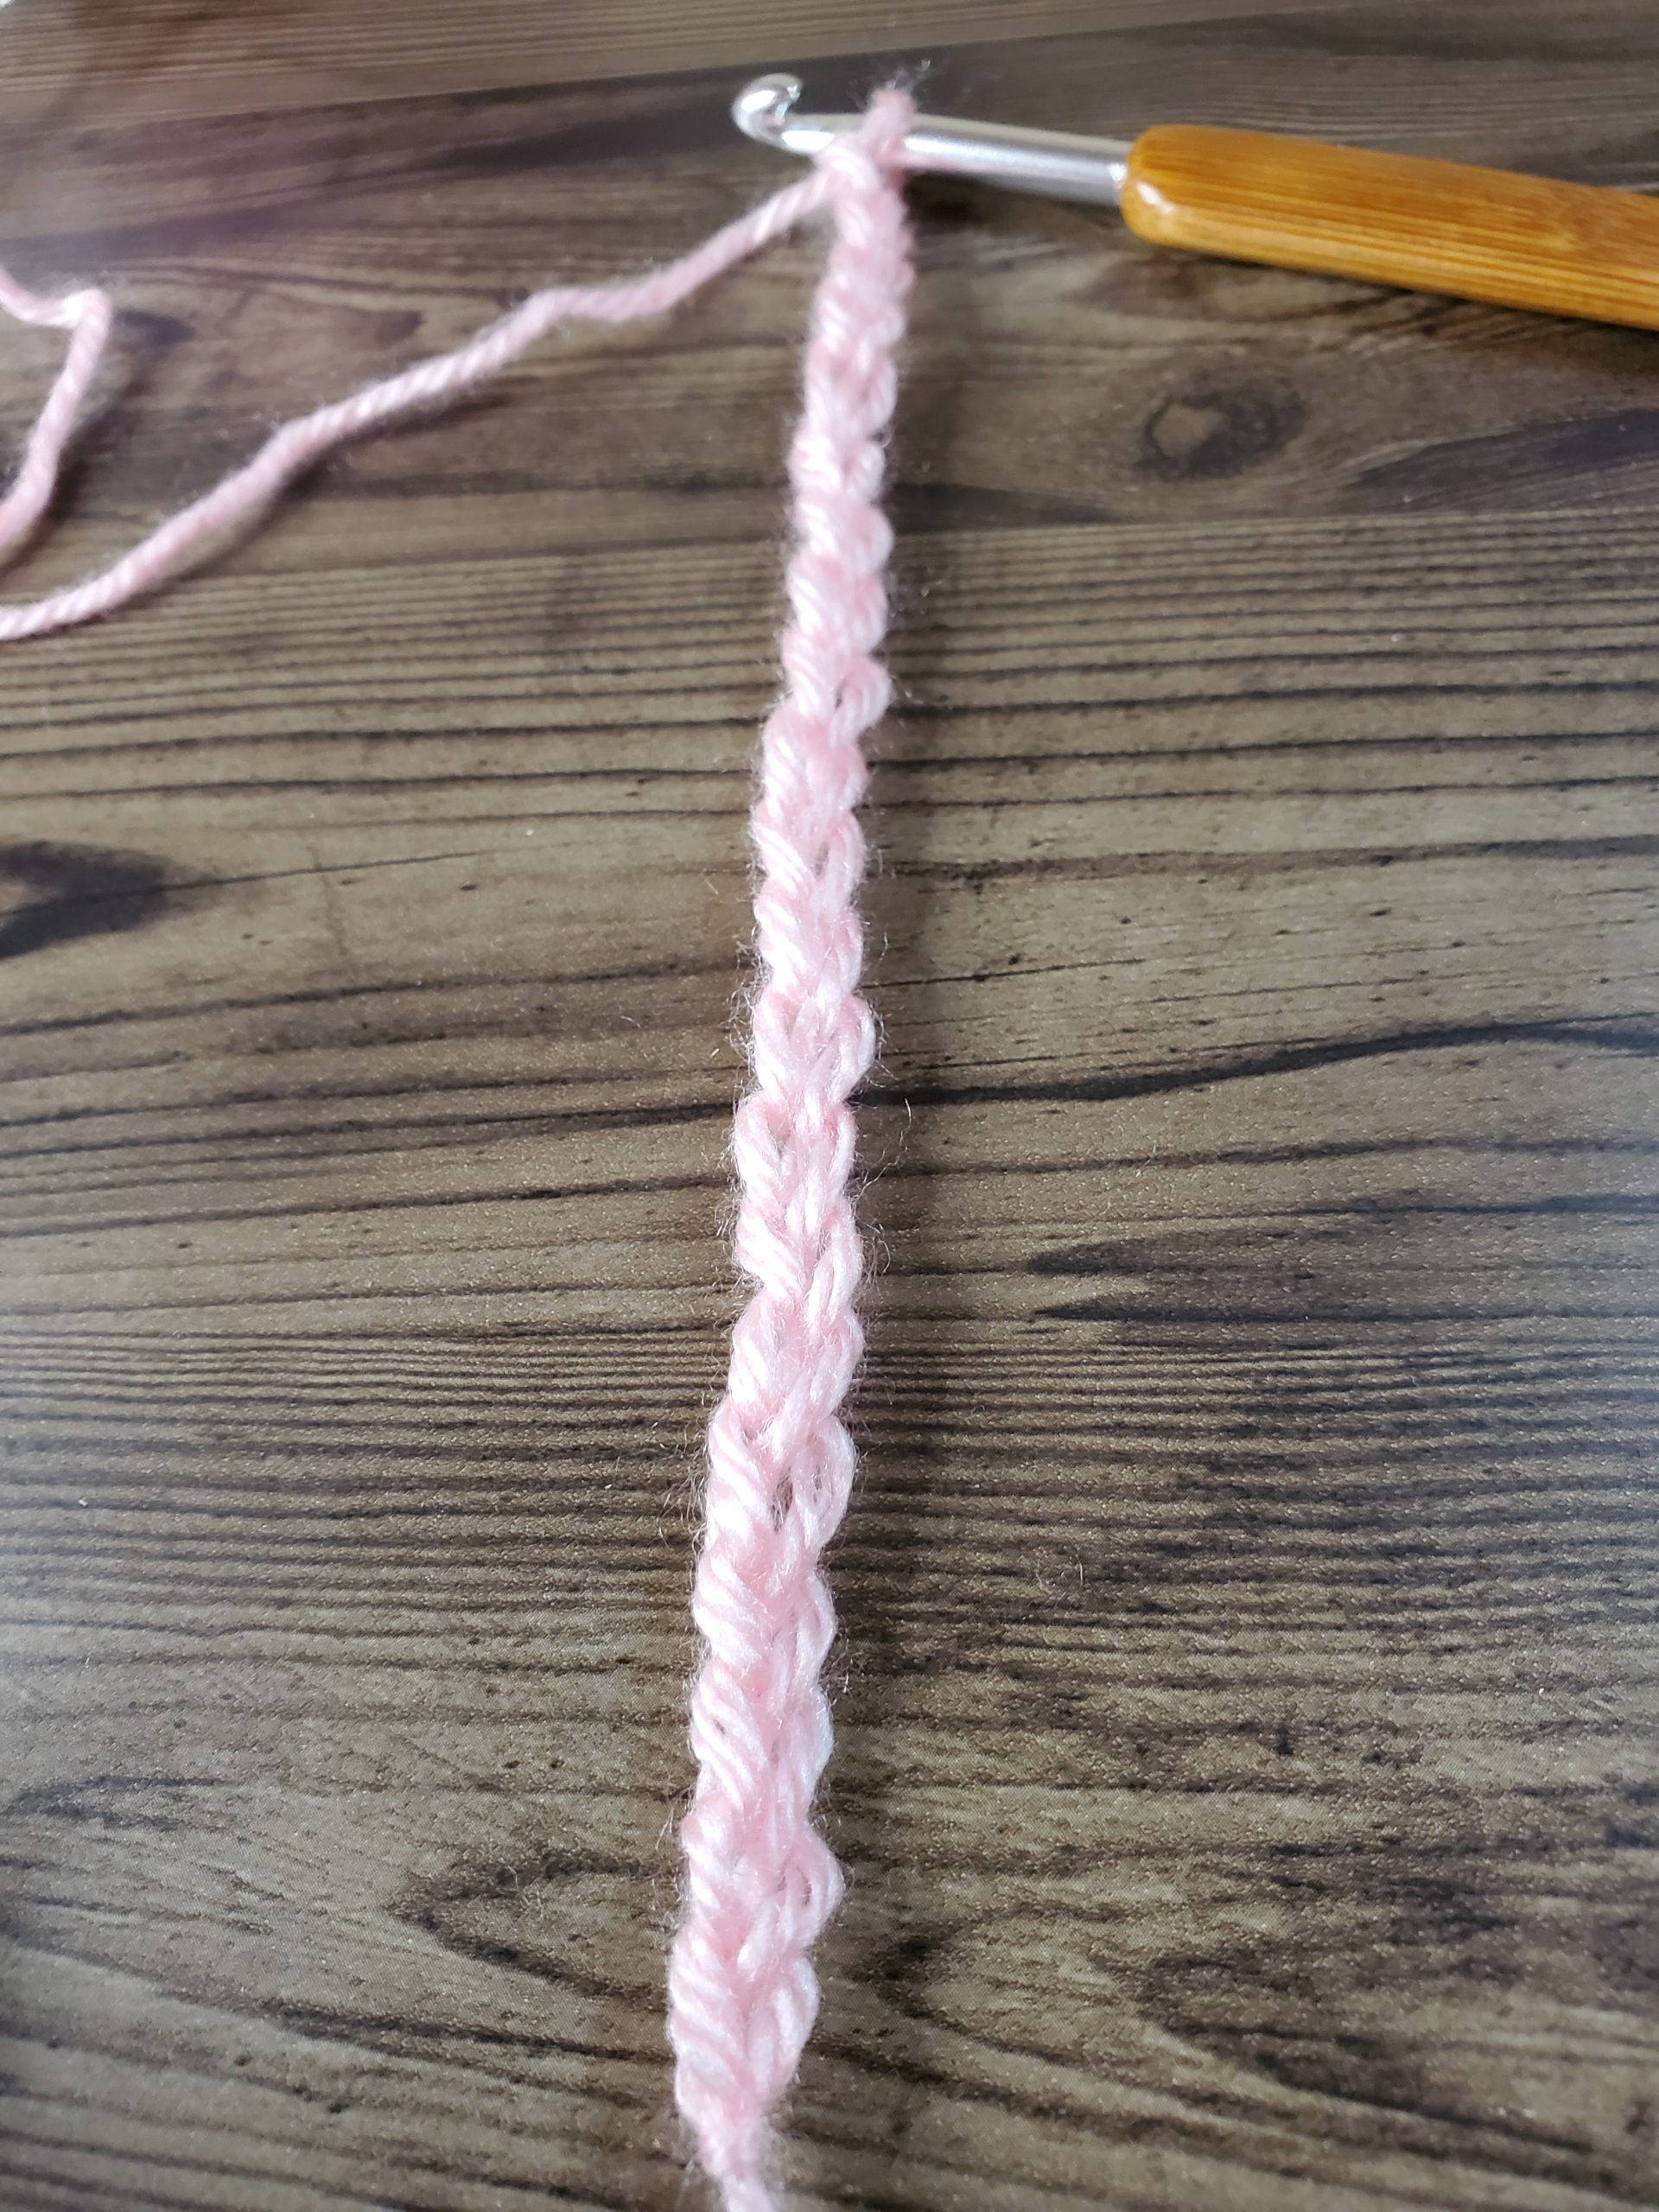
Your next step (the last one!) is going to be to pull the top loop through the bottom loop. You’re going to need to keep some tension on the yarn, and slide your hook down. Twist it slightly so as you’re sliding the hook down, the top of the hook grabs your yarn and moves it through the bottom loop, keeping it on your hook. When you pull it through the loop on your hook, if you keep tension on the tail of your project, it will help create a space for your hook to go through. Keeping even tension on both your working yarn and your tail and/or chain as you work will help keep your stitches even.
Your top loop has now become your bottom loop. Congratulations, you have made your first chain stitch!


Now, we repeat the process. YO (remember this means Yarn Over!), and pull the top loop through your bottom loop. Each time you pass your top loop through your bottom loop, you are making one complete chain stitch. So if a pattern calls for you to start with a chain of 25, you will be repeating this process 25 times.

Tension & Fixing Mistakes
When it comes to the chain stitch, you want to make sure you’re maintaining tension. Tension means you are keeping the same pressure on the yarn and the hook throughout the chain, so each loop is about the same size. This is important for the overall look of your project.
If you make a mistake (we all make them!), or if a stitch looks too loose or tight, slide your hook out of the loop, and pull your working yarn away from your project. Your working yarn is the yarn coming out of the skein or ball you are using. The slip knots will be easily undone, and you can slip your hook back into any loop you choose.
Remember you are just beginning, and you’re probably not going to get it perfect the first time you try. Practice makes perfect. And I have some projects to help you! Below are some projects using just the chain stitch. Try one, or try them all! Once you have mastered this stitch, we will move on to working into the chain, using the single crochet stitch.
Project One – Beginner
Chain Stitch Wrap Bracelet
Project Two – Practiced
Embroidery Floss Choker & Bracelet Combo
Project Three – Advanced
Chunky Necklace with Beads
When you feel comfortable with the chain stitch, and you’re ready to move on to working into the chain stitch, join me here. I will show you how to work the single crochet stitch into your chain, and give you a few projects to practice, too!